Example: a Mac with its own AI in three minutes
This is the whole path once, from sign-in to a chat with a language model that runs on your own Mac. The pictures are stills from the demo video. Every step links to the page that explains it in full.
 Mac mini (M1)the machine in the video
1. Sign in and pick the Mac
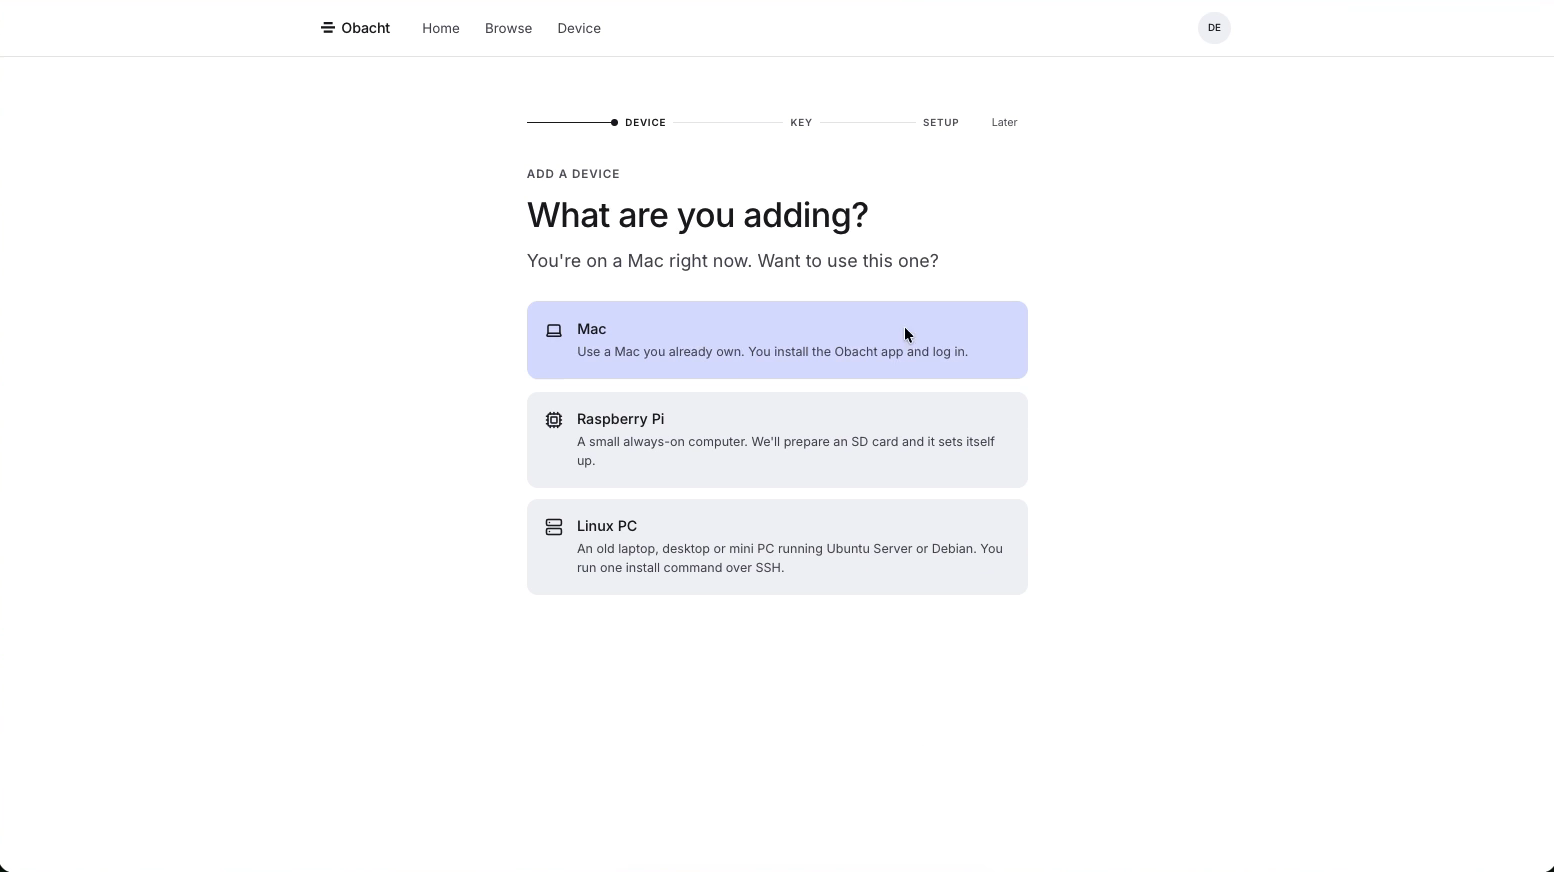
Sign in at eu.obacht.dev. A new account runs through the short onboarding first (mode, address, the rules). Then Add a device asks "What are you adding?". On a Mac the Mac card is already on top.
2. Create your device key
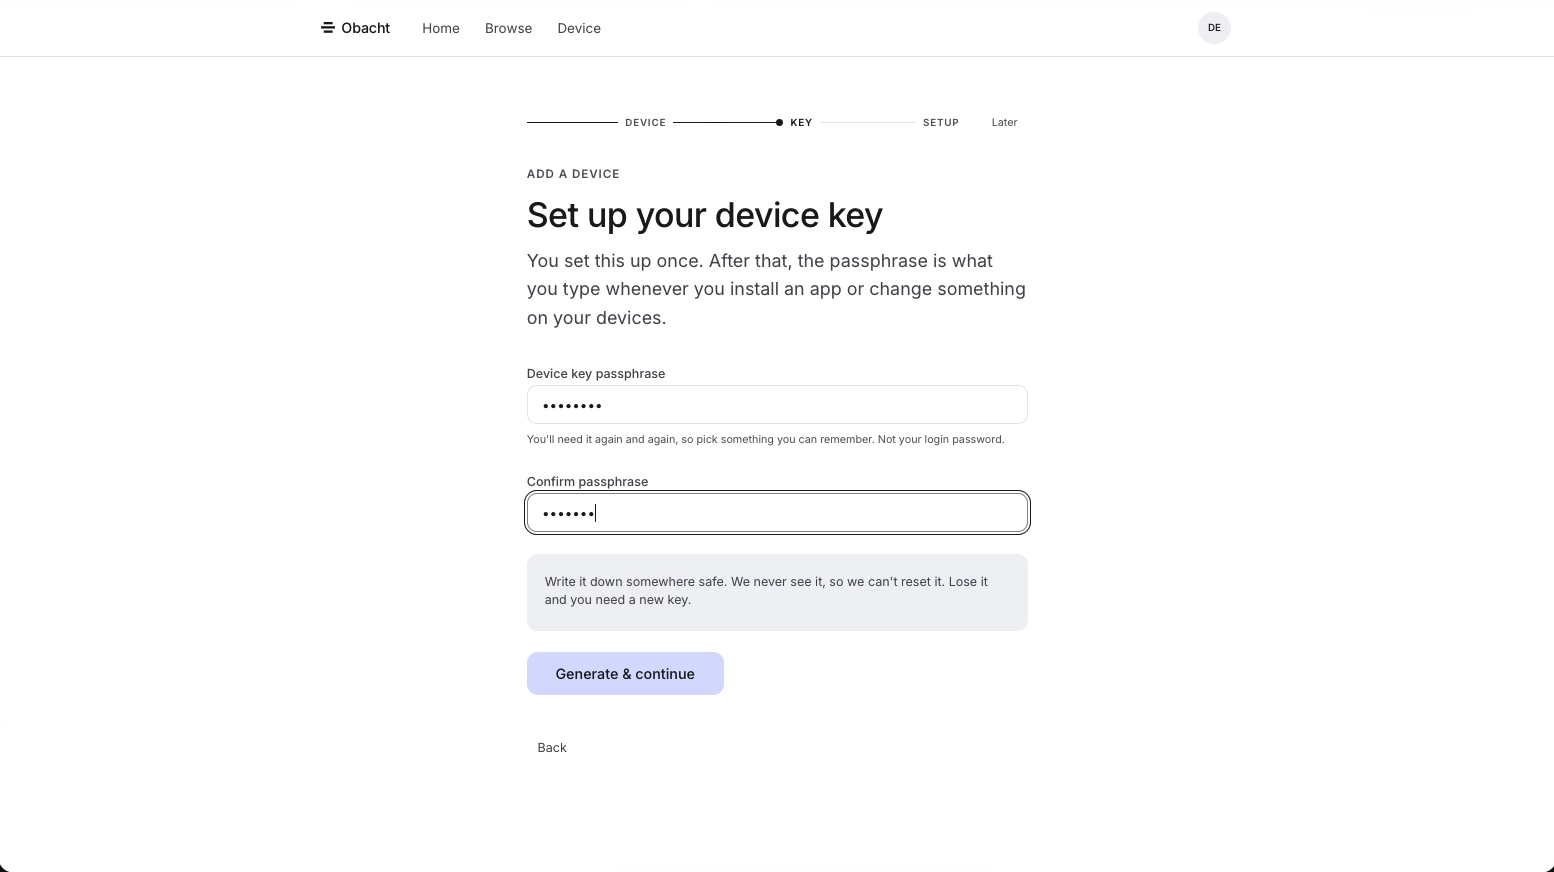
You set a passphrase once. From then on you type it whenever you install an app or change something on a device. It cannot be reset, so keep it somewhere safe. Details: Your device key.
3. Download the Mac app
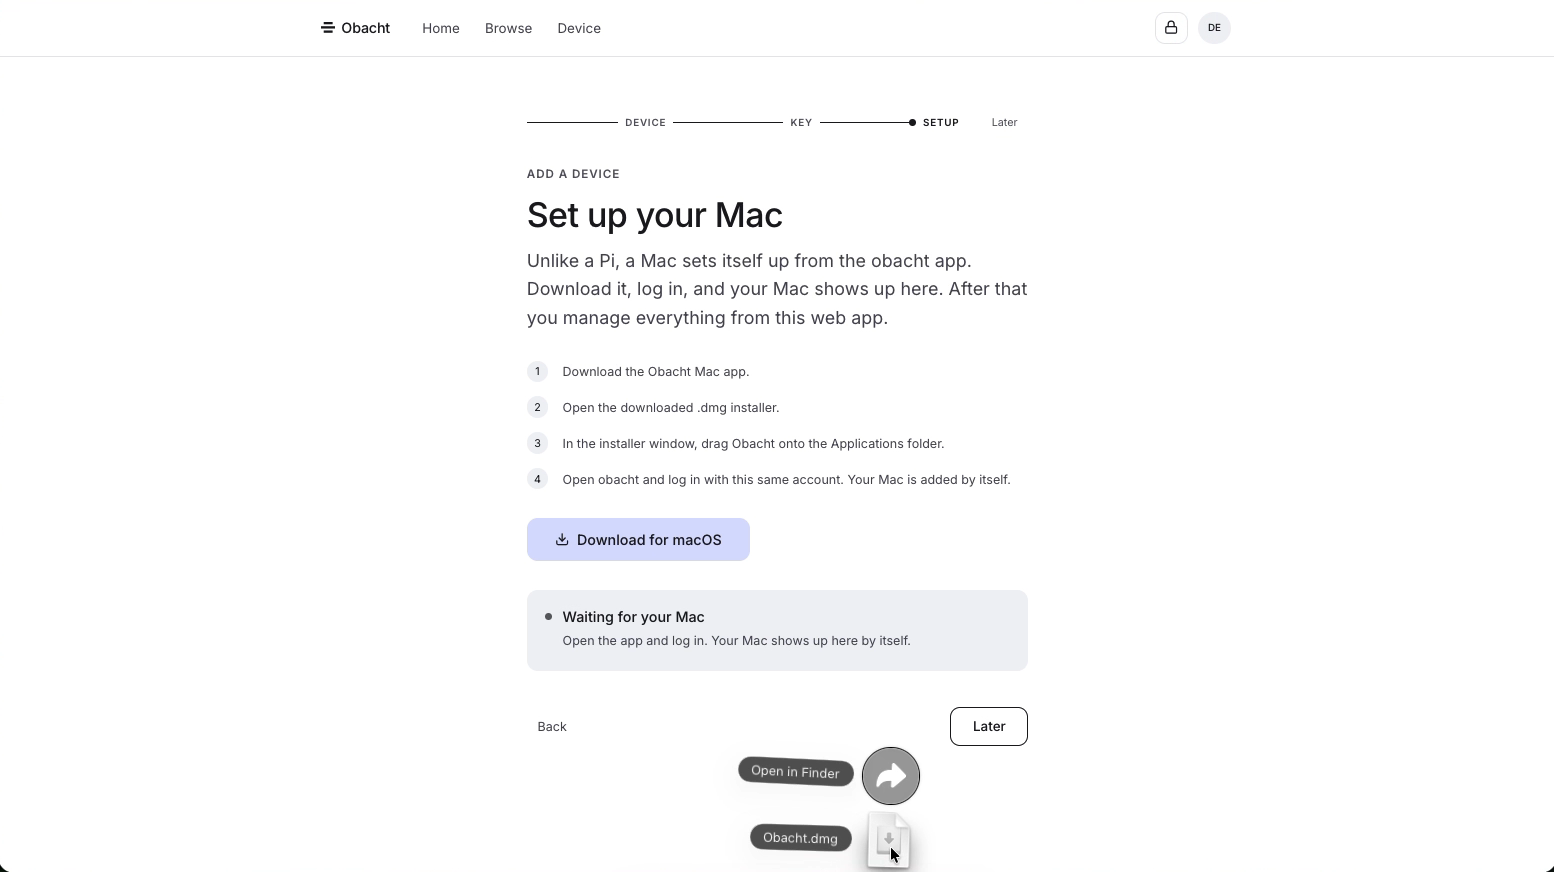
"Set up your Mac" lists four steps and a Download for macOS button. The page then waits ("Waiting for your Mac") until the app has registered the machine.
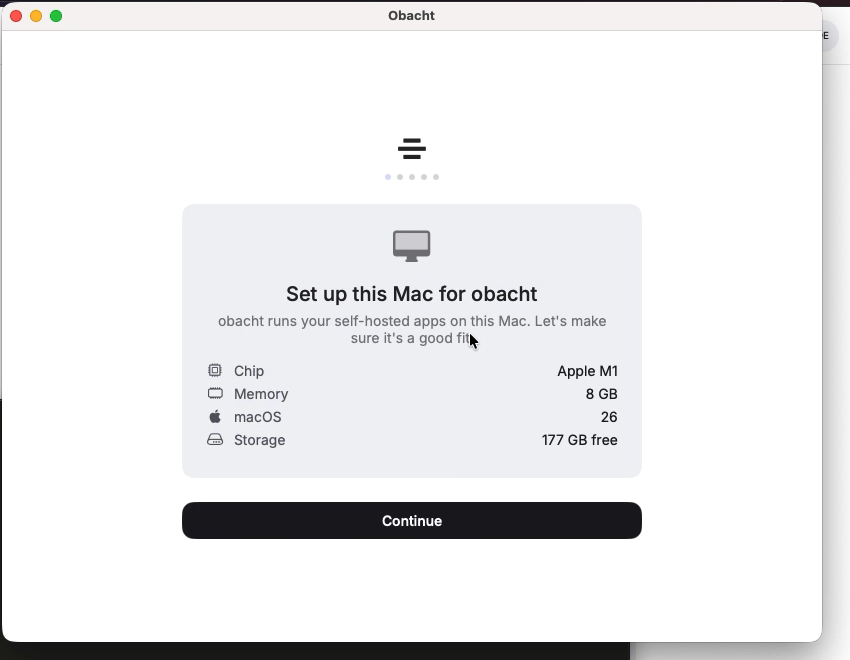
Open the .dmg, drag Obacht into Applications and start it. It sits in the menu bar and offers Sign in with the browser. The app checks the machine first: chip, memory, macOS version, free storage.
4. Connect in the browser
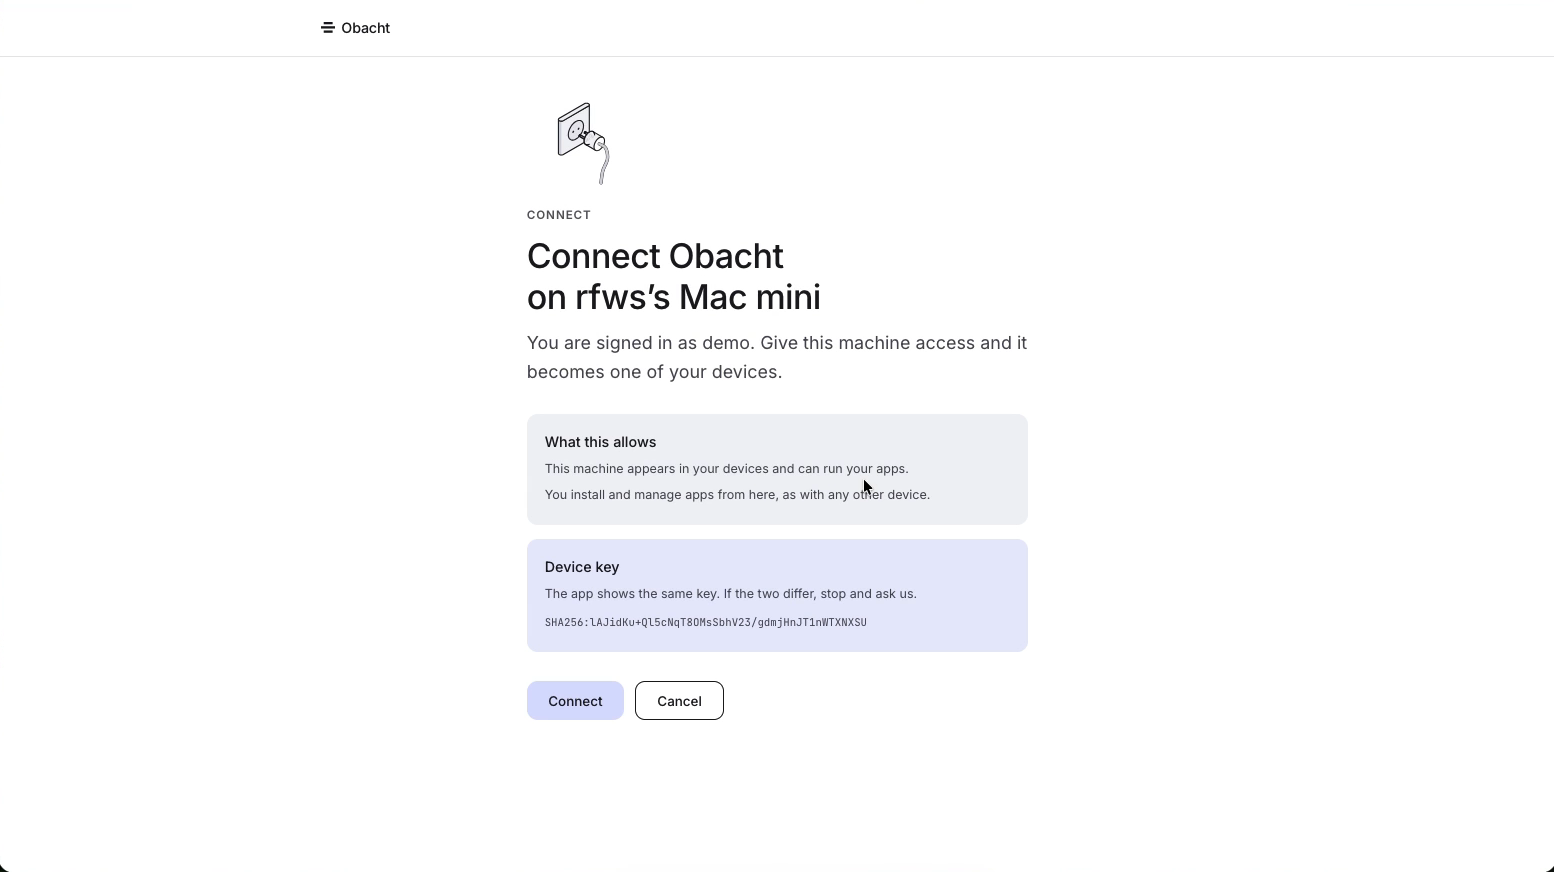
The app opens a page in your browser: "Connect Obacht on … Mac mini". It shows the fingerprint of your device key. The app shows the same one. If they differ, stop. Click Connect.
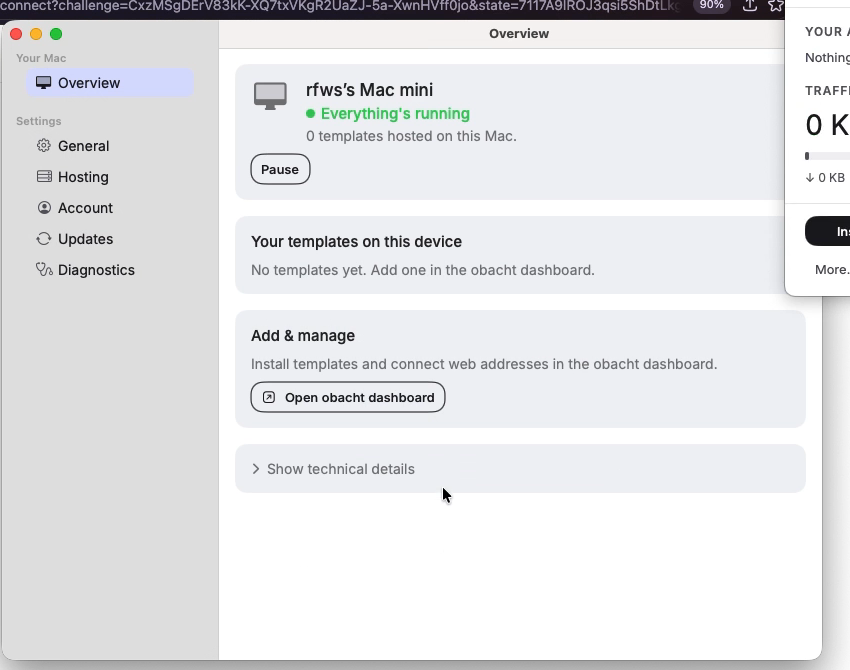
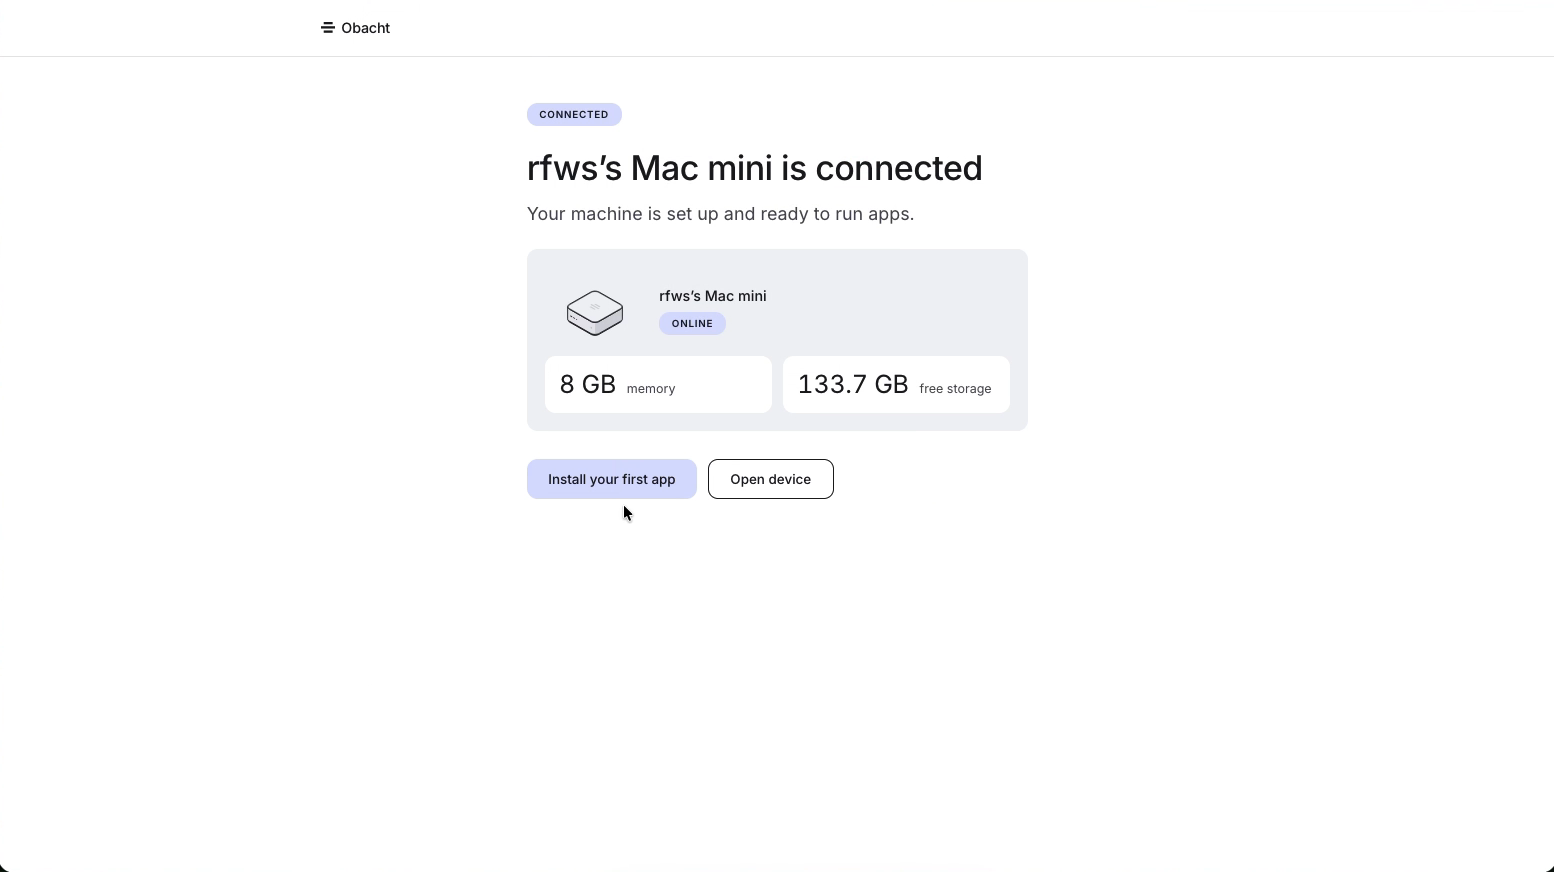
Back in the app the Mac is registered and the overview says "Everything's running". The dashboard confirms it: "Mac mini is connected", with memory and free storage.
Full page: Mac with the Obacht app.
5. Install the language model
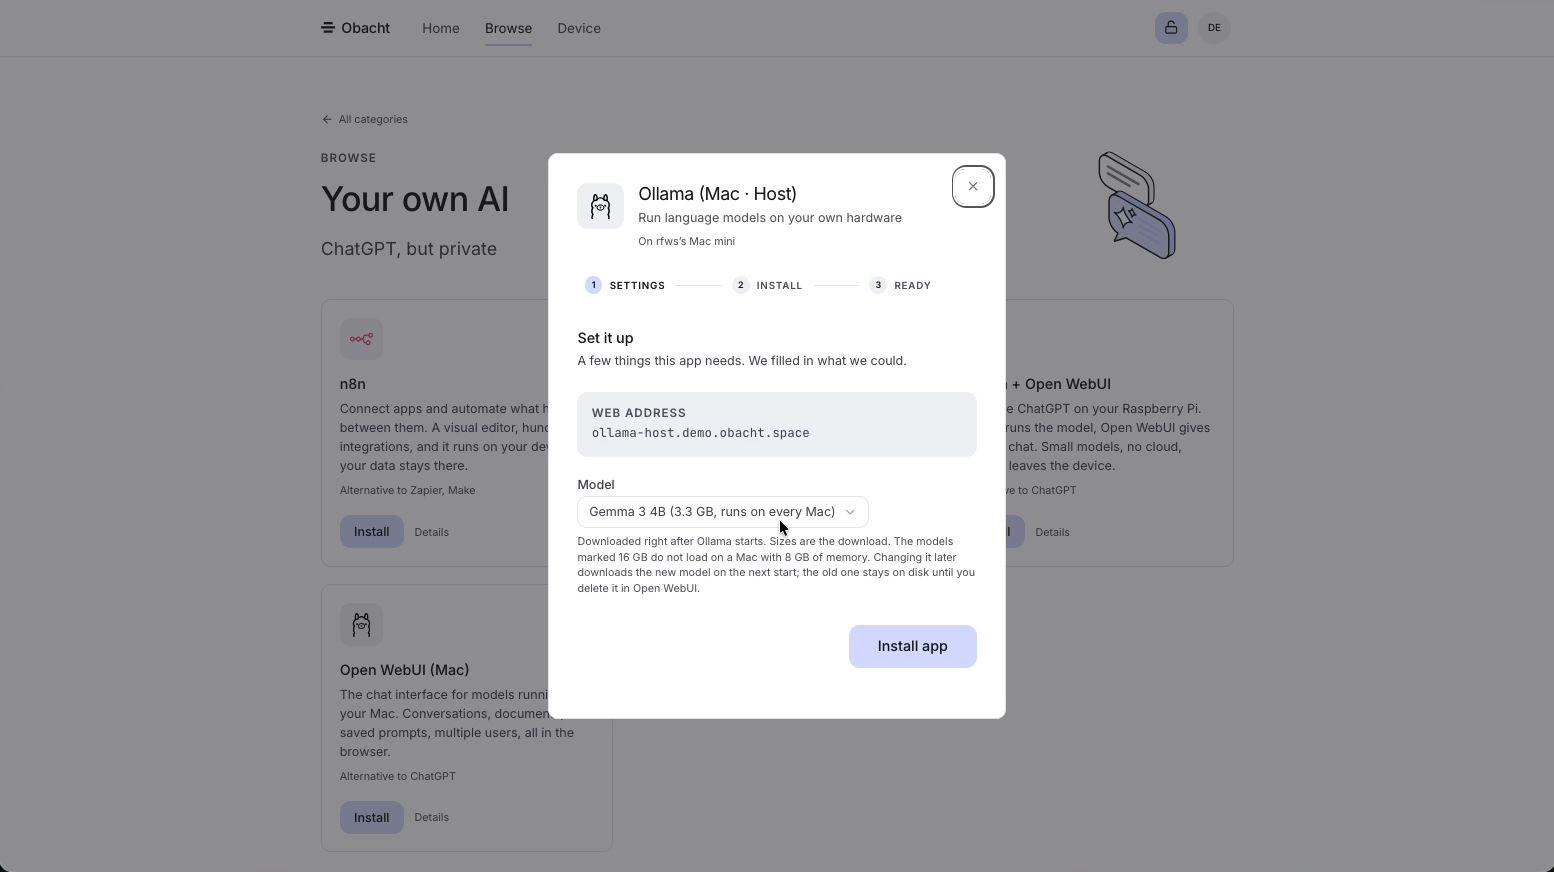
Browse → Your own AI. On a Mac the category offers Ollama (Mac · Host), the model runner, and Open WebUI (Mac), the chat interface. They are two installs because Ollama runs directly on the Mac, where it can use the Mac's chip, while the chat interface runs like every other app.
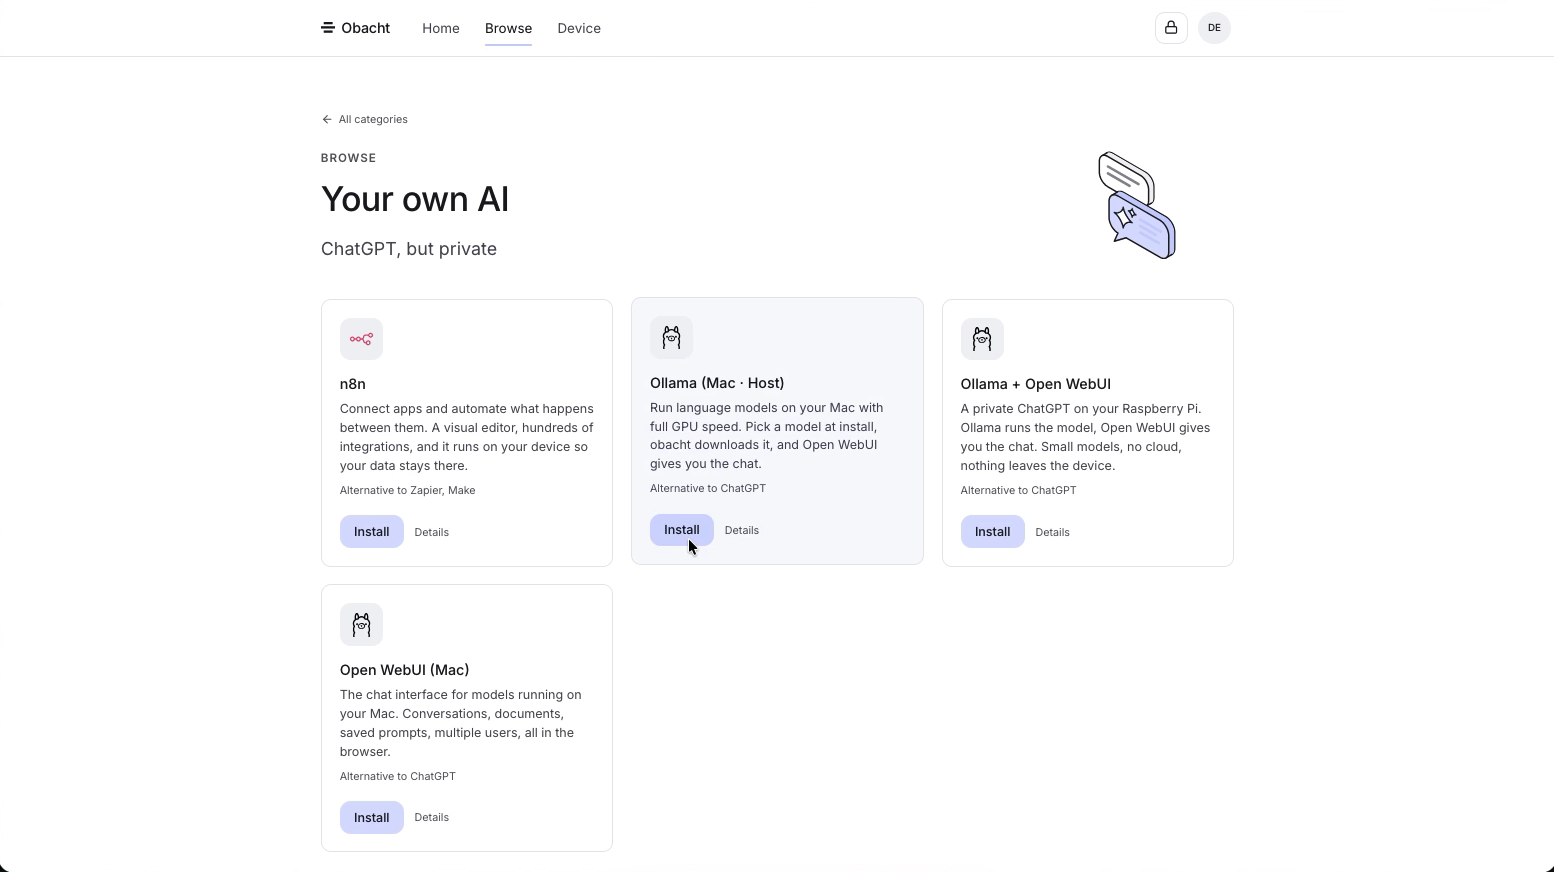
Click Install on Ollama. The sheet asks for one thing: which model to pull. The video picks Gemma 3, about 3 GB. Click Install app and type your passphrase.
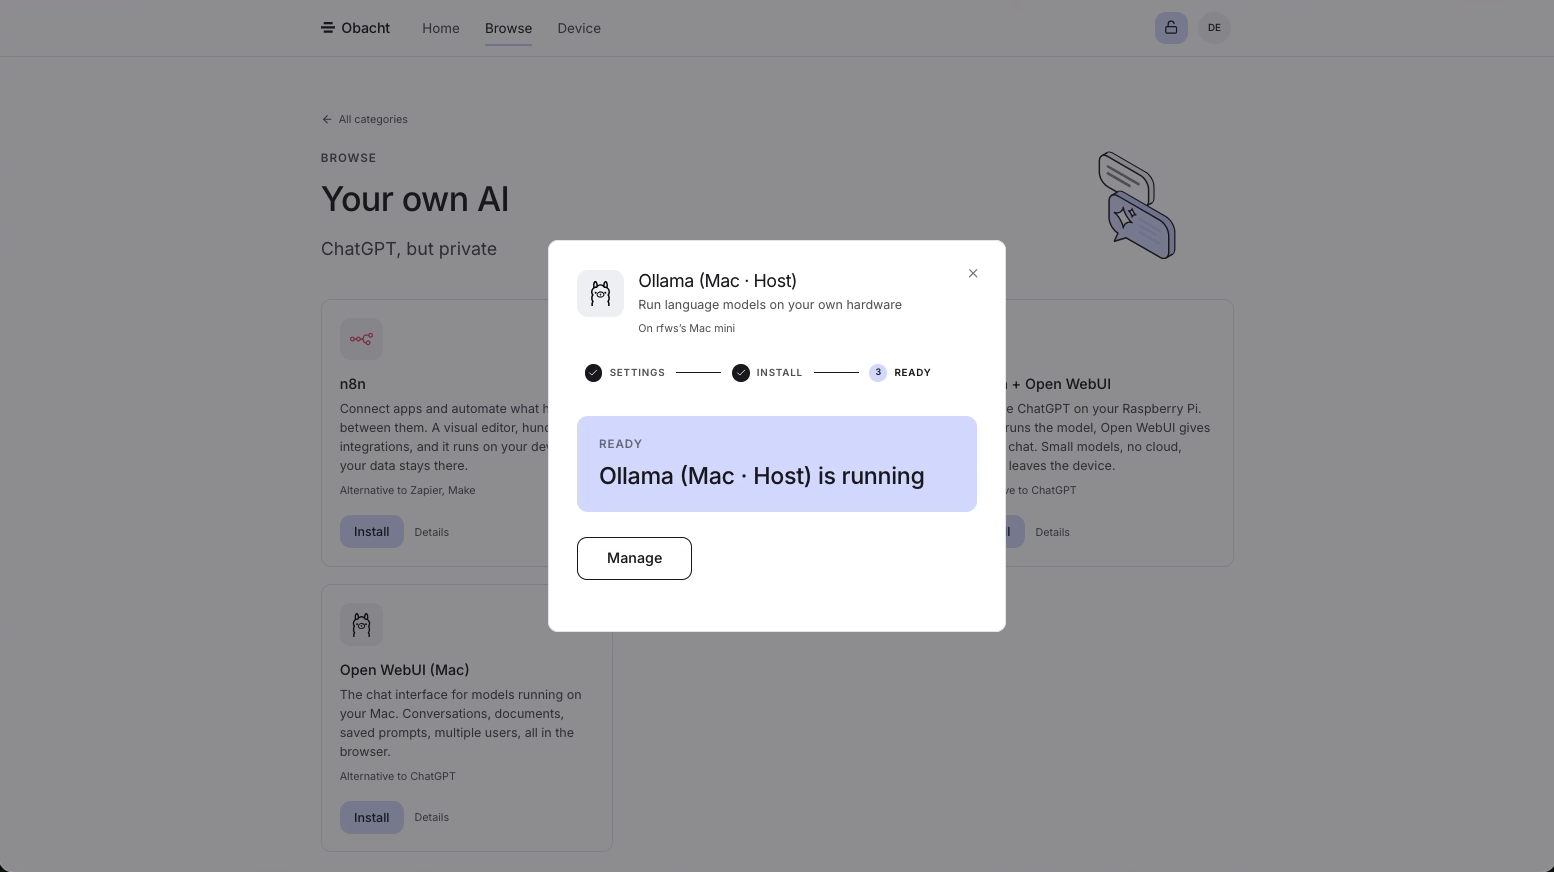
The download takes a minute or two. Then: "Ollama (Mac · Host) is running". This one has no web address of its own; apps on the same Mac use it directly.
6. Install the chat interface
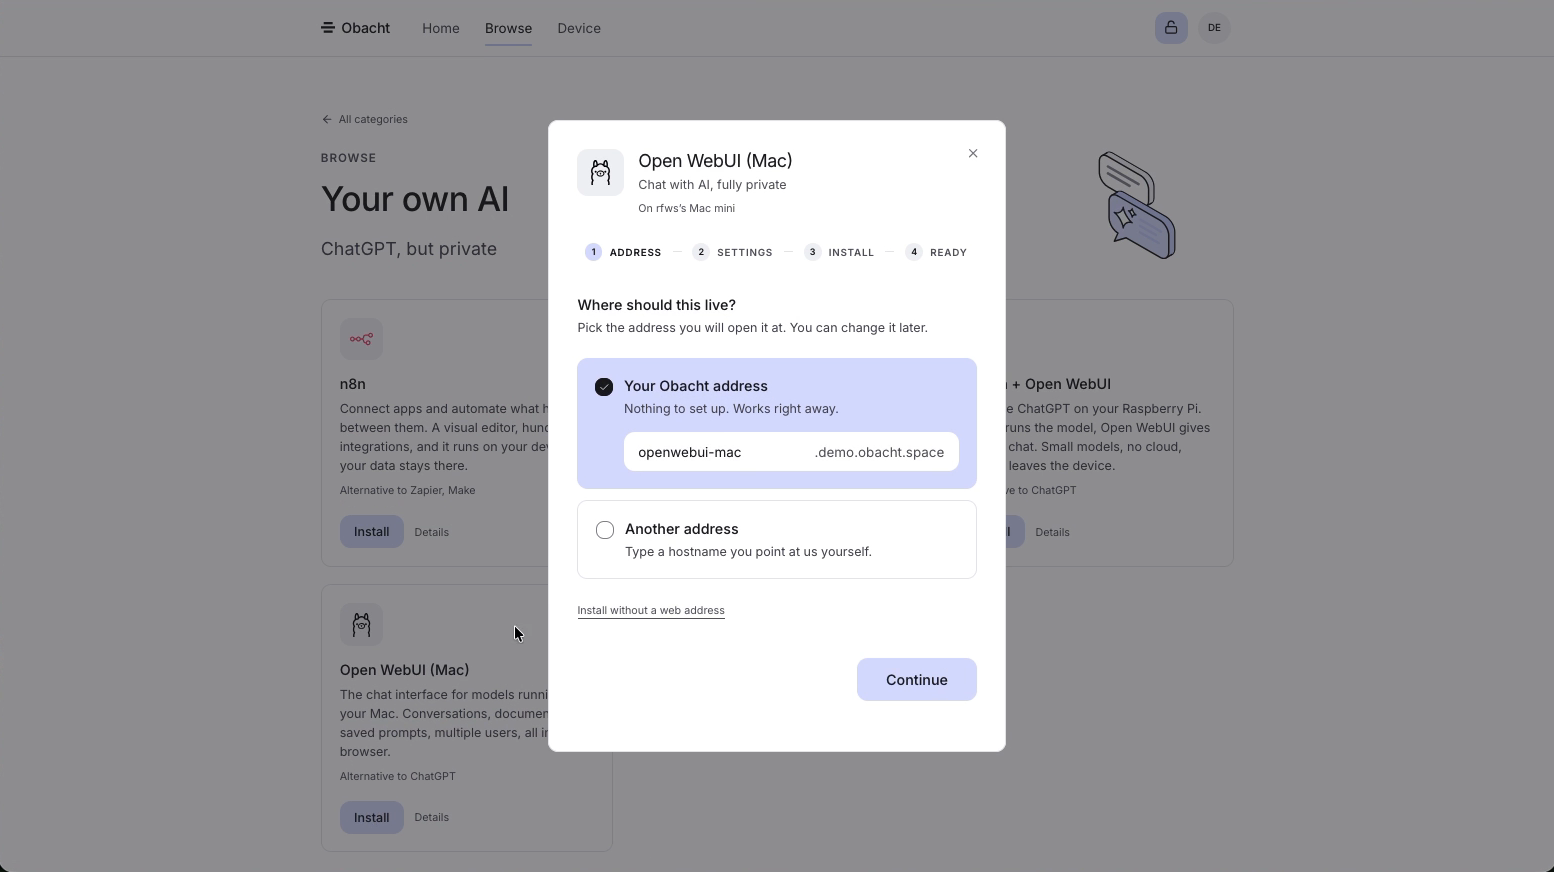
Back in the category, click Install on Open WebUI. This app gets a web address. "Where should this live?" has Your Obacht address preselected: openwebui-mac.demo.obacht.space in the video, or any name you type. Click Continue, keep the settings as they are, install.
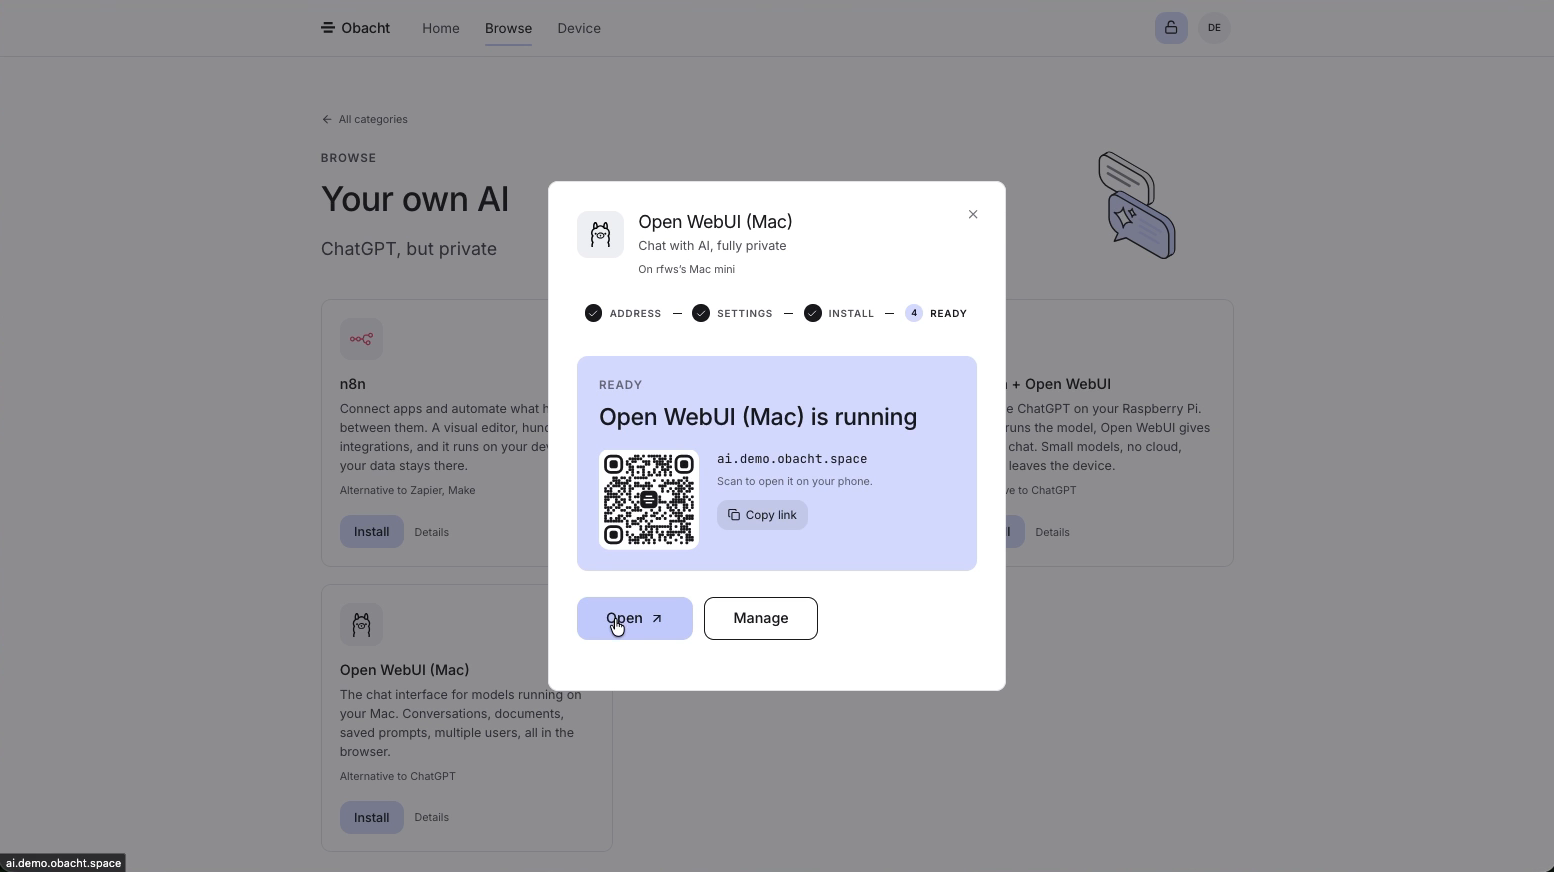
When the stages are done the sheet shows "Open WebUI (Mac) is running" with a QR code. Scan it with your phone, or click Open.
How the install sheet works in general: Install an app.
7. Chat
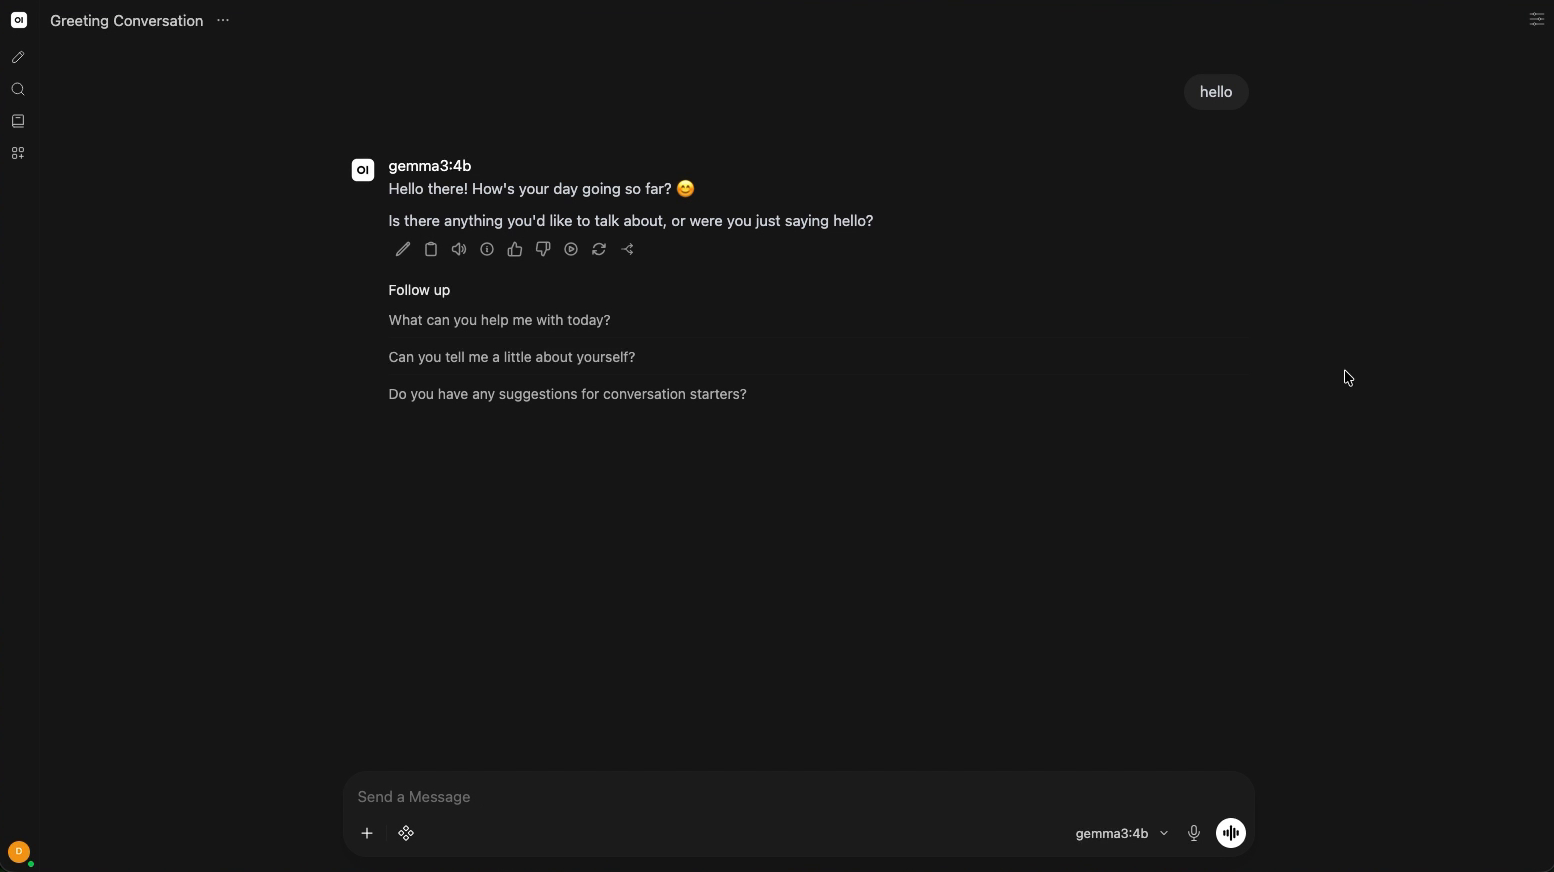
Open WebUI asks you to create its first account (that account lives inside the app, on your Mac). Then you chat. The model answers from your Mac; nothing leaves the machine except the encrypted connection to your browser.
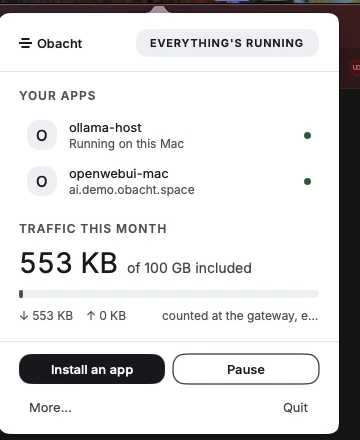
The menu bar panel now lists both apps and the traffic this month.
What happened
- The Mac became a device in your account. Every change to it is signed with your device key. See Signed changes and trust.
- Two apps run on it. One directly on macOS, one in the small virtual machine the Mac app manages. See Where your data lives.
- The chat has a public address with a certificate, and your Mac never opened a port. See How Obacht connects your device.
The video goes on to install a second app, a blog, under Be visible online. Same sheet, same steps.
Next
Do it with your own Mac: Mac with the Obacht app. On a Pi or Linux PC the AI apps are one bundle instead of two, see Install an app.