Create your account
When you are done you have an Obacht account, a mode (easy or advanced) and a web address prefix that is yours. You need an invite code and an email address you can read right now.
Sign up
Open the invite link you got. It takes you to the sign-up page on eu.obacht.dev with your code filled in. Obacht is in a closed pilot: without a code the page says "Public signups are currently disabled. You need an invite code to register."
The form asks for four things:
- Username. 3 to 32 characters, letters, numbers and underscore. It is lowercased.
- Email.
- Password, at least 8 characters, typed twice.
- The checkbox I accept the Terms of Service.
The invite page shows which tier you get ("You will receive the Friends tier for free"). Click Create Account.
Your username becomes your Obacht address: every app you install gets <app>.<username>.obacht.space. An underscore in the username turns into a hyphen in the address. The username cannot be changed later. Pick something you are happy to see in a web address.
Confirm your email
Obacht sends a confirmation link. Click it. The page says "Email confirmed" and sends you to sign in. Without this step you cannot sign in; the sign-in page offers to resend the link if you lost it.
Onboarding
The first sign-in walks you through four steps. You cannot skip them, but each one is short.
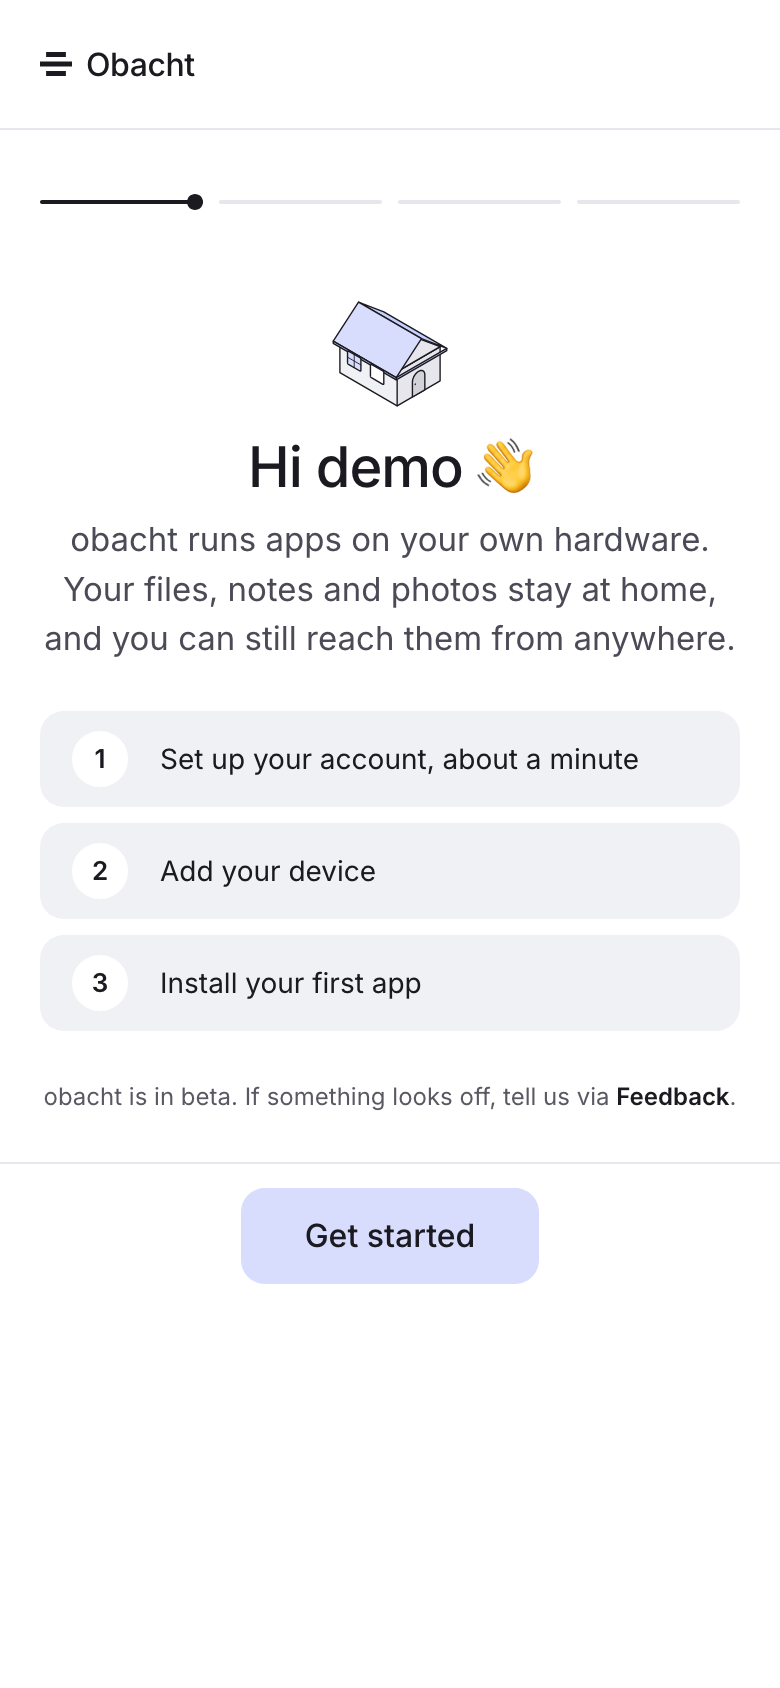
1. Hello
A greeting with your username and a three-point plan of what comes next. There is also a short note about the pilot. Click Get started.
2. Mode
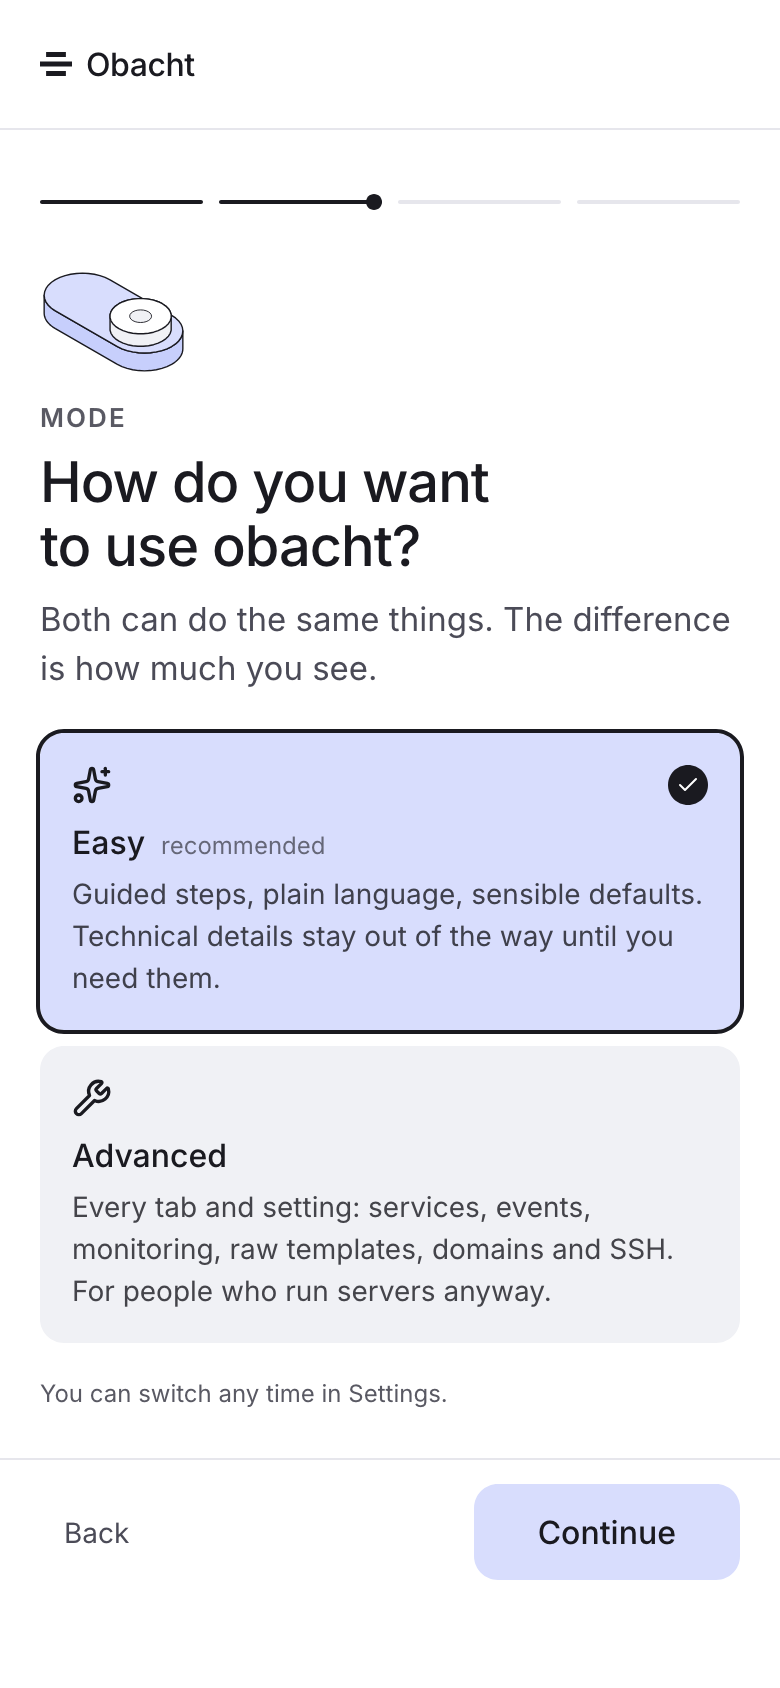
"How do you want to use obacht?" Easy is recommended and is the default for new accounts. Advanced shows every tab and uses technical words. You can switch any time in Settings. The differences are on Easy and advanced mode.
3. Address (easy mode only)
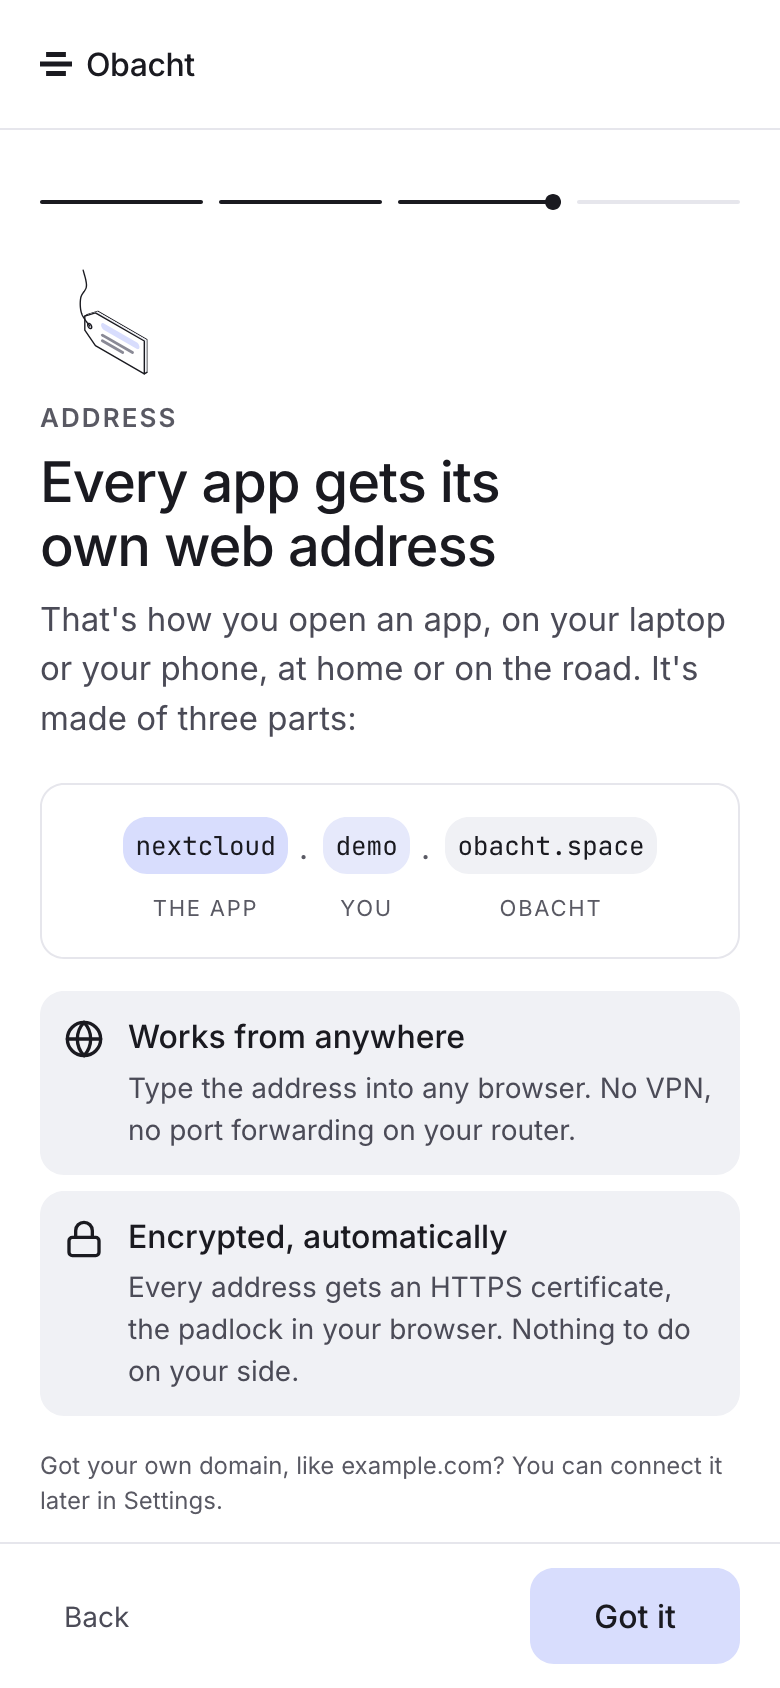
"Every app gets its own web address." The page shows how an address is built: nextcloud . you . obacht.space. The first part is the app, the middle part is your username. Addresses work from anywhere and are encrypted automatically. Using a domain you already own comes later, in Settings.
4. Rules
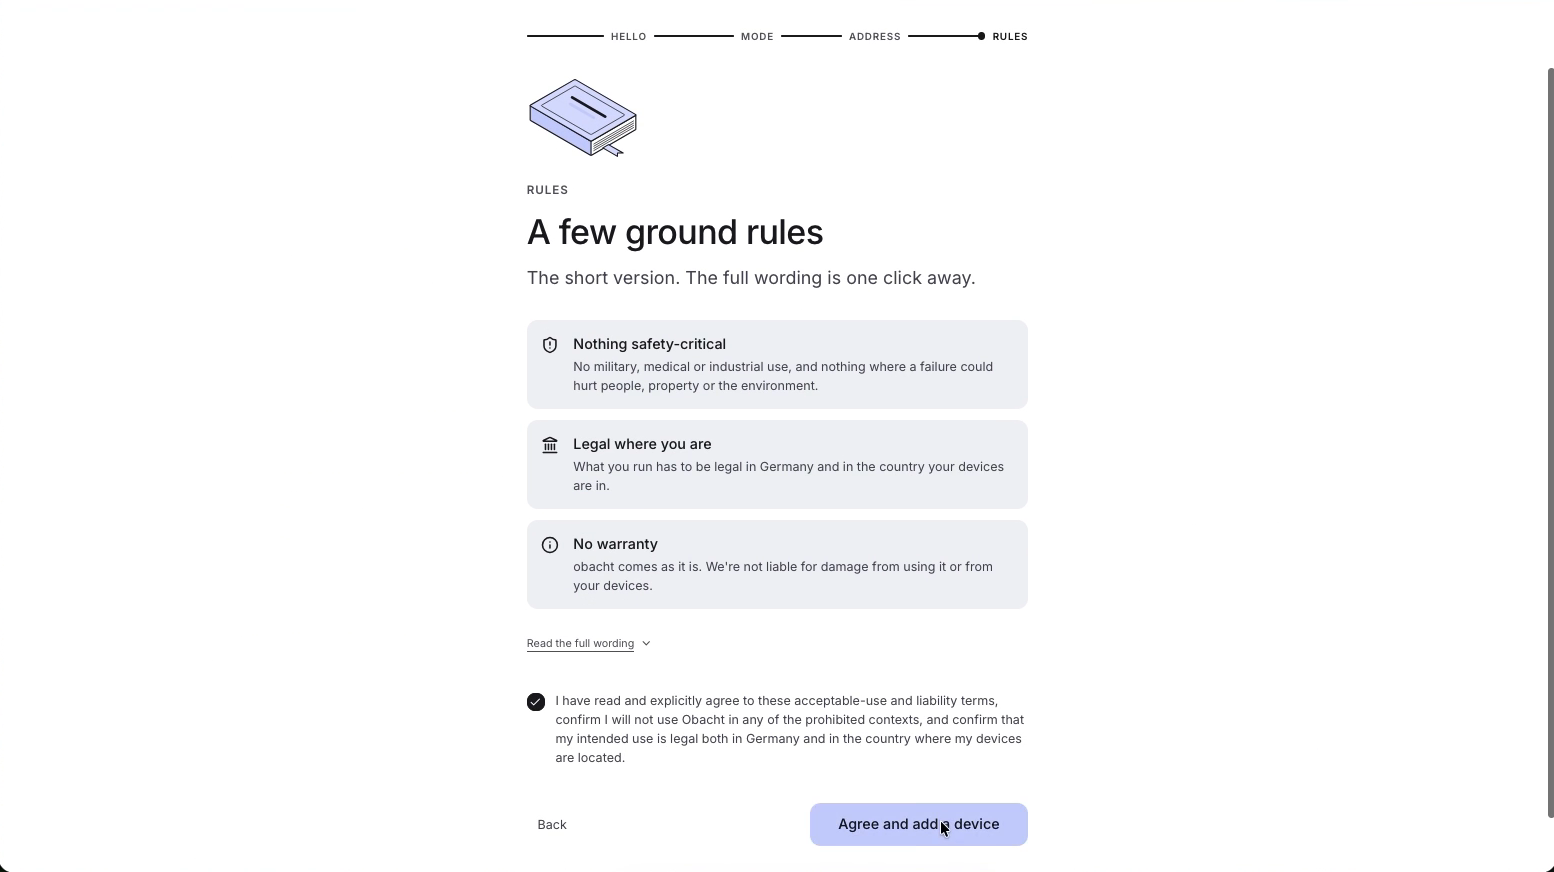
Three tiles:
- Nothing safety-critical. Do not run anything on Obacht where a failure could hurt someone or cost real money. There is no uptime promise.
- Legal where you are. What you run has to be legal in Germany and in the country the device is in.
- No warranty. Obacht is pilot software on your own hardware. If it breaks, it breaks.
Read the full wording opens the terms. Tick the consent checkbox and click Agree and add a device (easy) or Agree and continue (advanced).
After onboarding
Easy mode takes you straight to "What are you adding?", the page where you add your first device. Advanced mode opens the Devices table with the Add Device dialog.
Your device key (the SSH key that signs every change you make) is not created yet. That happens the first time you add a device.
Next
Which device? if you have not decided, or go straight to Mac with the Obacht app, Raspberry Pi with an SD card or Pi or Linux PC with one command.