Templates & Domains
1. Installing a Template
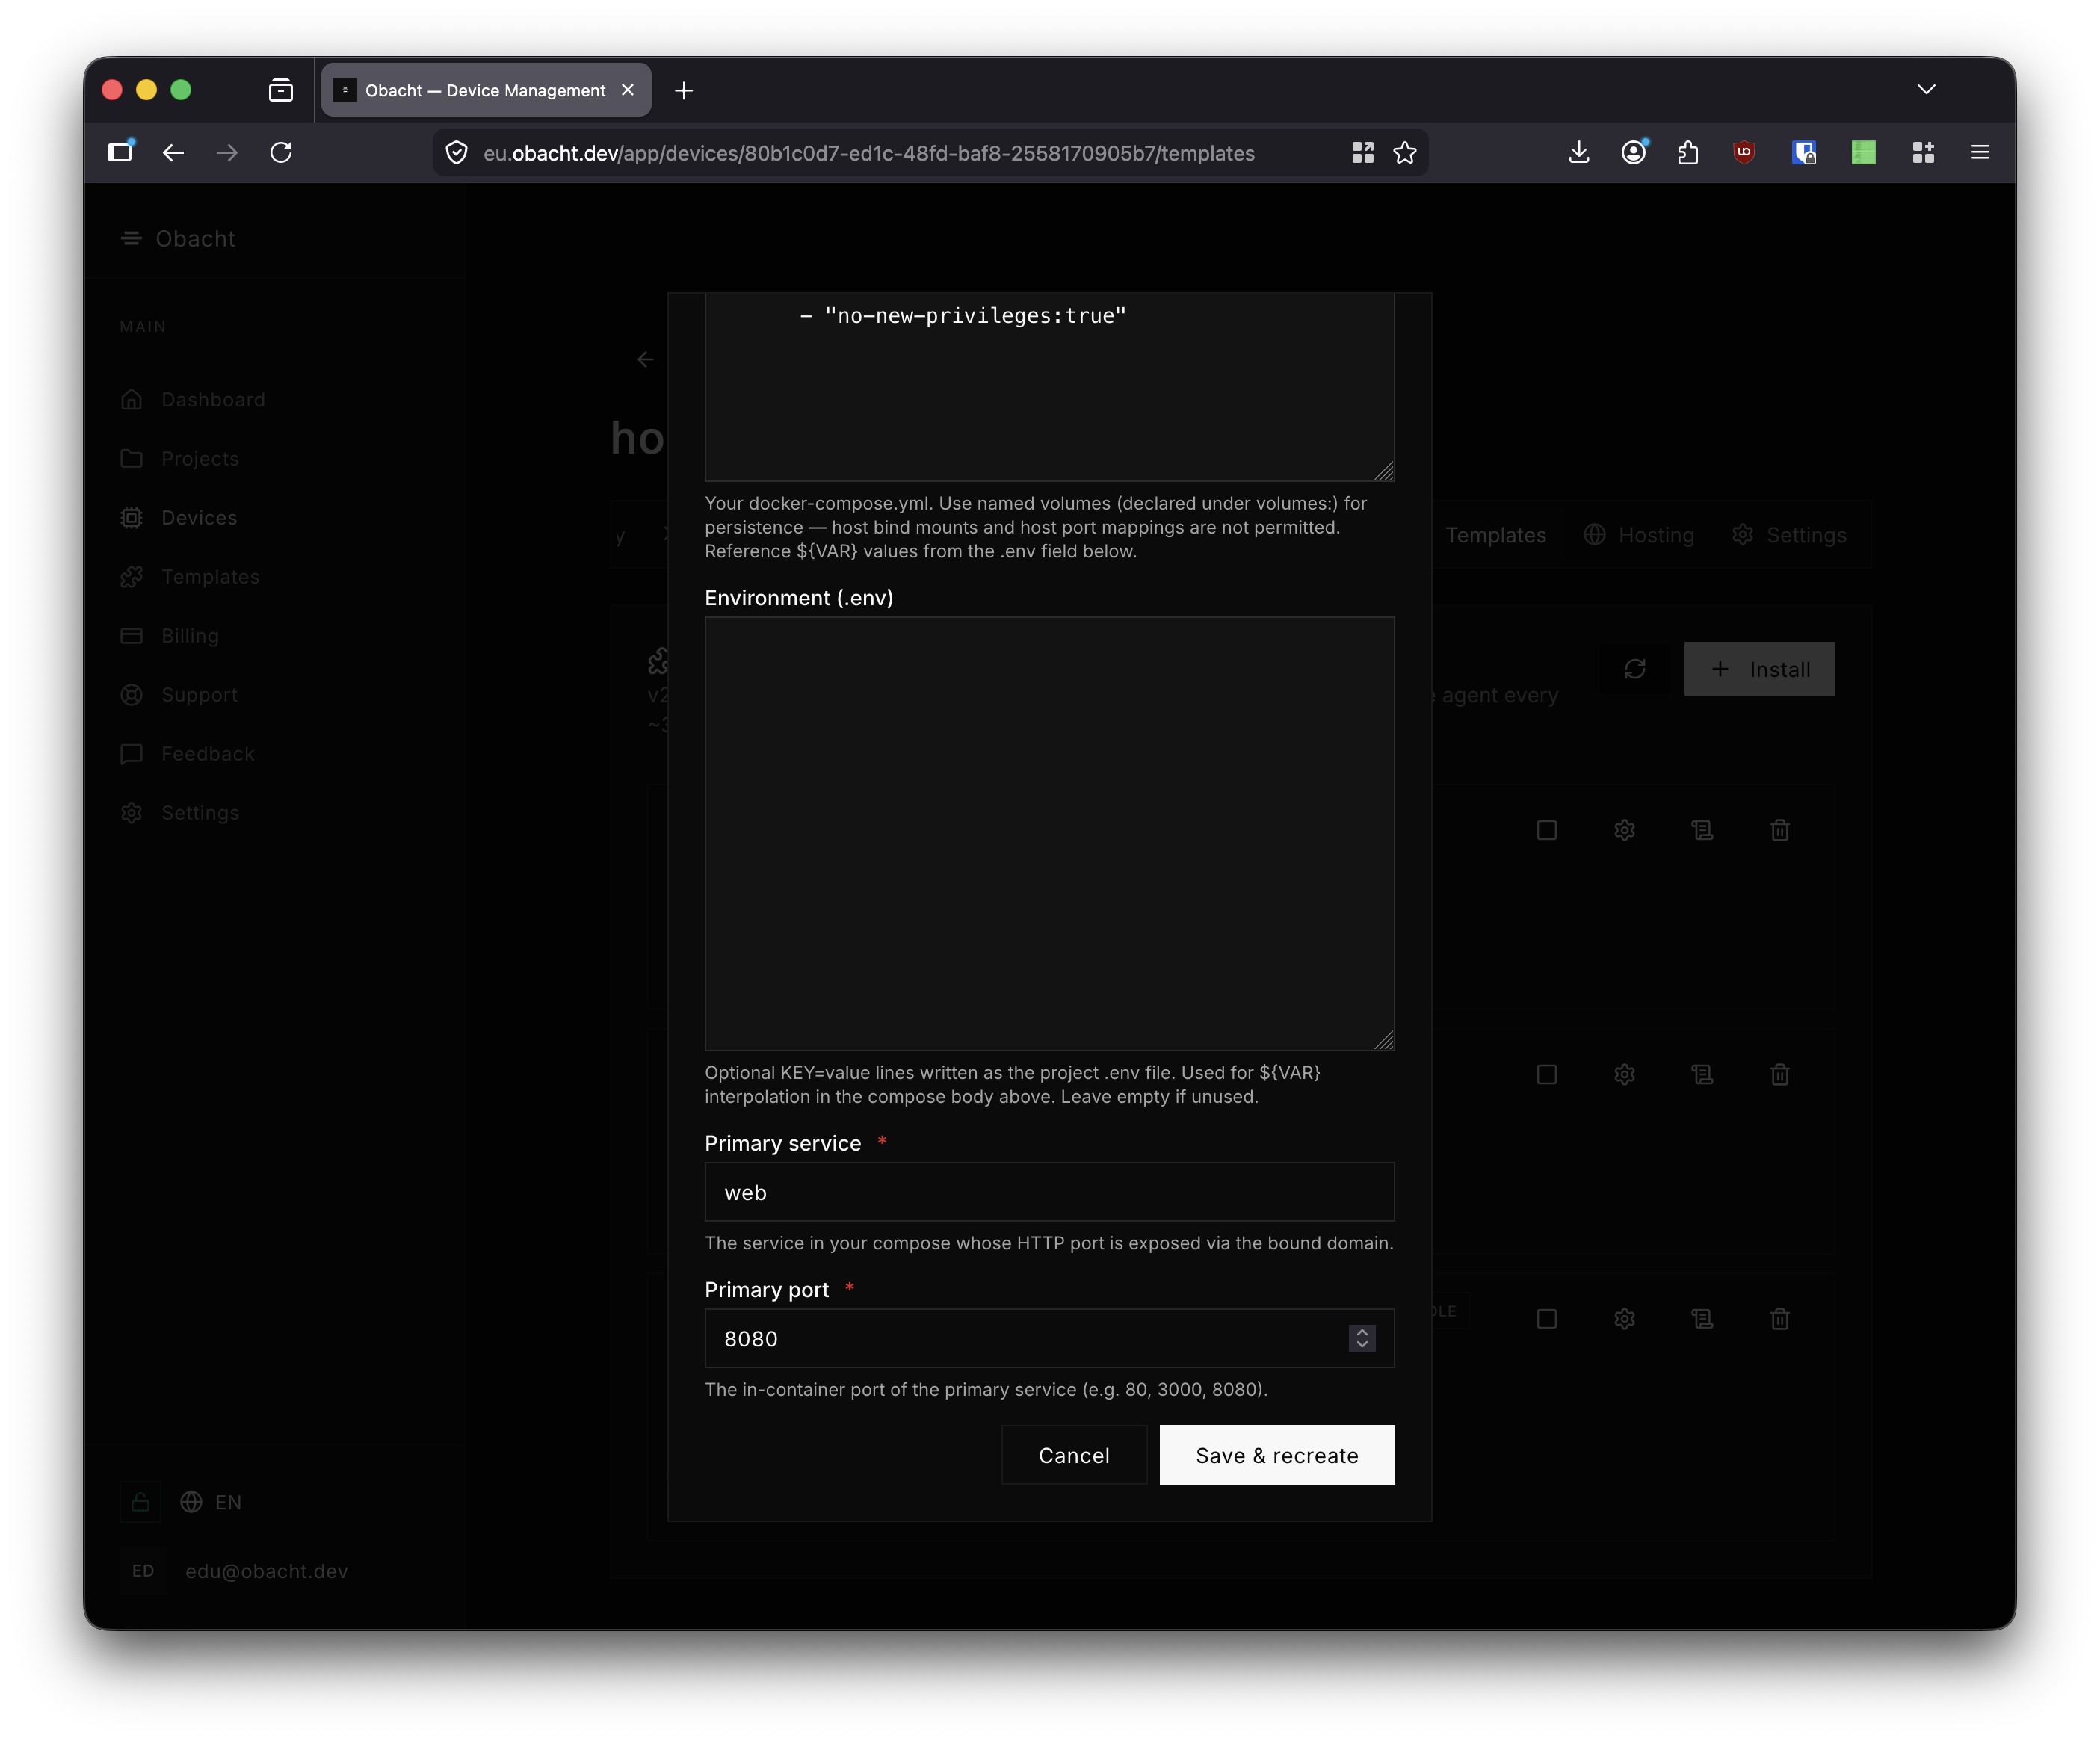
Go to the Templates tab on a device and click + Install.
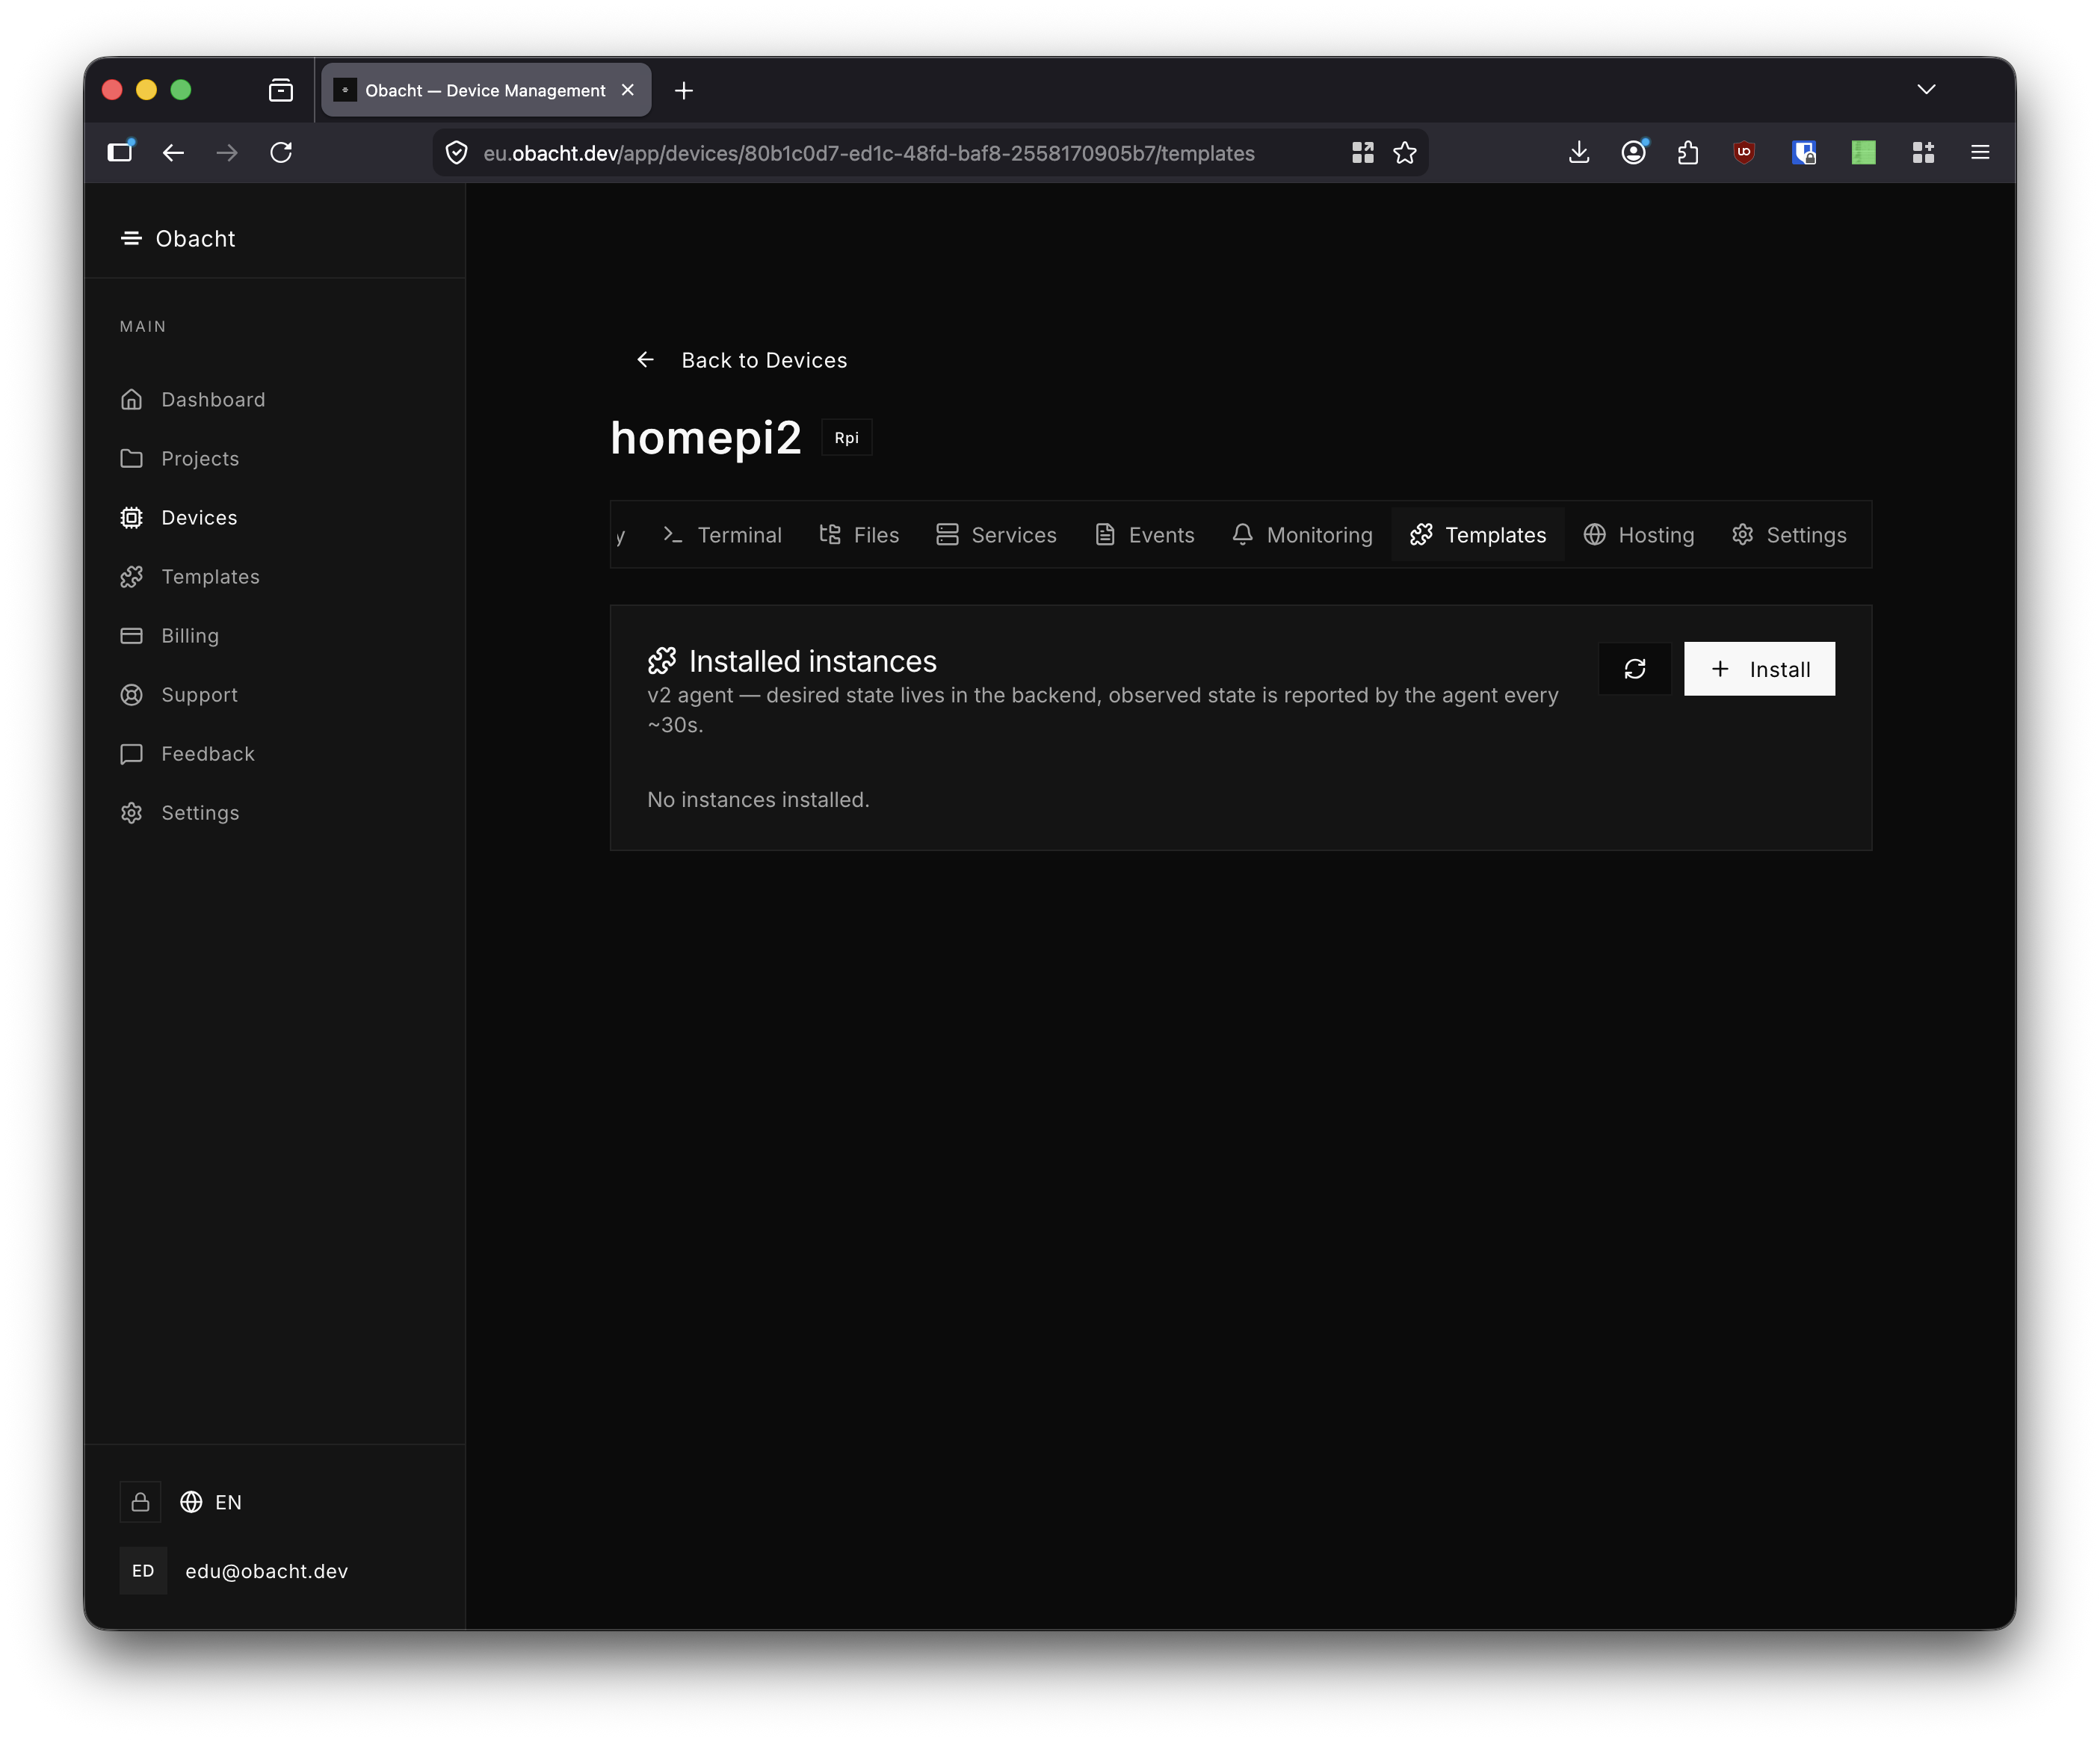
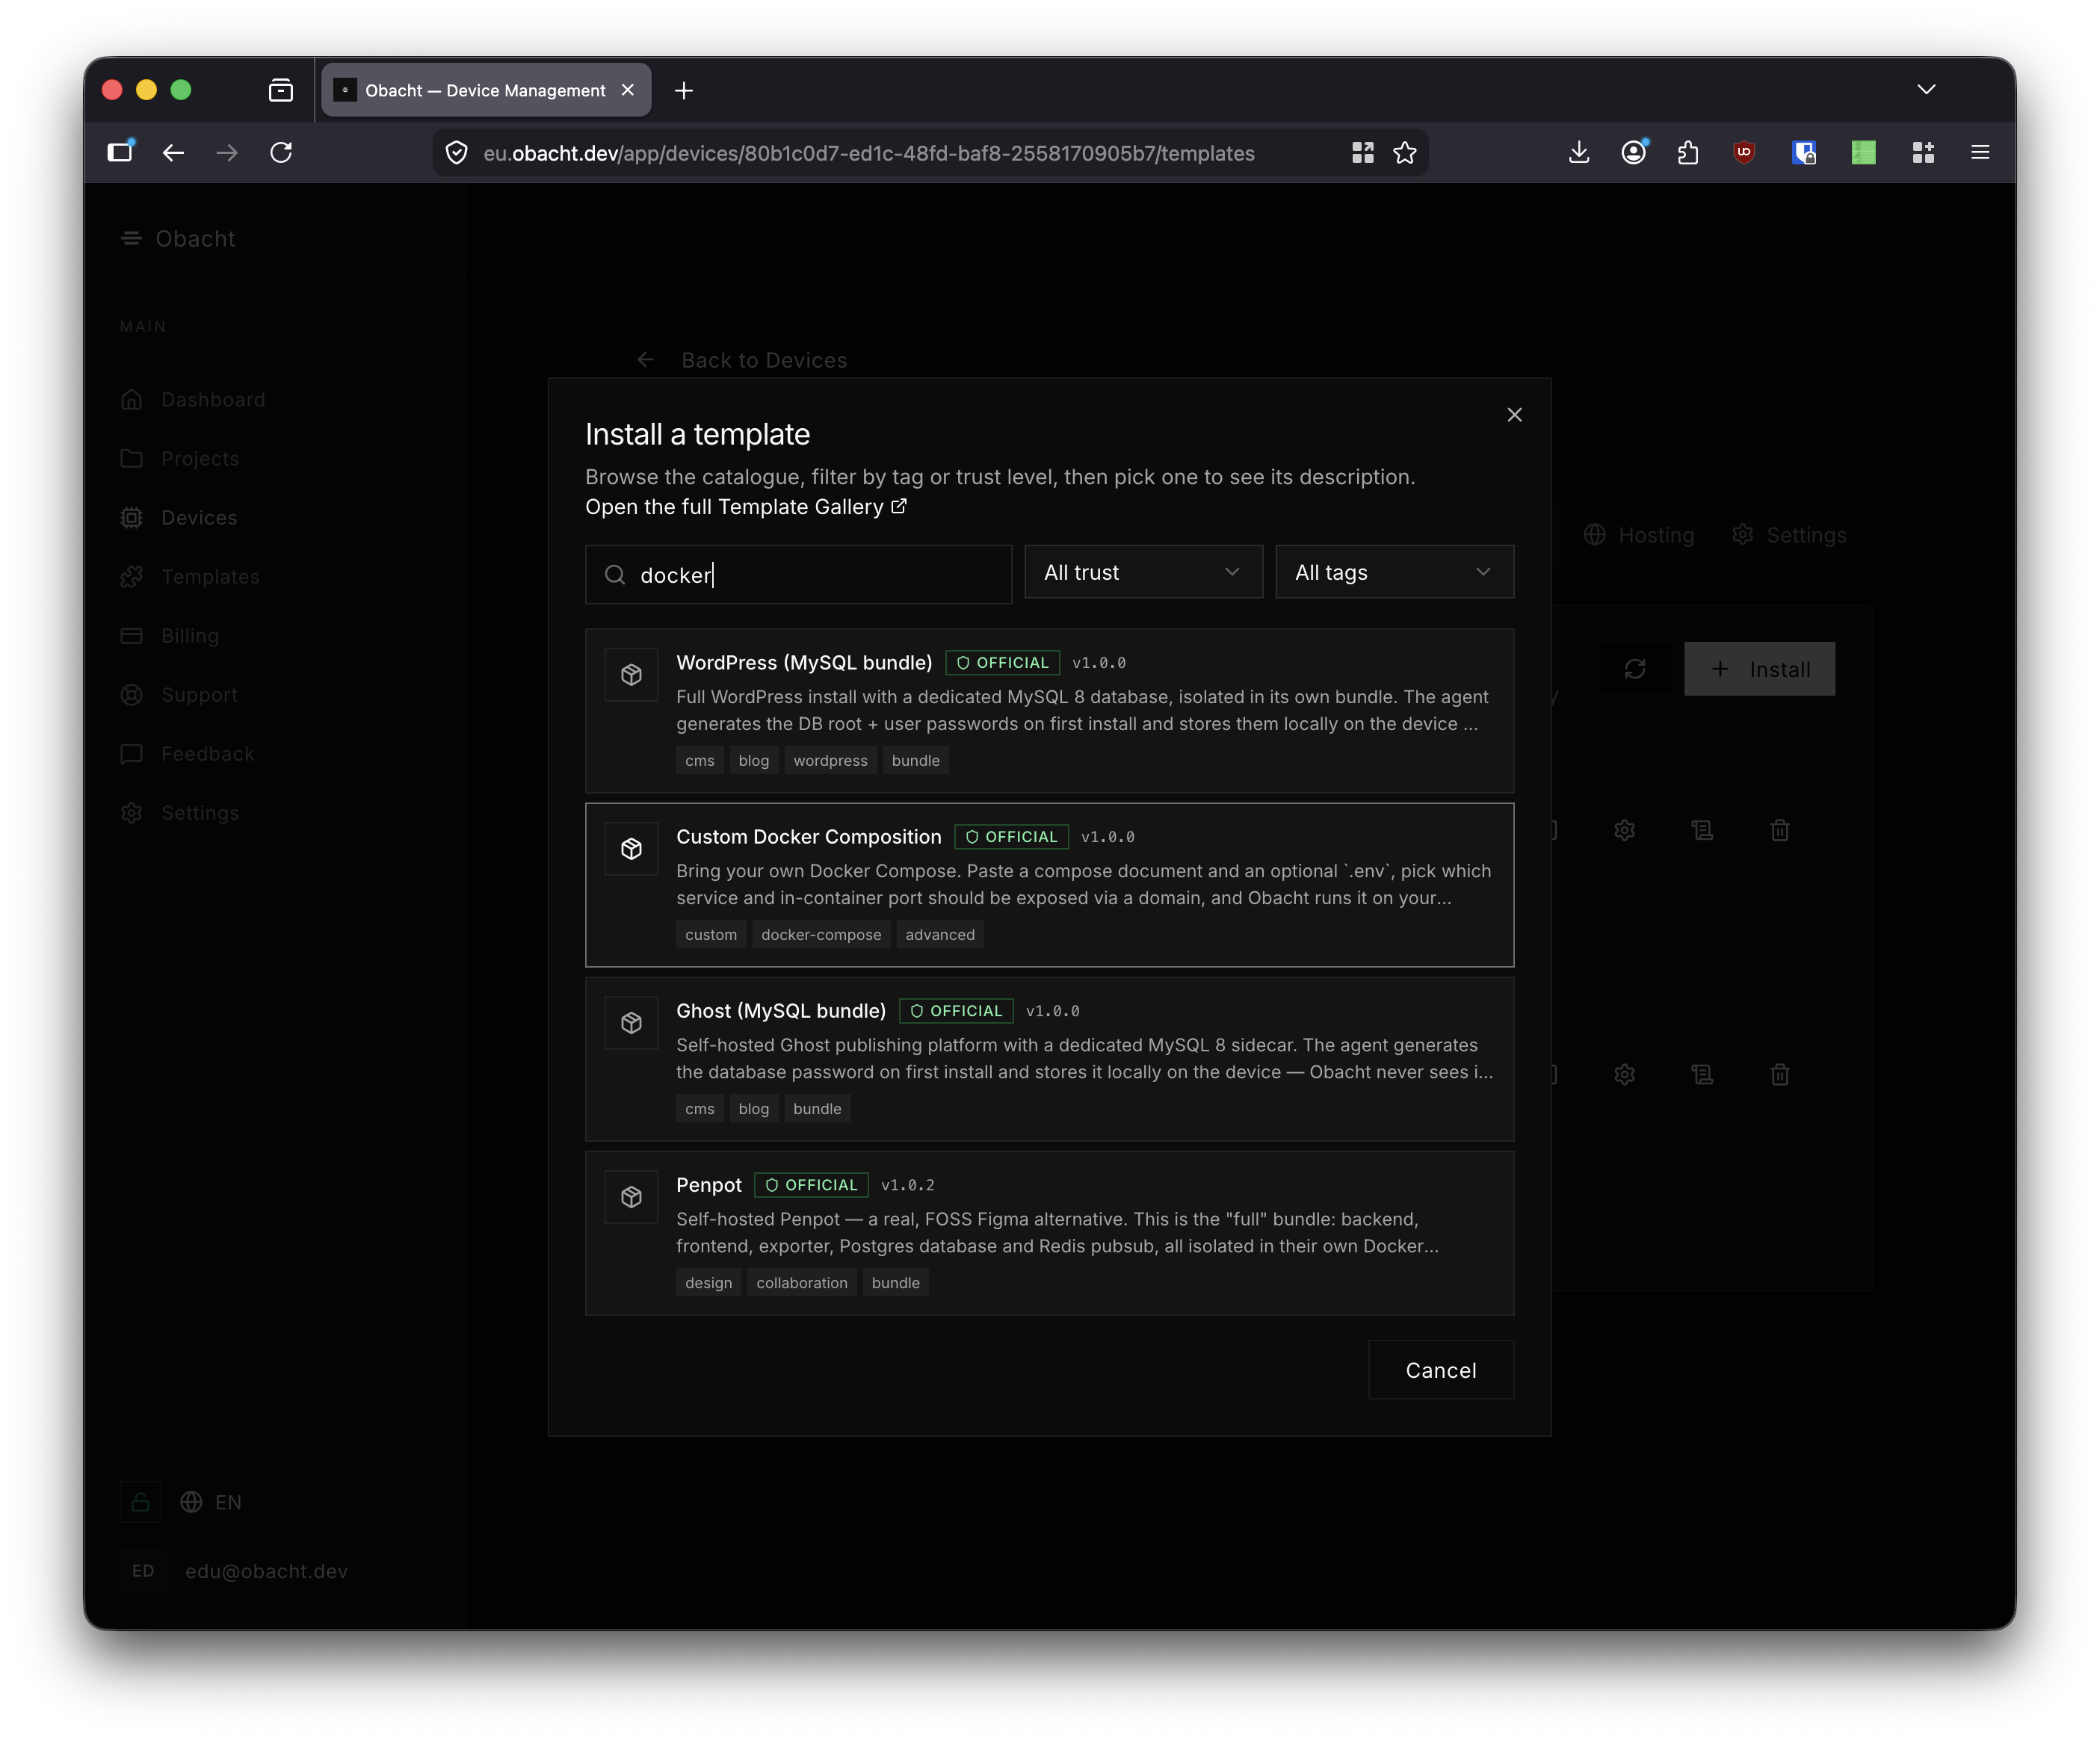
The template catalog opens. Browse or search by name, tag, or description. Select a template to see its full description.
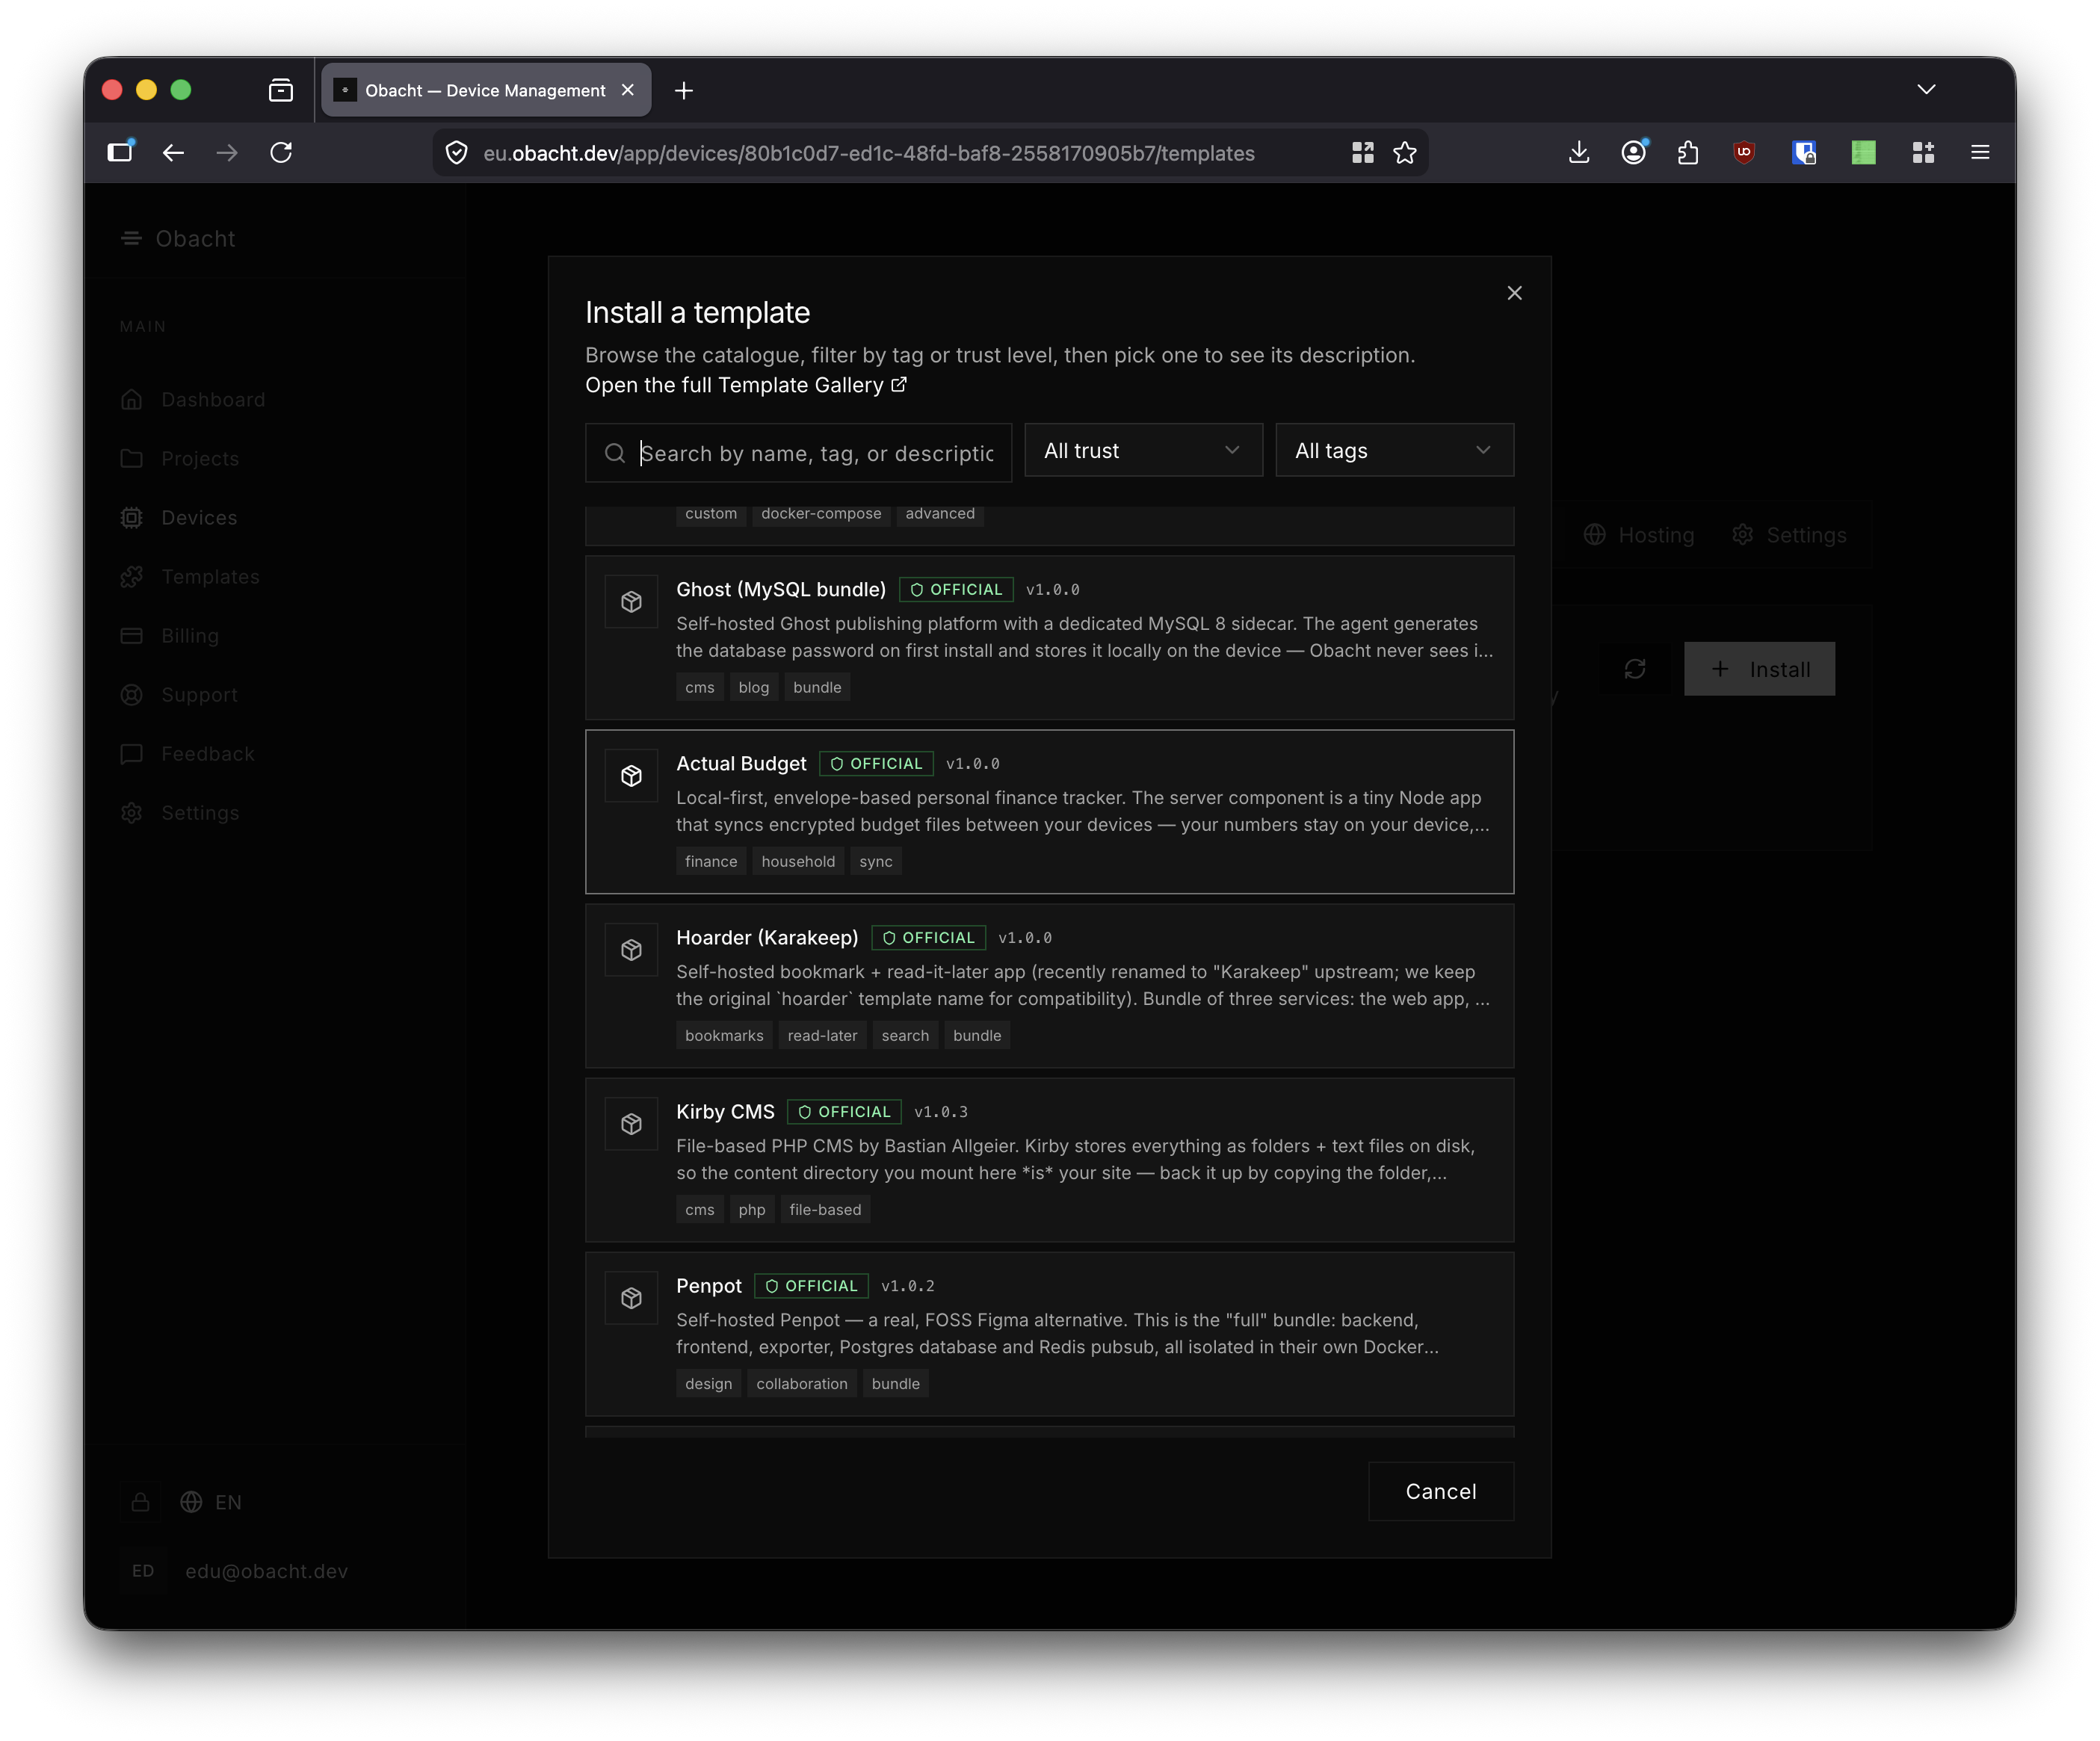
Review the template details and optionally set an instance name. Click Install.
The agent pulls the Docker image and starts the container. This takes 1–3 minutes depending on connection speed. Desired state shows installed, observed state updates as the agent reports in.
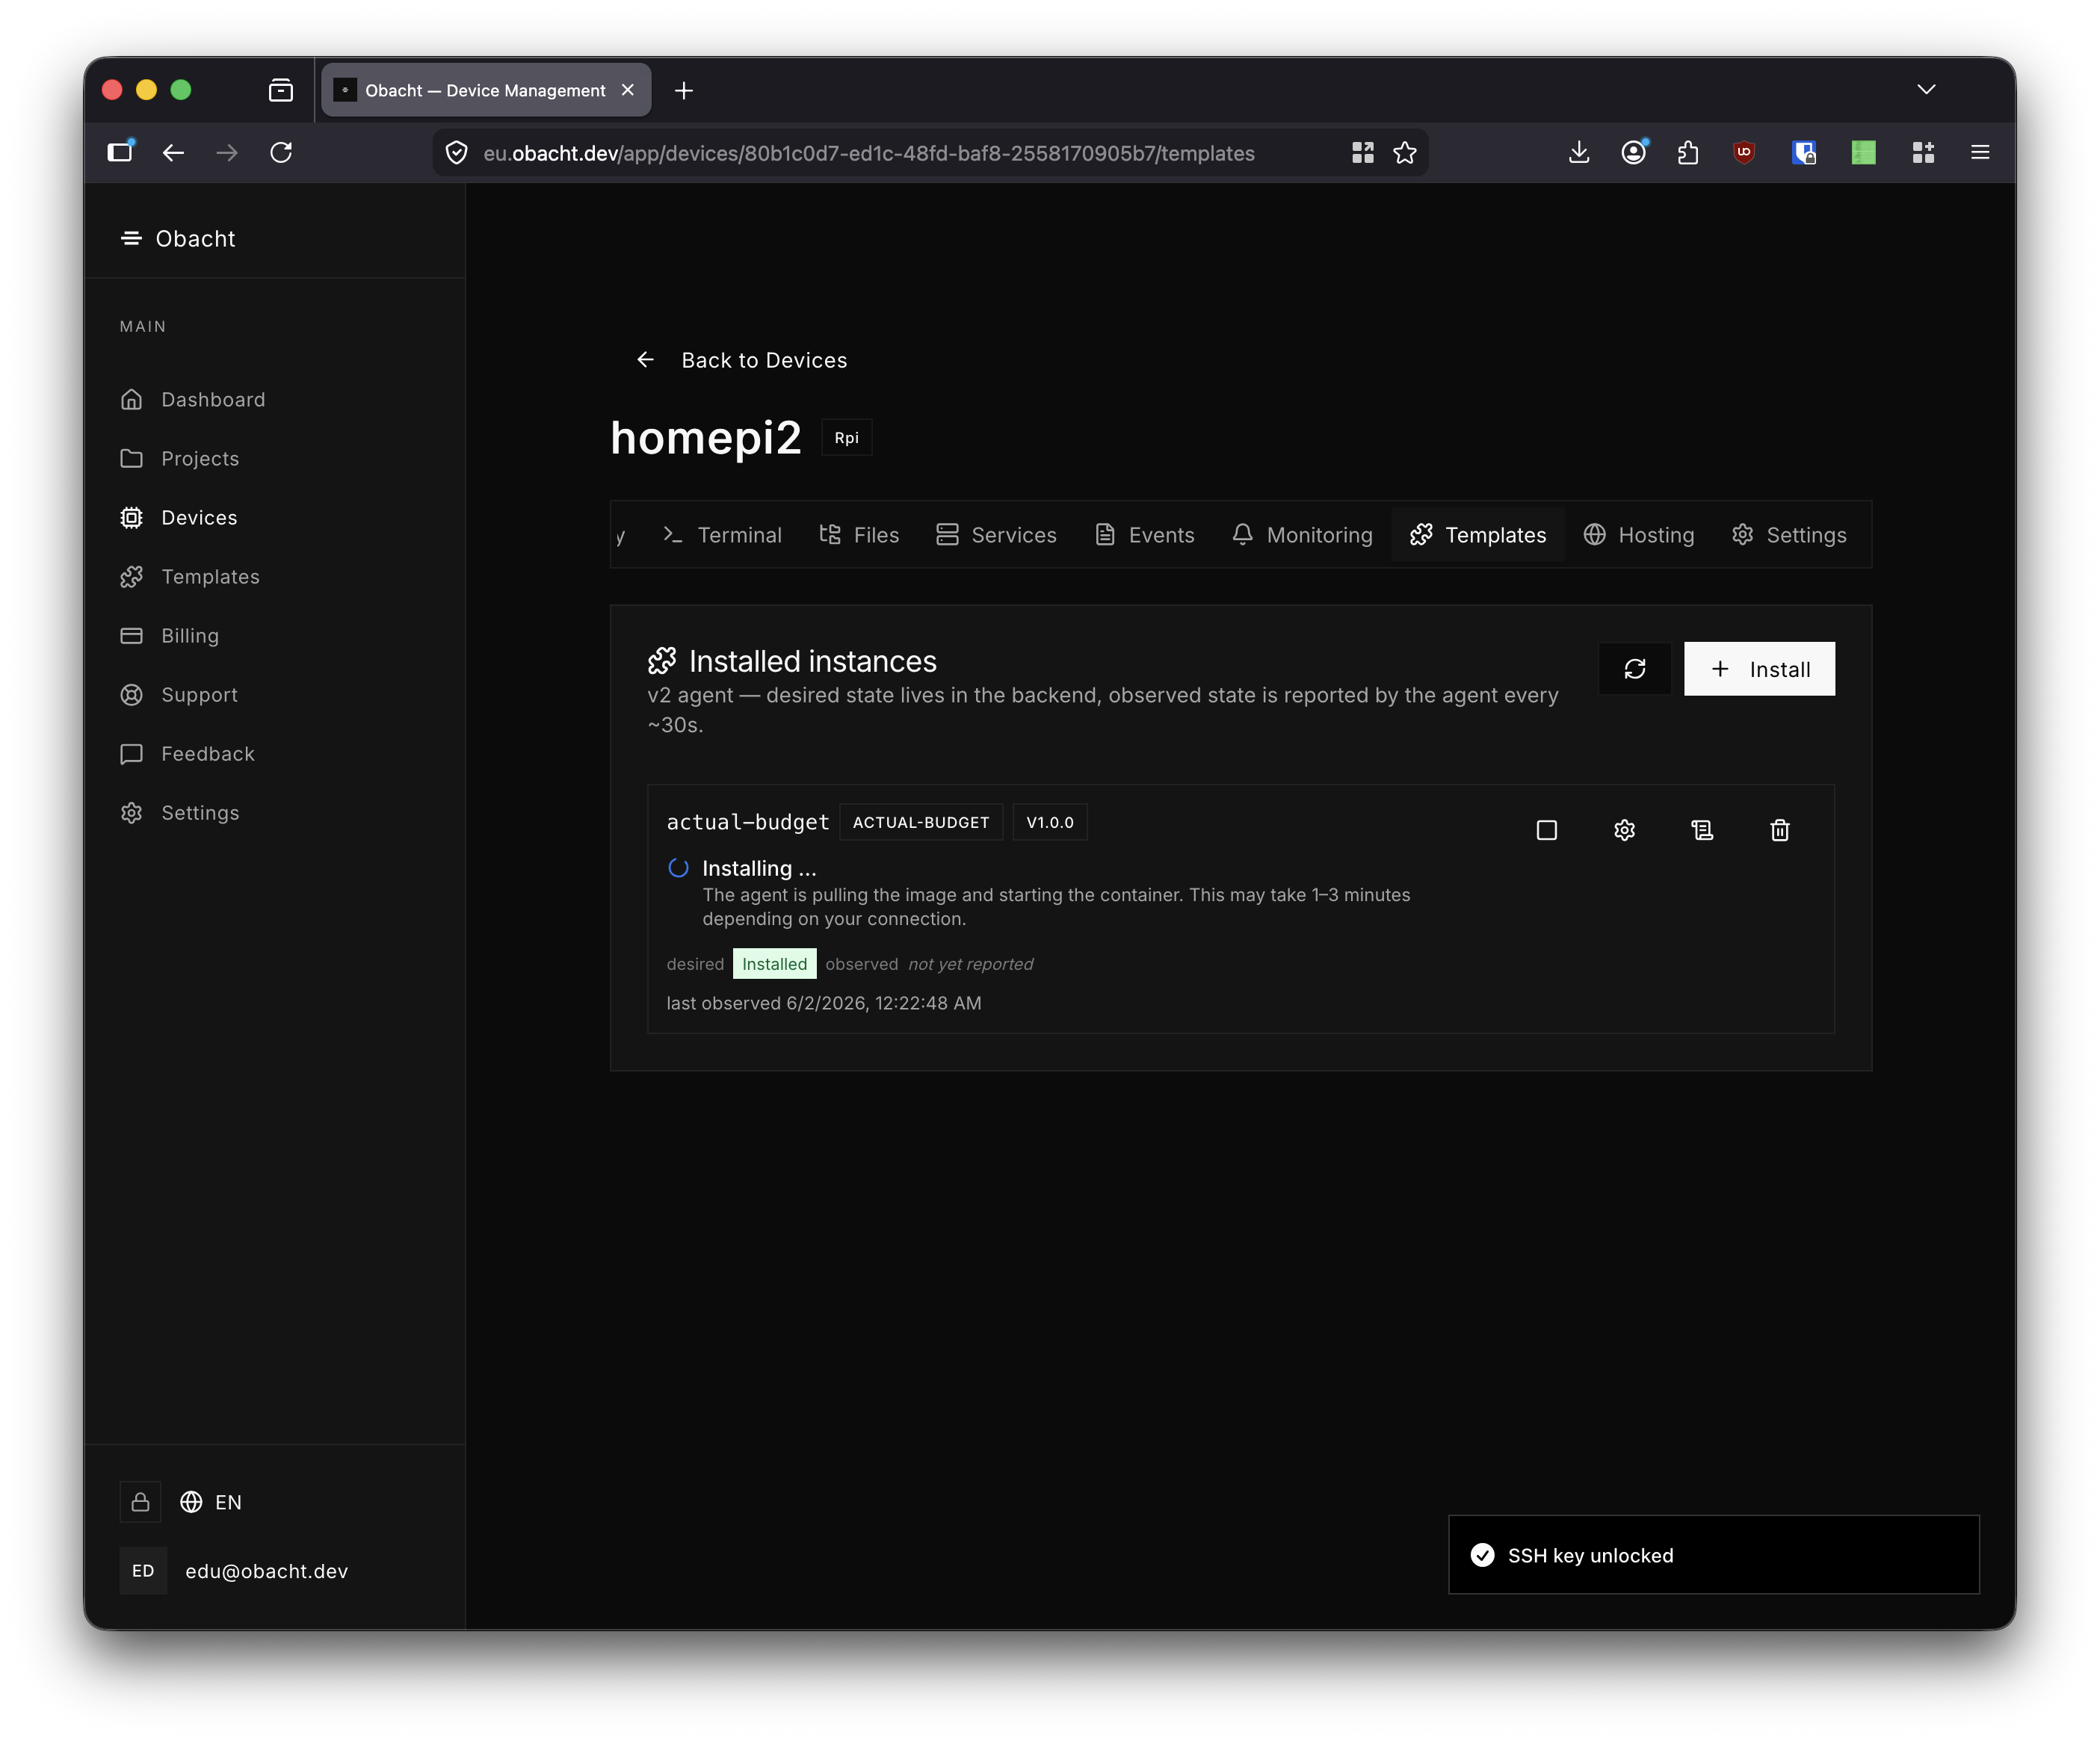
Once the container is up and healthy, the instance shows Running.
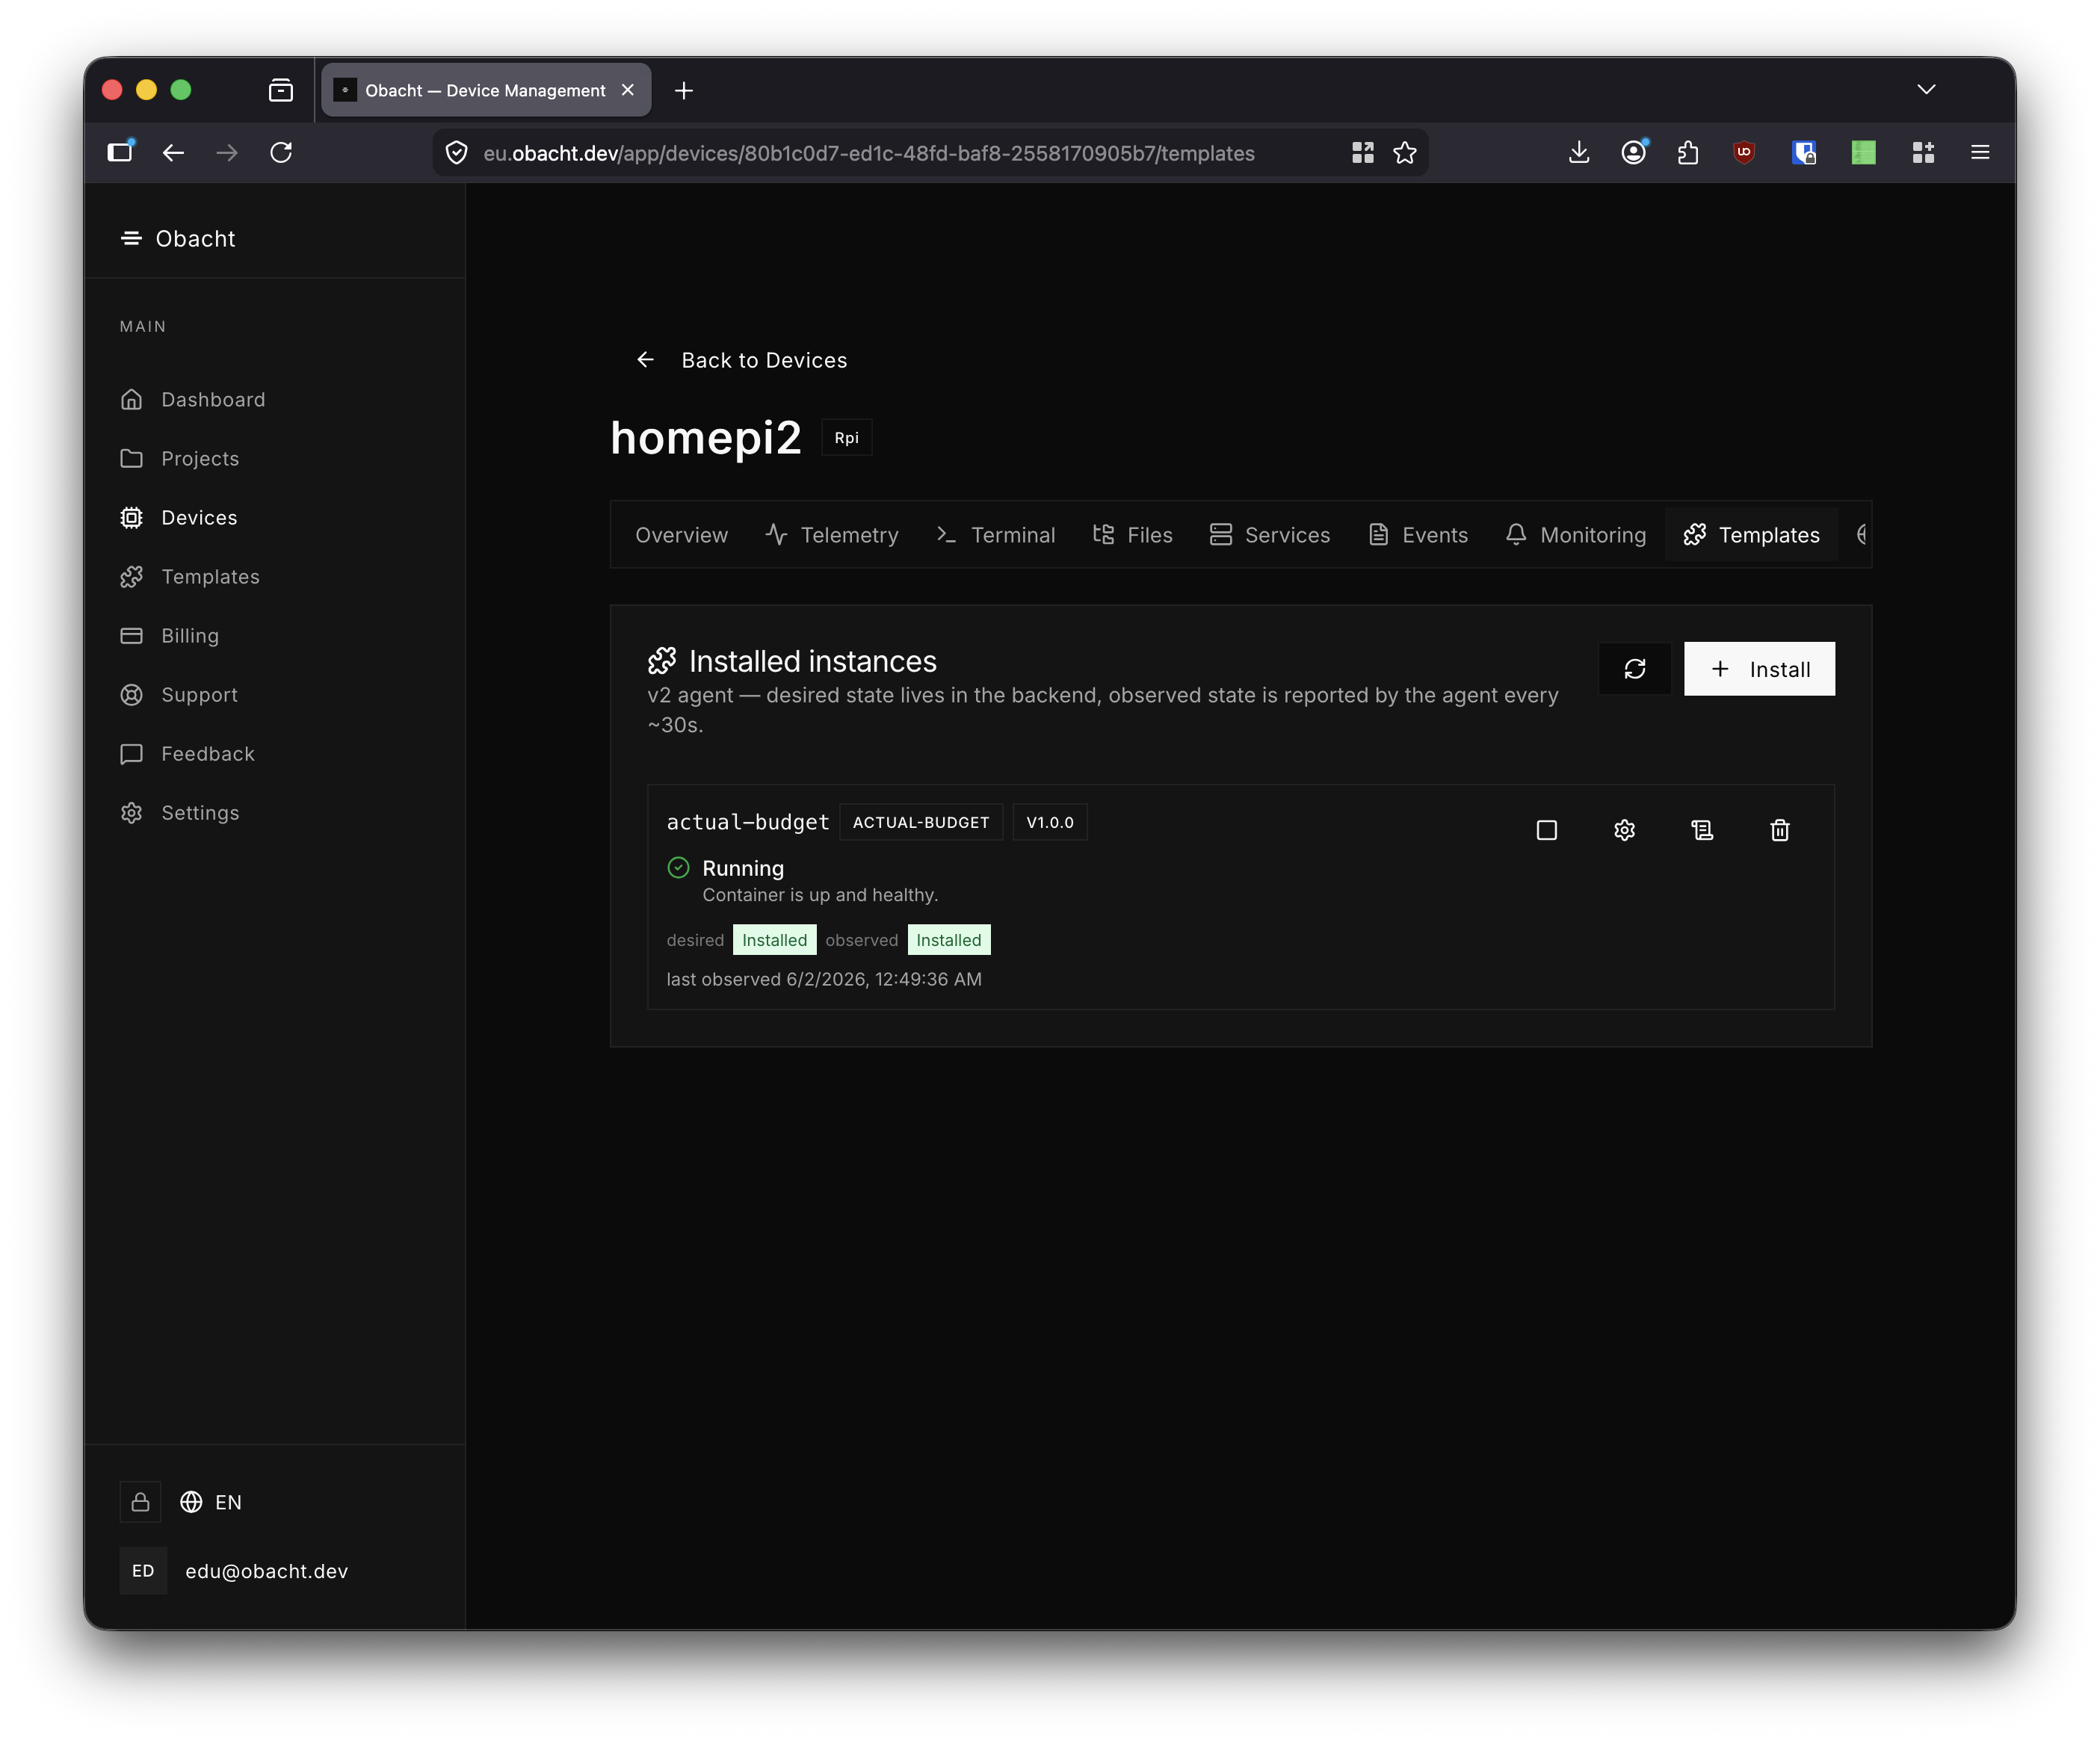
Use the configure icon on the instance row to edit settings (data directory, passwords, etc.) after installation. Saving recreates the container with the new values.
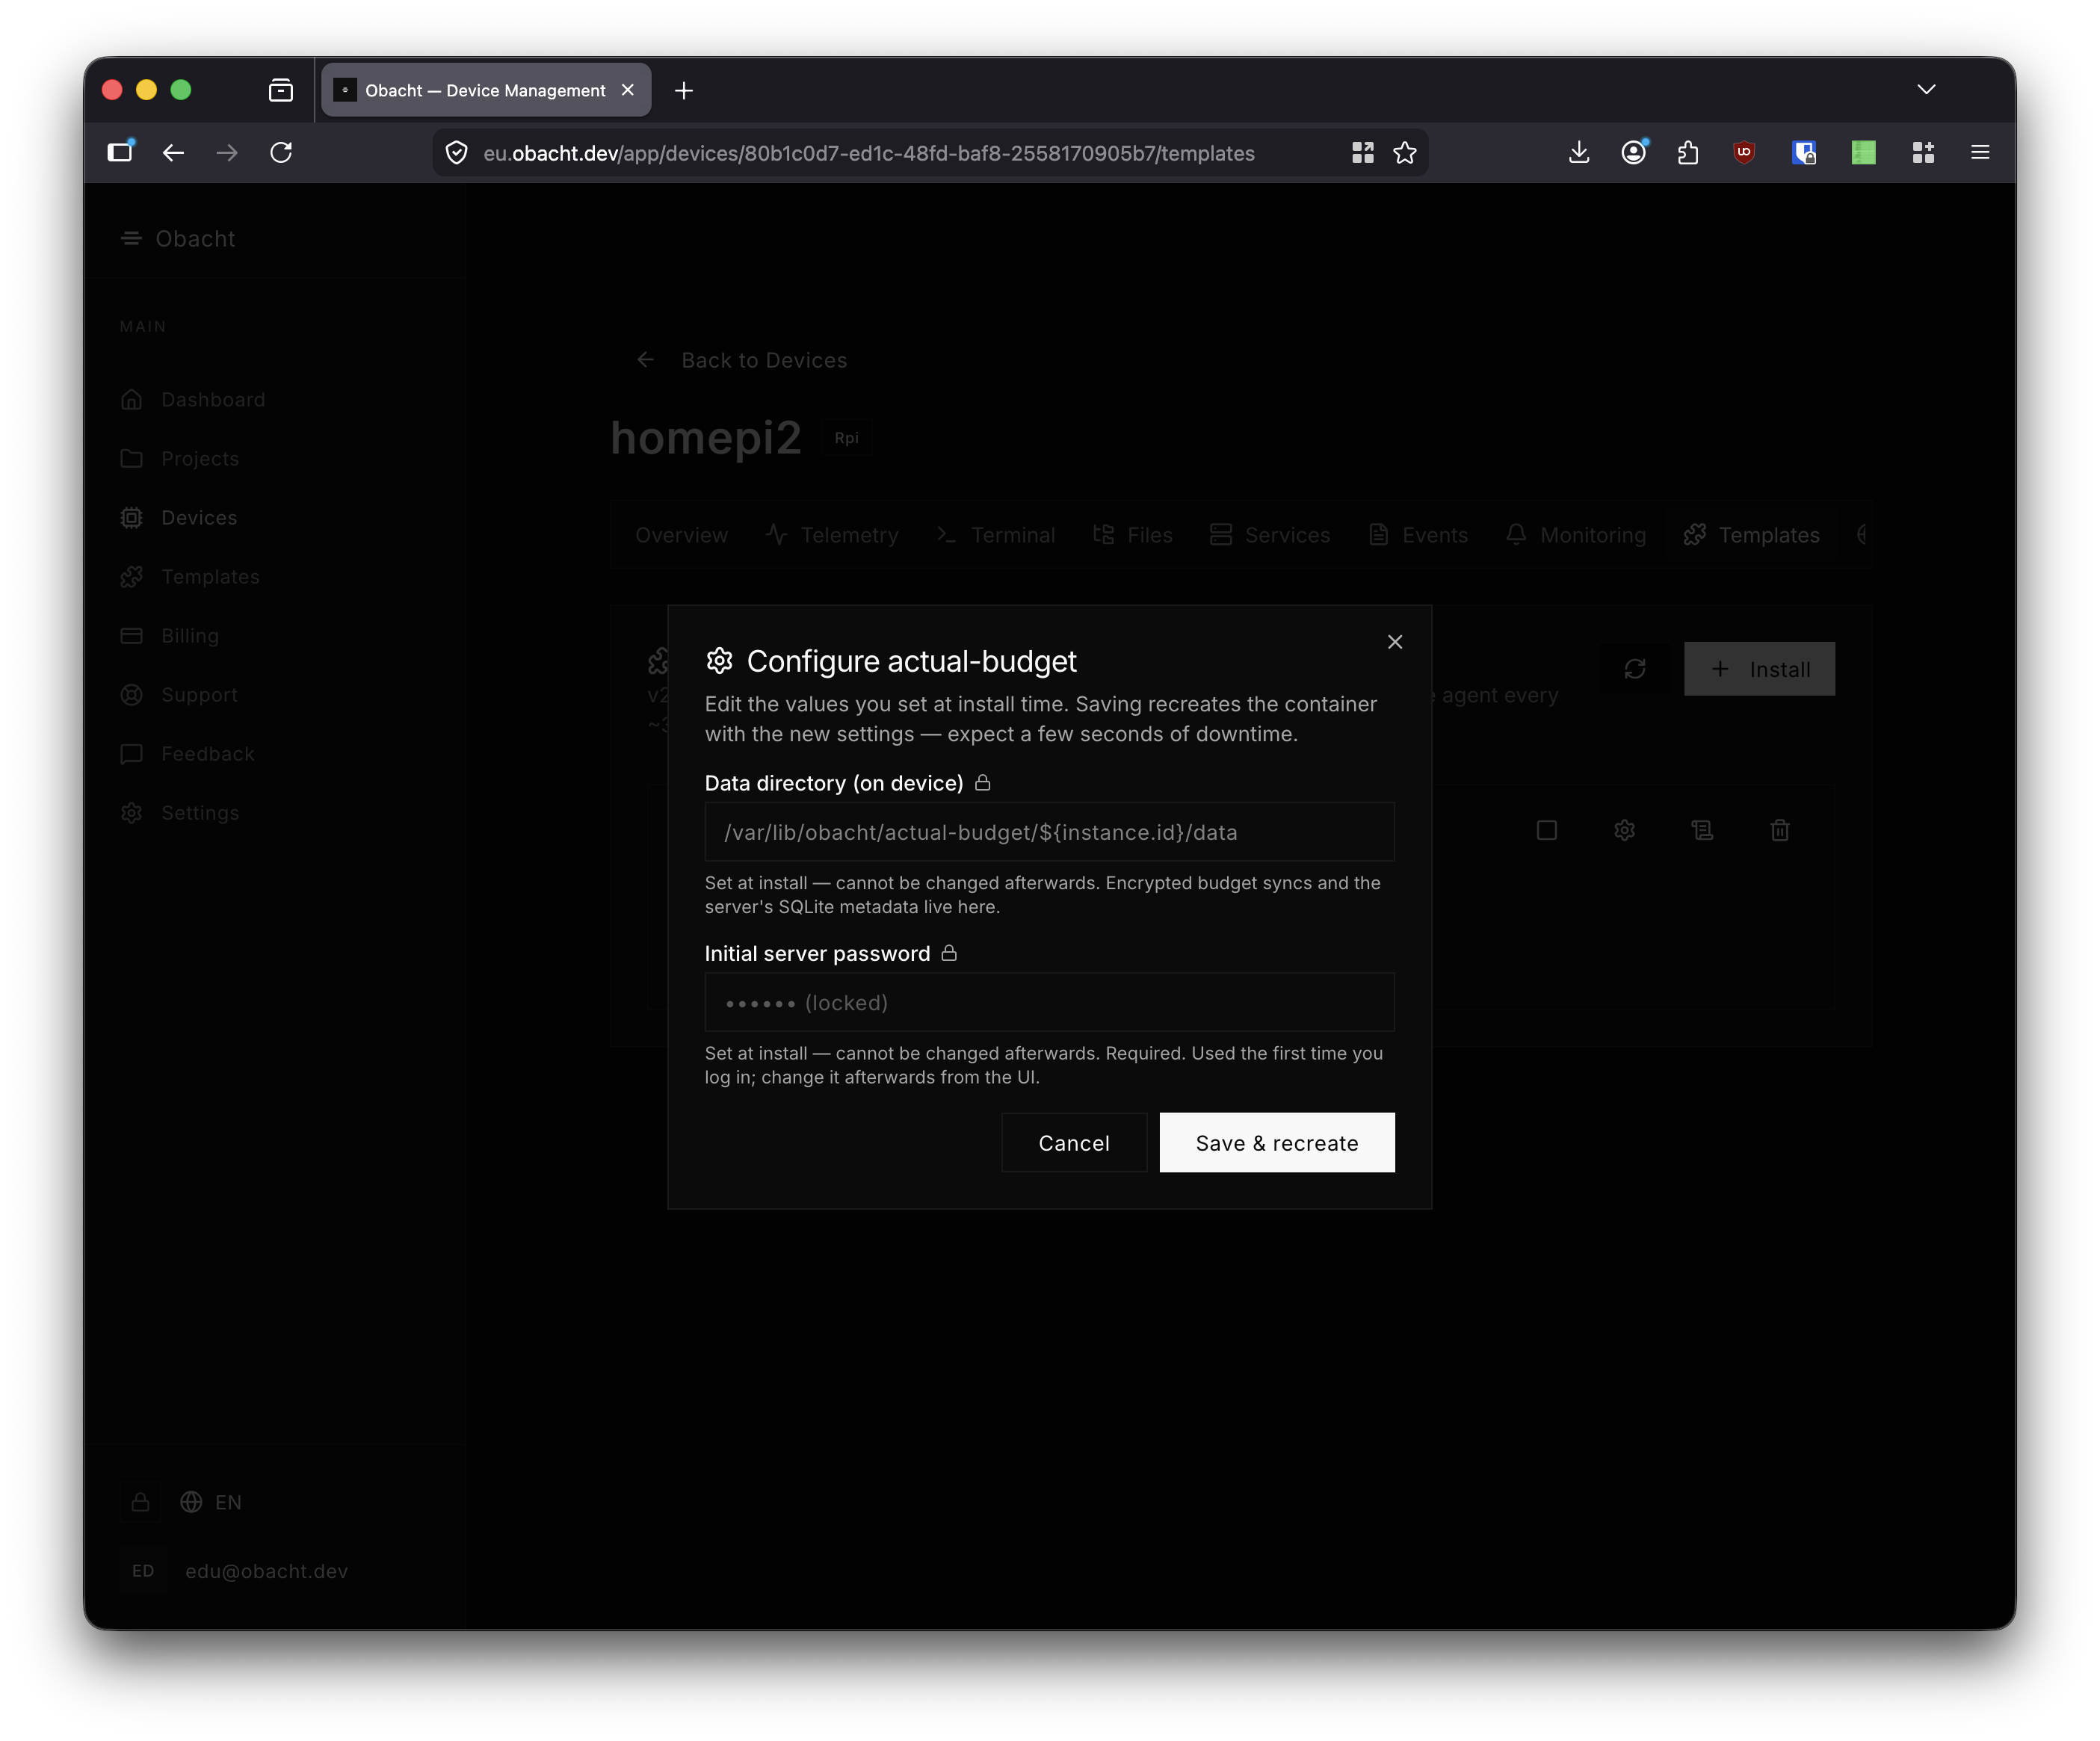
2. Adding a Domain
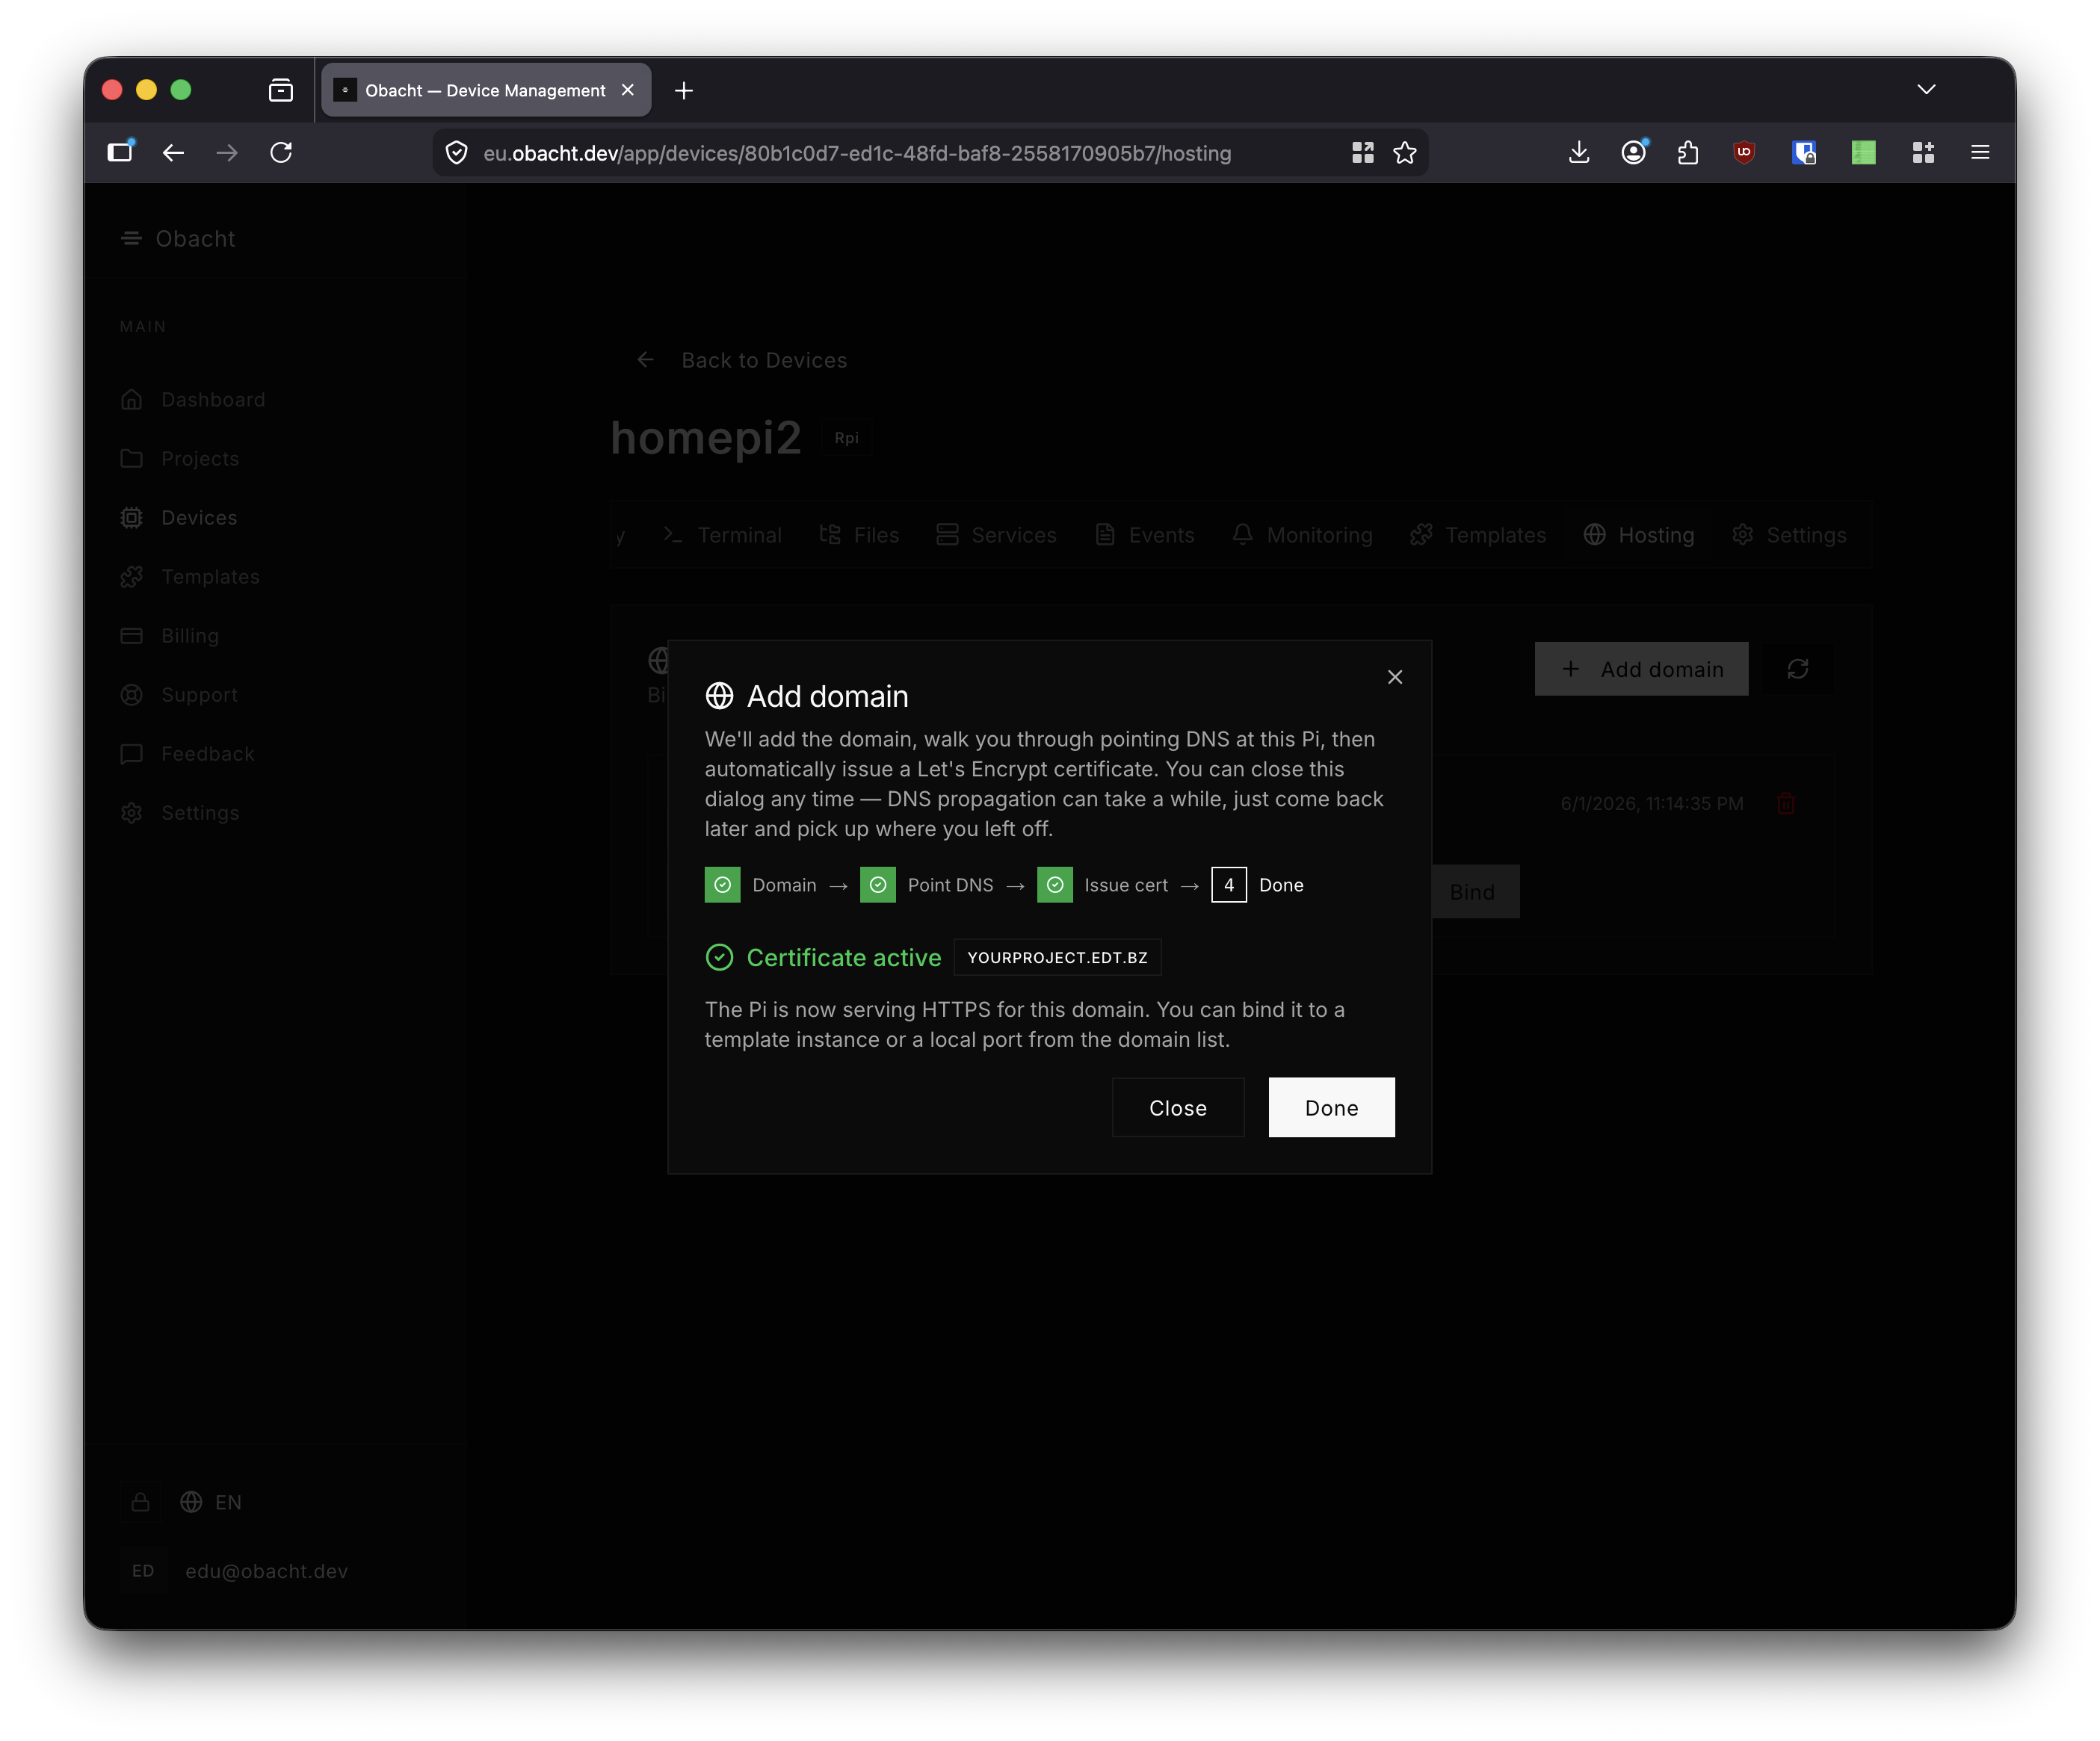
Go to the Hosting tab and click + Add domain. The wizard walks through four steps: Domain → Point DNS → Issue cert → Done.
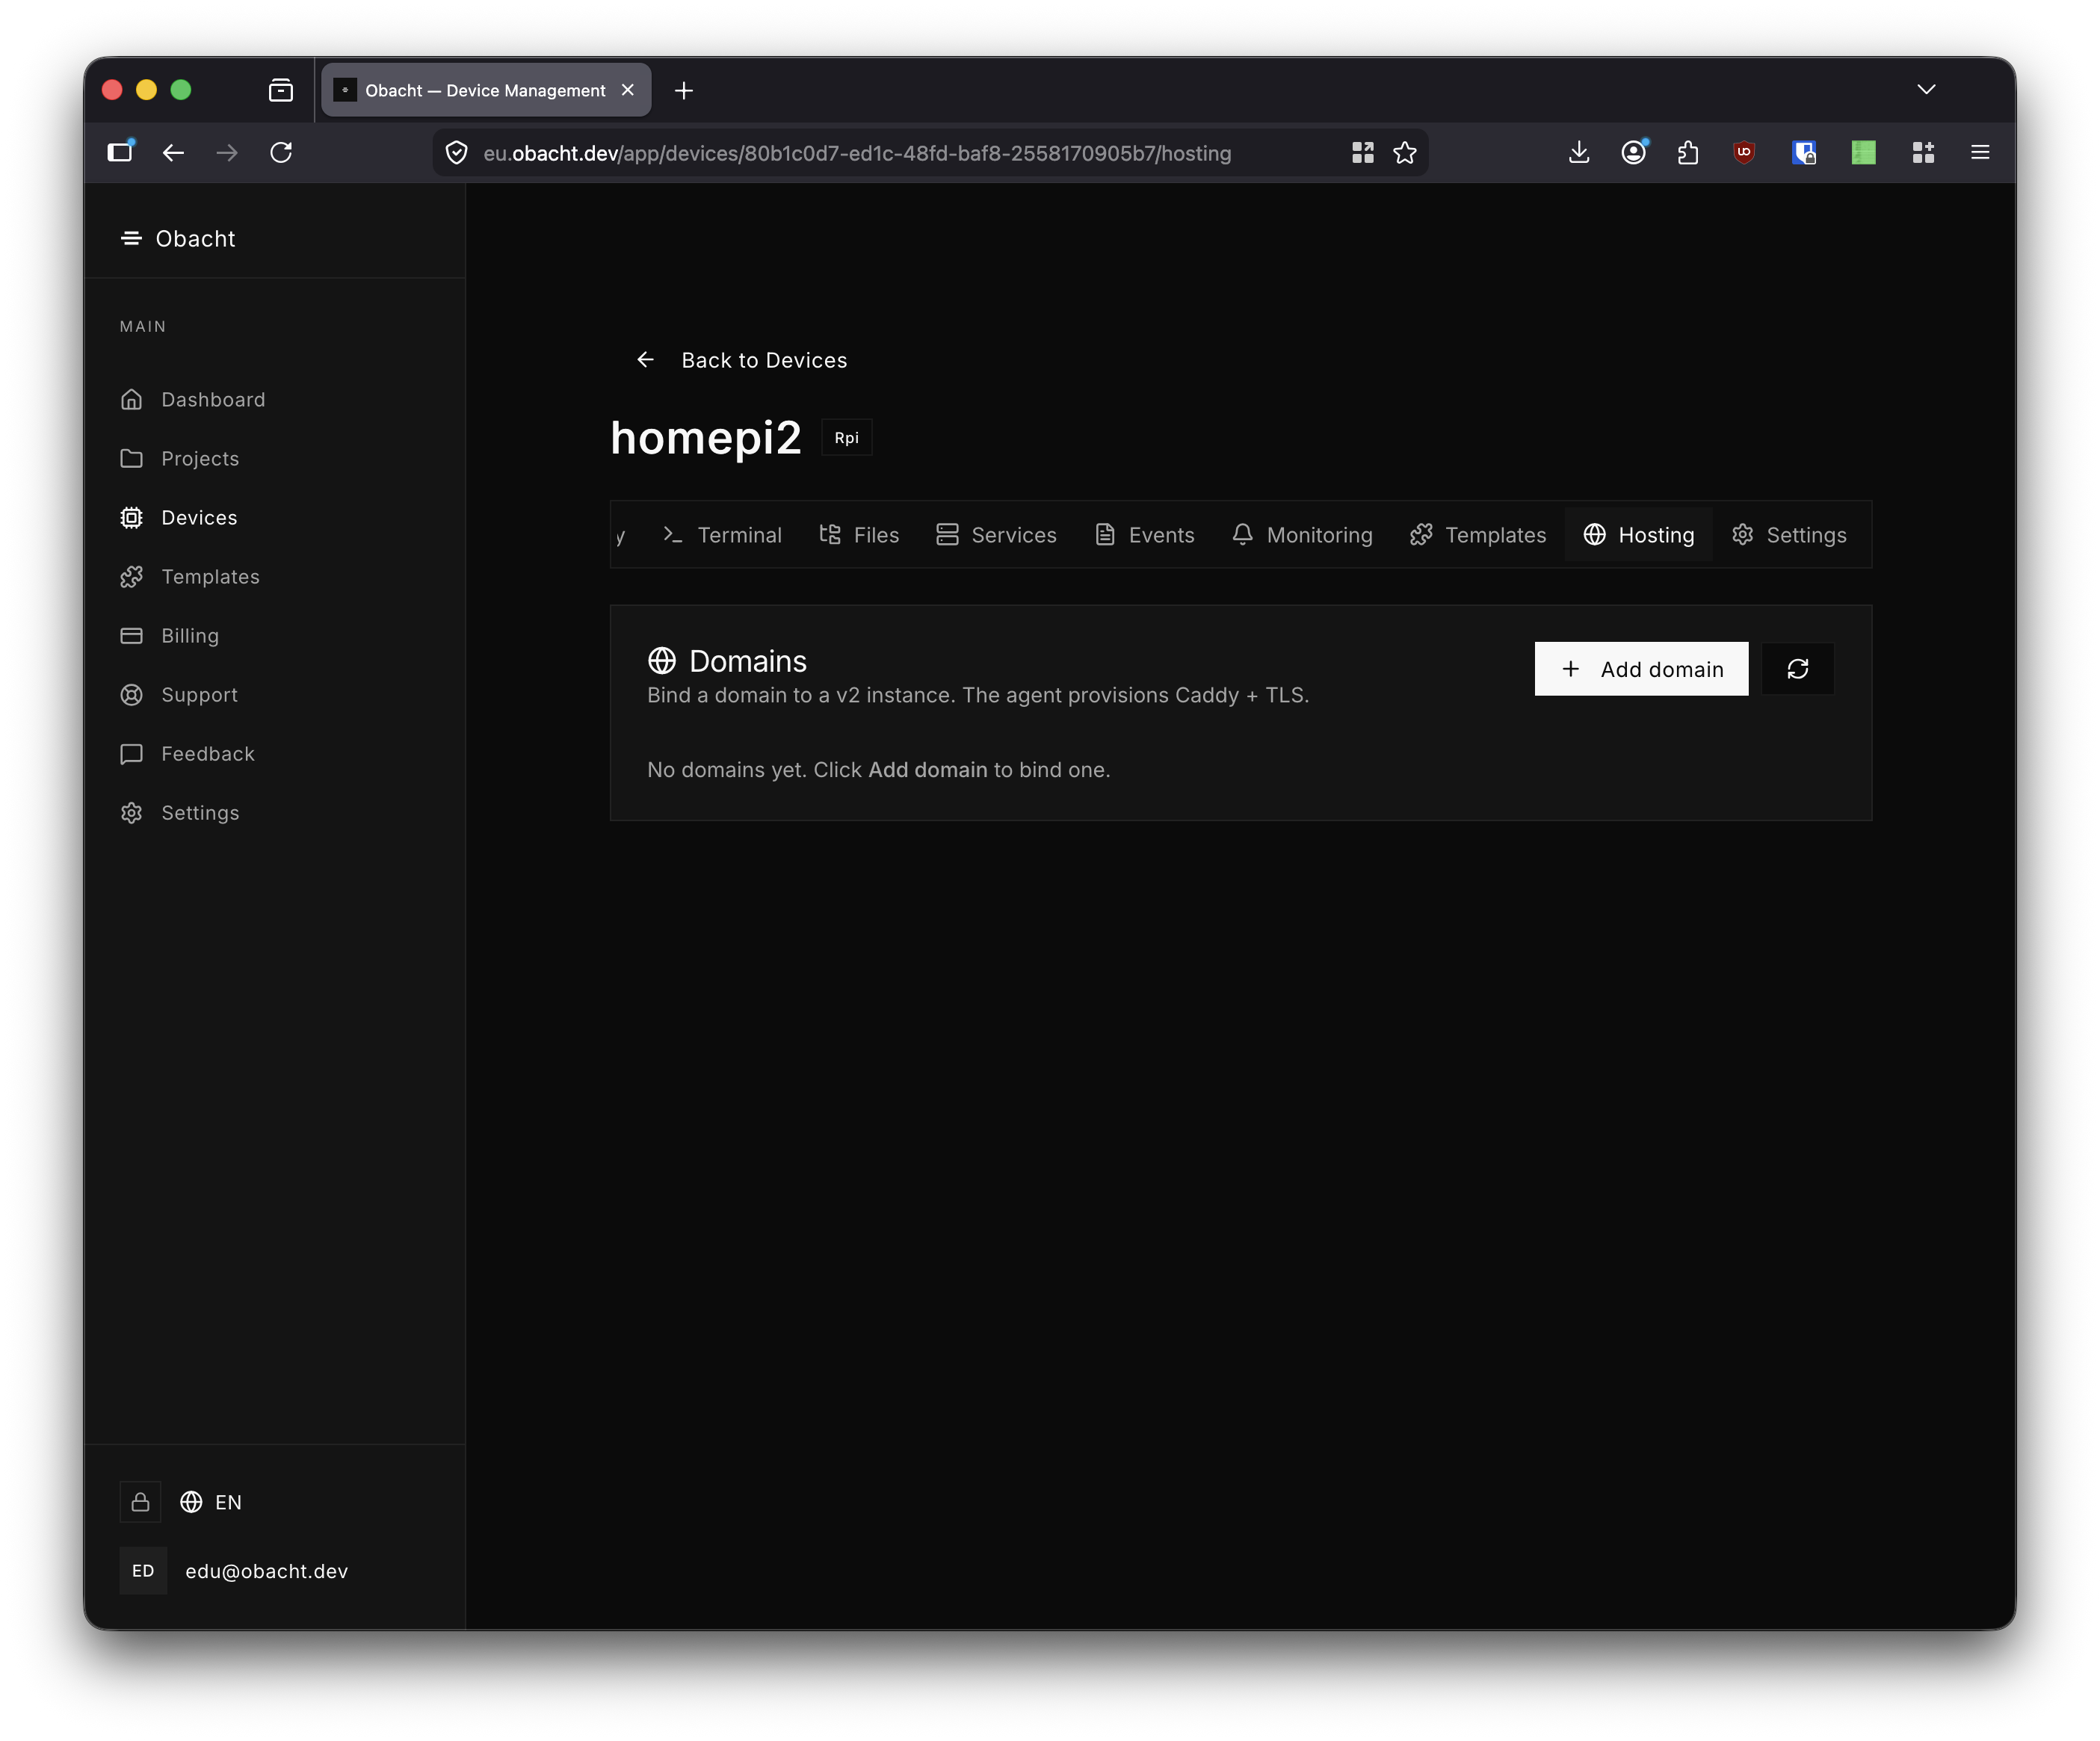
Step 1 — Enter the domain. Type your domain and an optional SSL contact email, then click Add & continue.
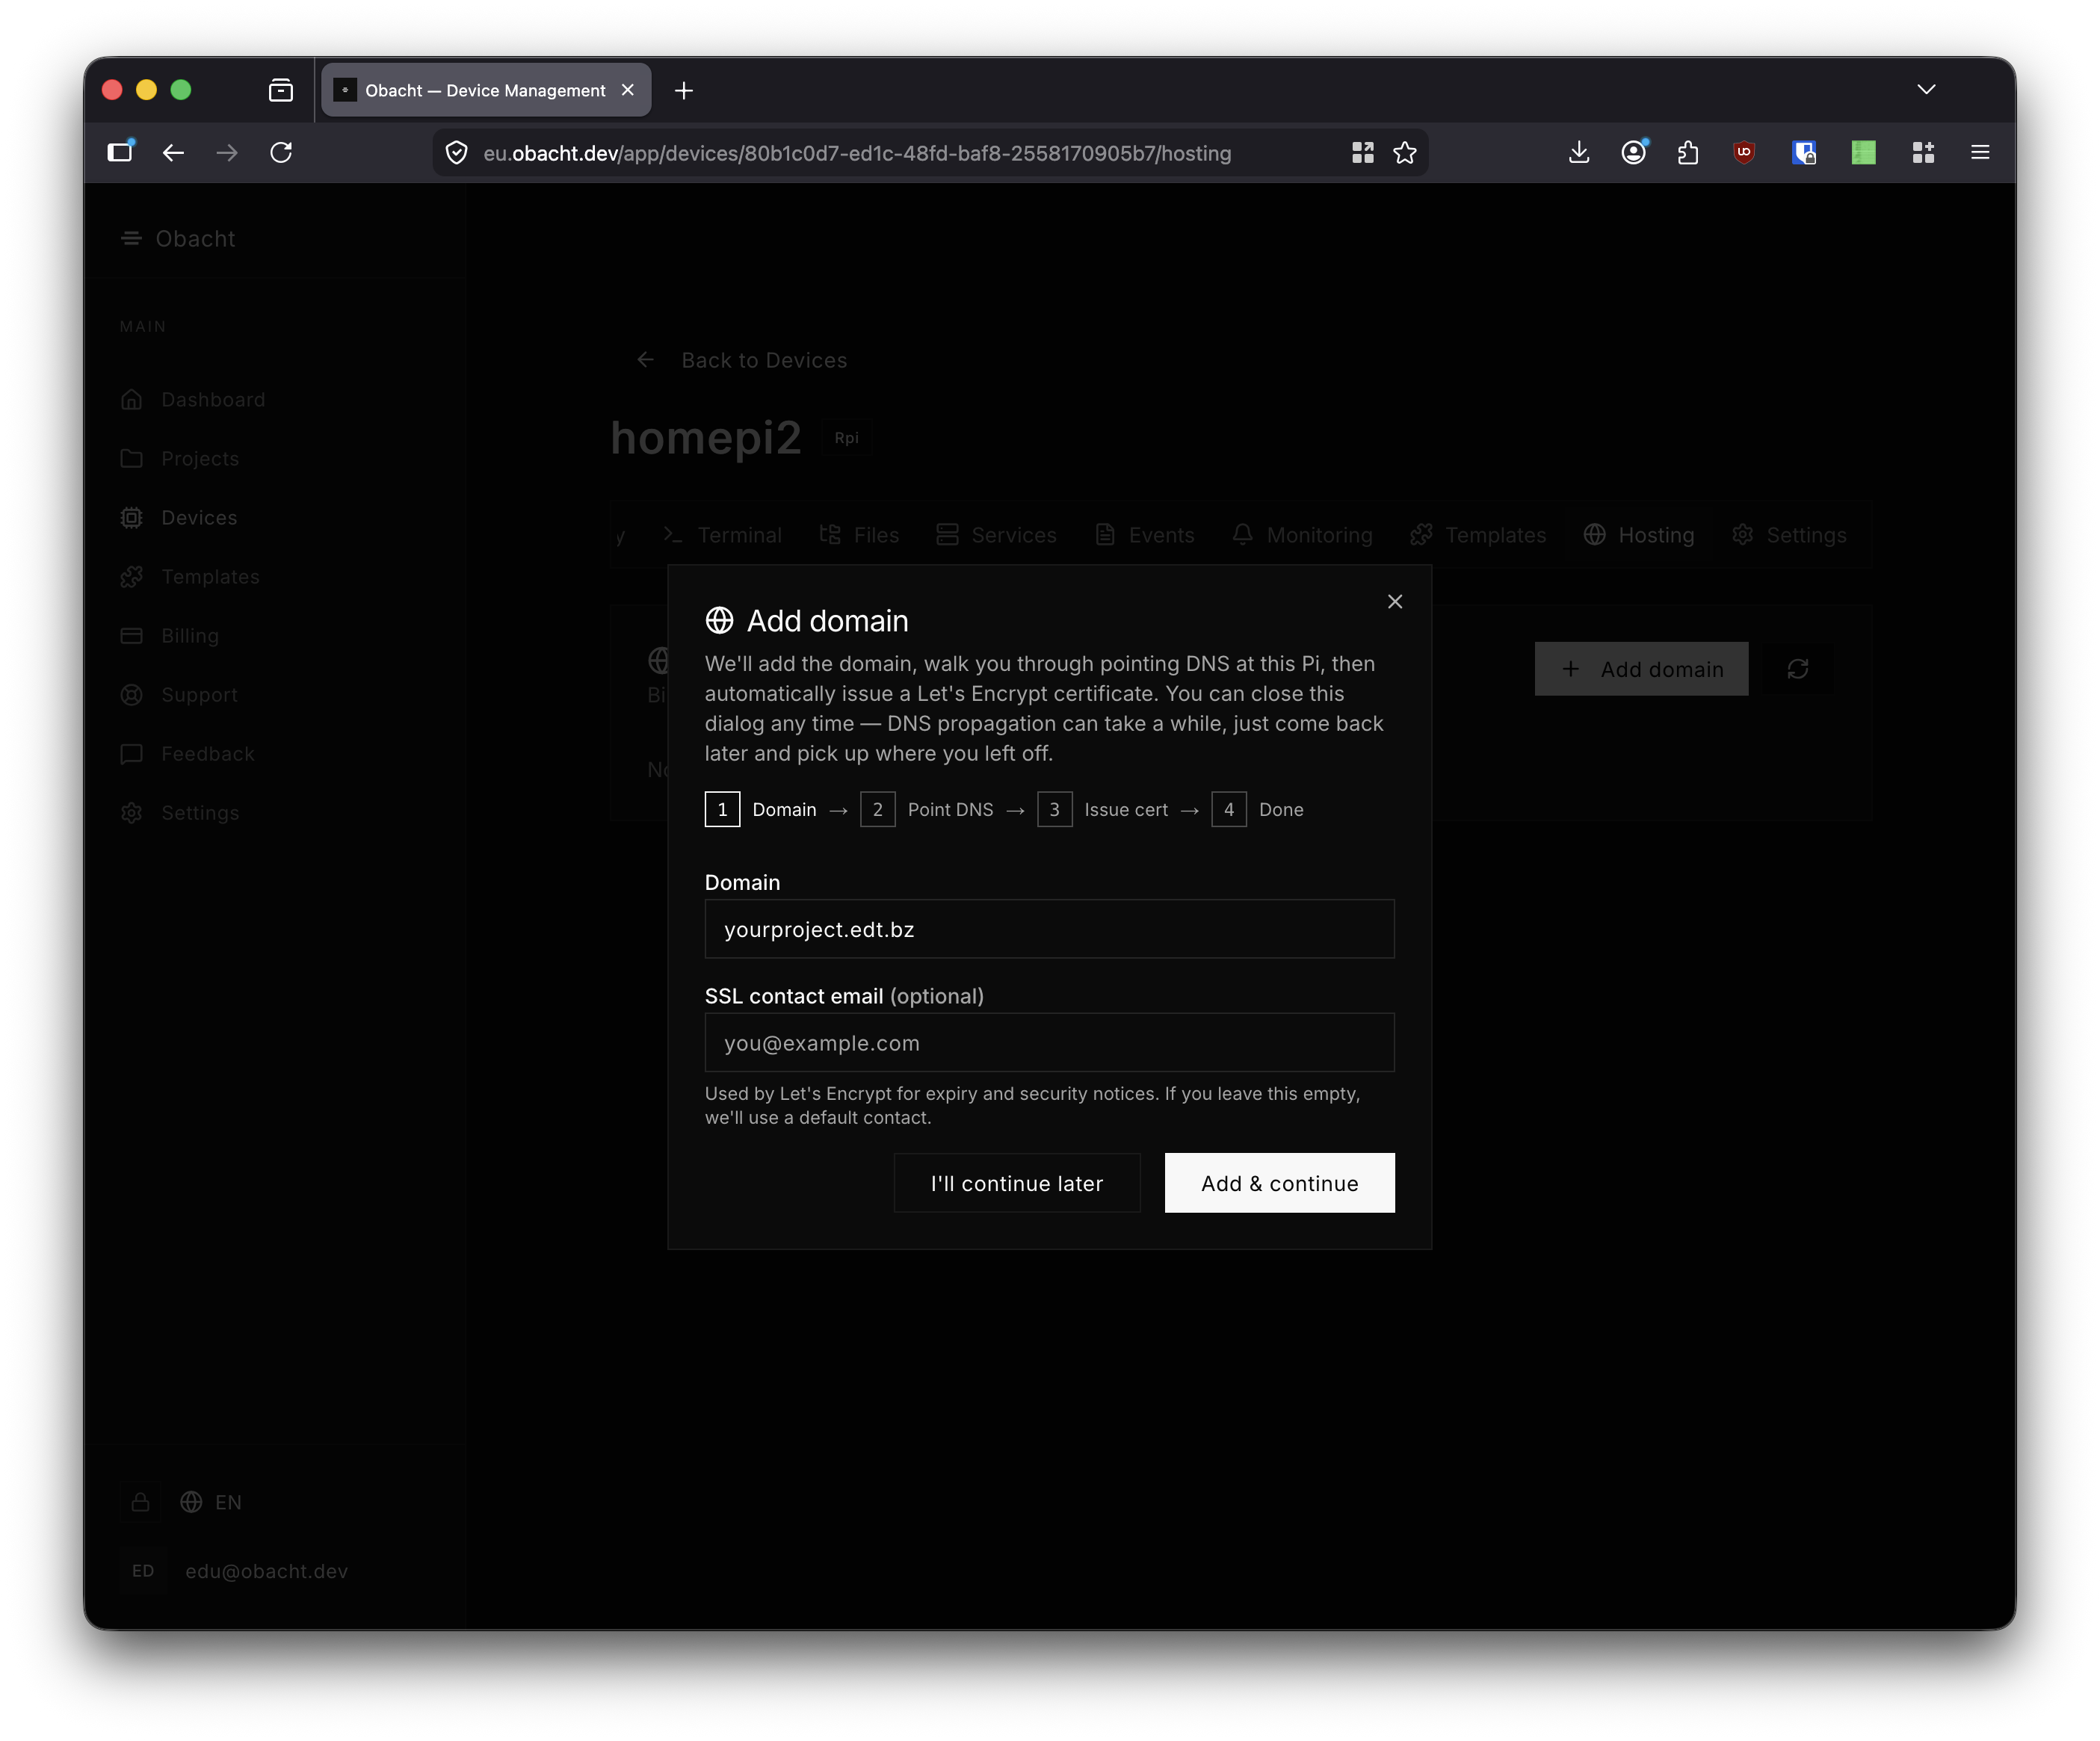
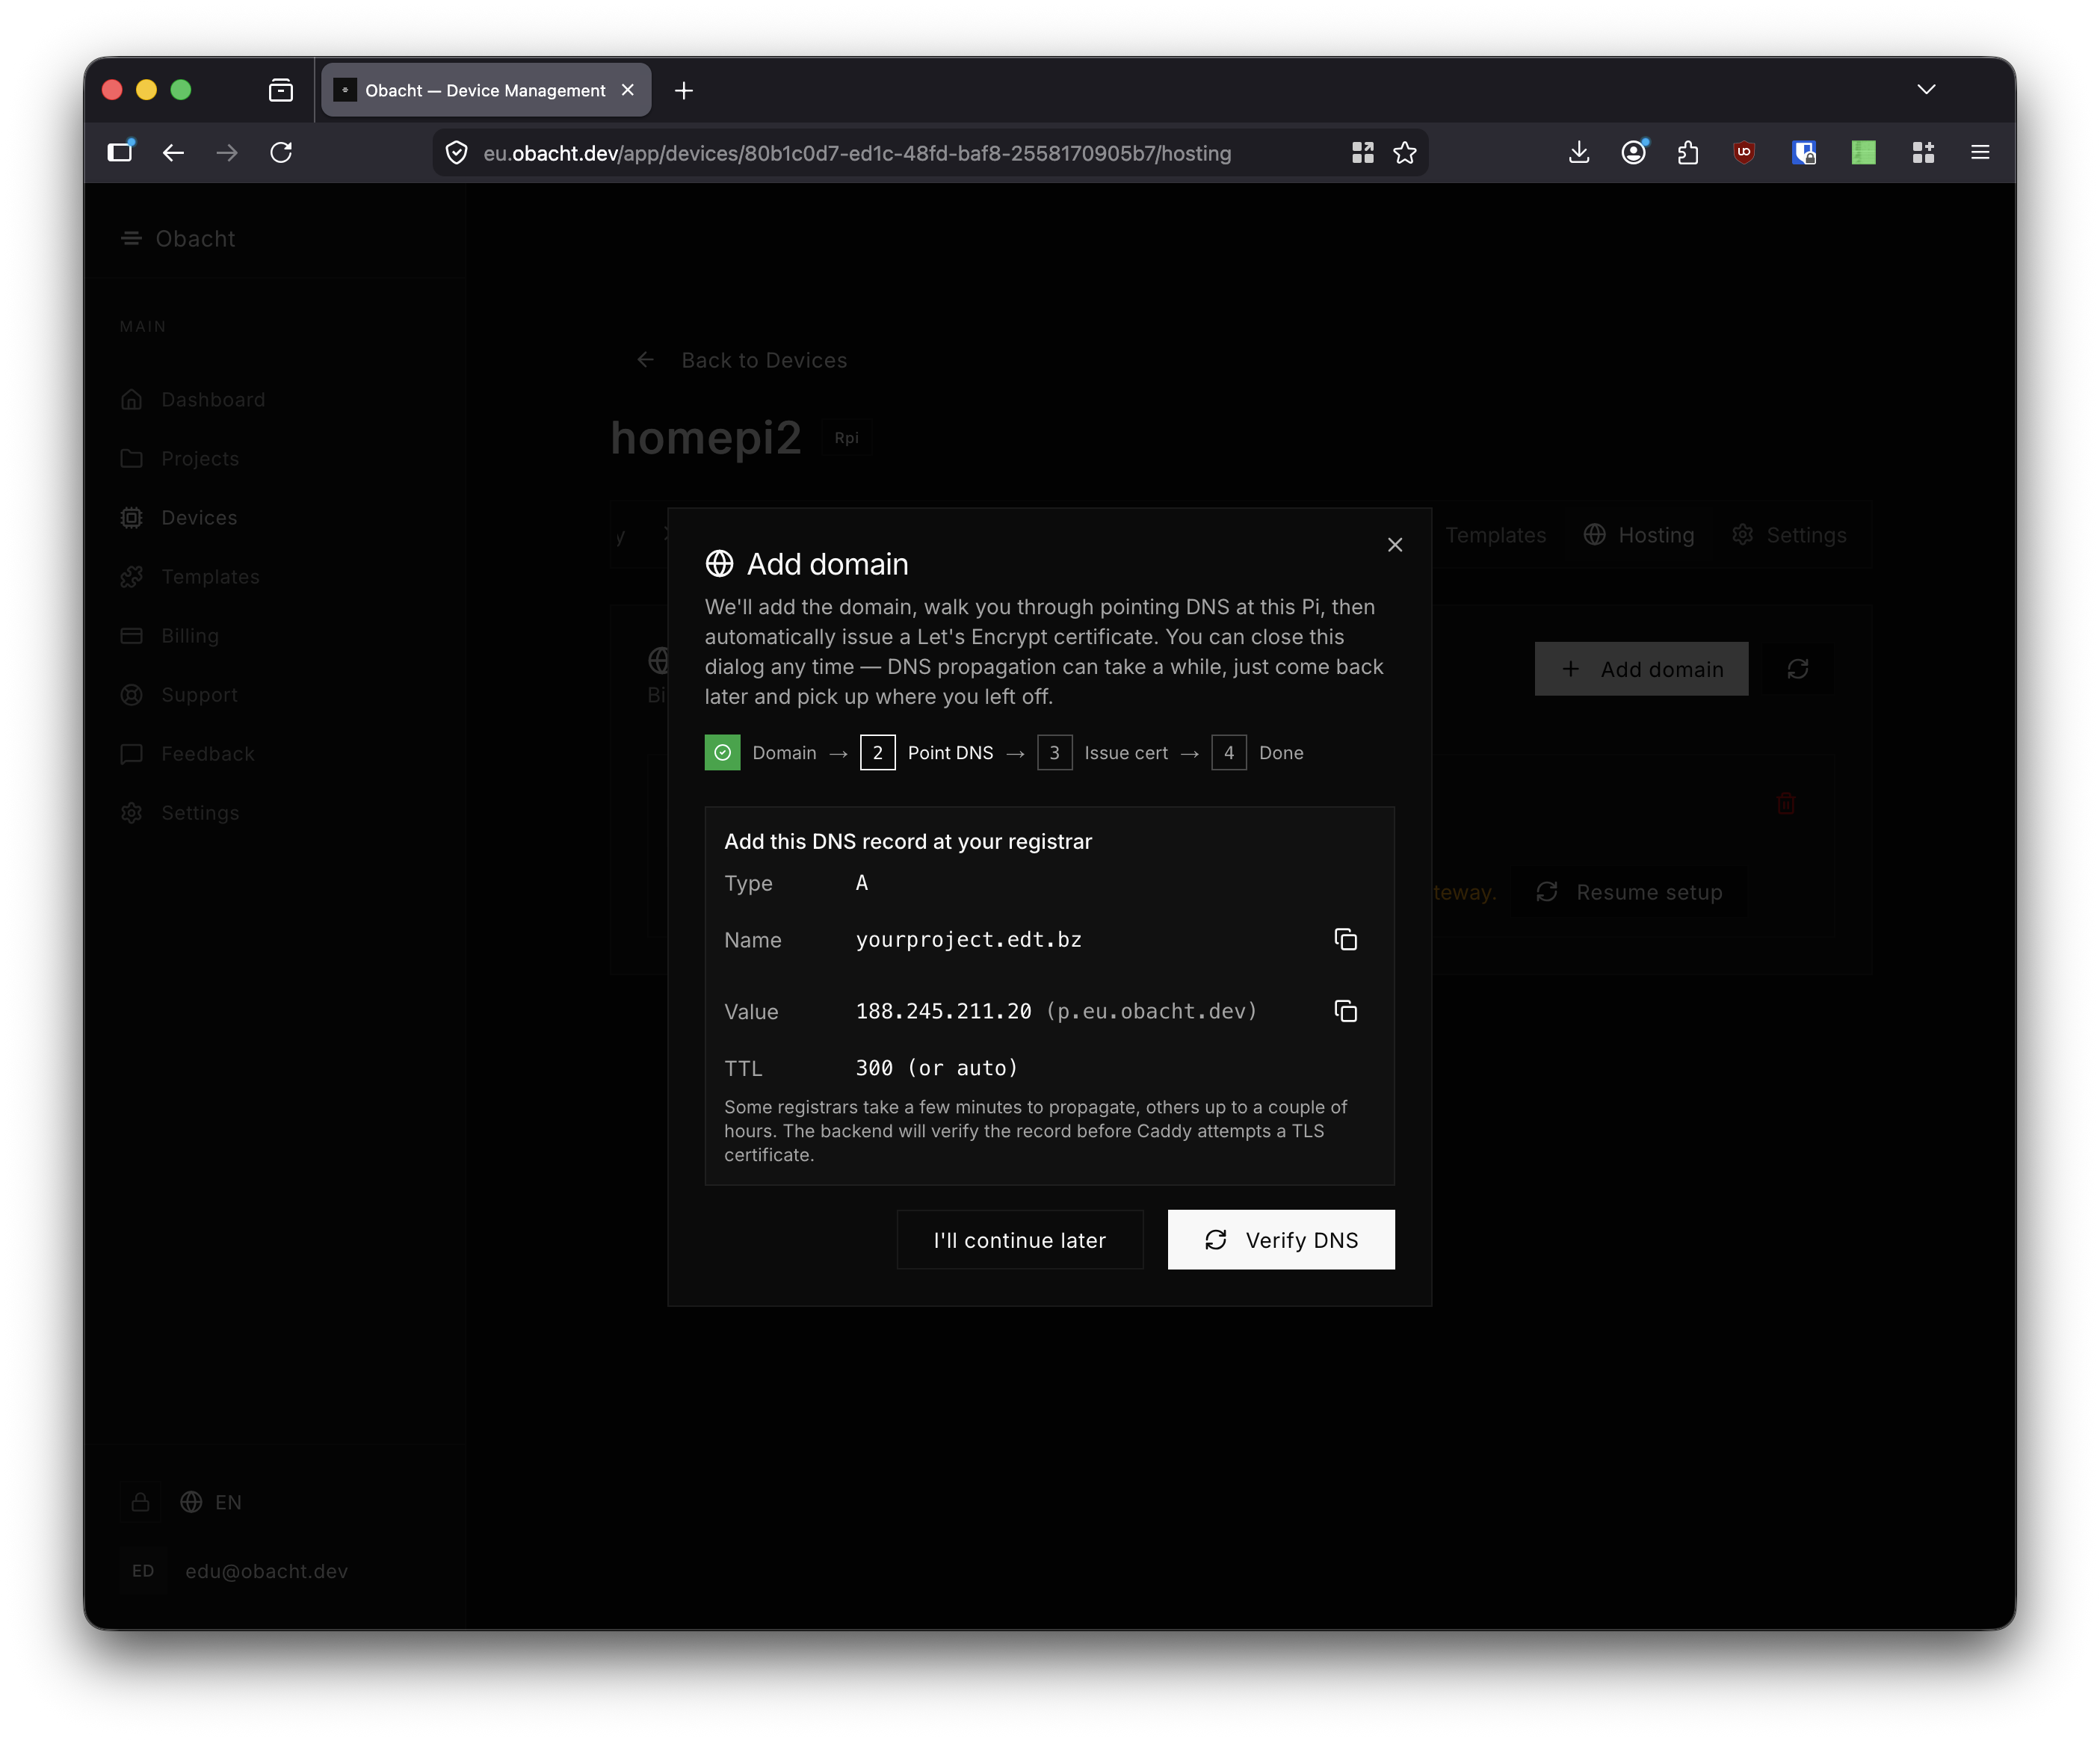
Step 2 — Point DNS. Create an A record at your registrar:
| Field | Value |
|---|---|
| Type | A |
| Name | your domain |
| Value | gateway IP shown in wizard |
| TTL | 300 (or auto) |
Click Verify DNS. You can close the dialog and return later.
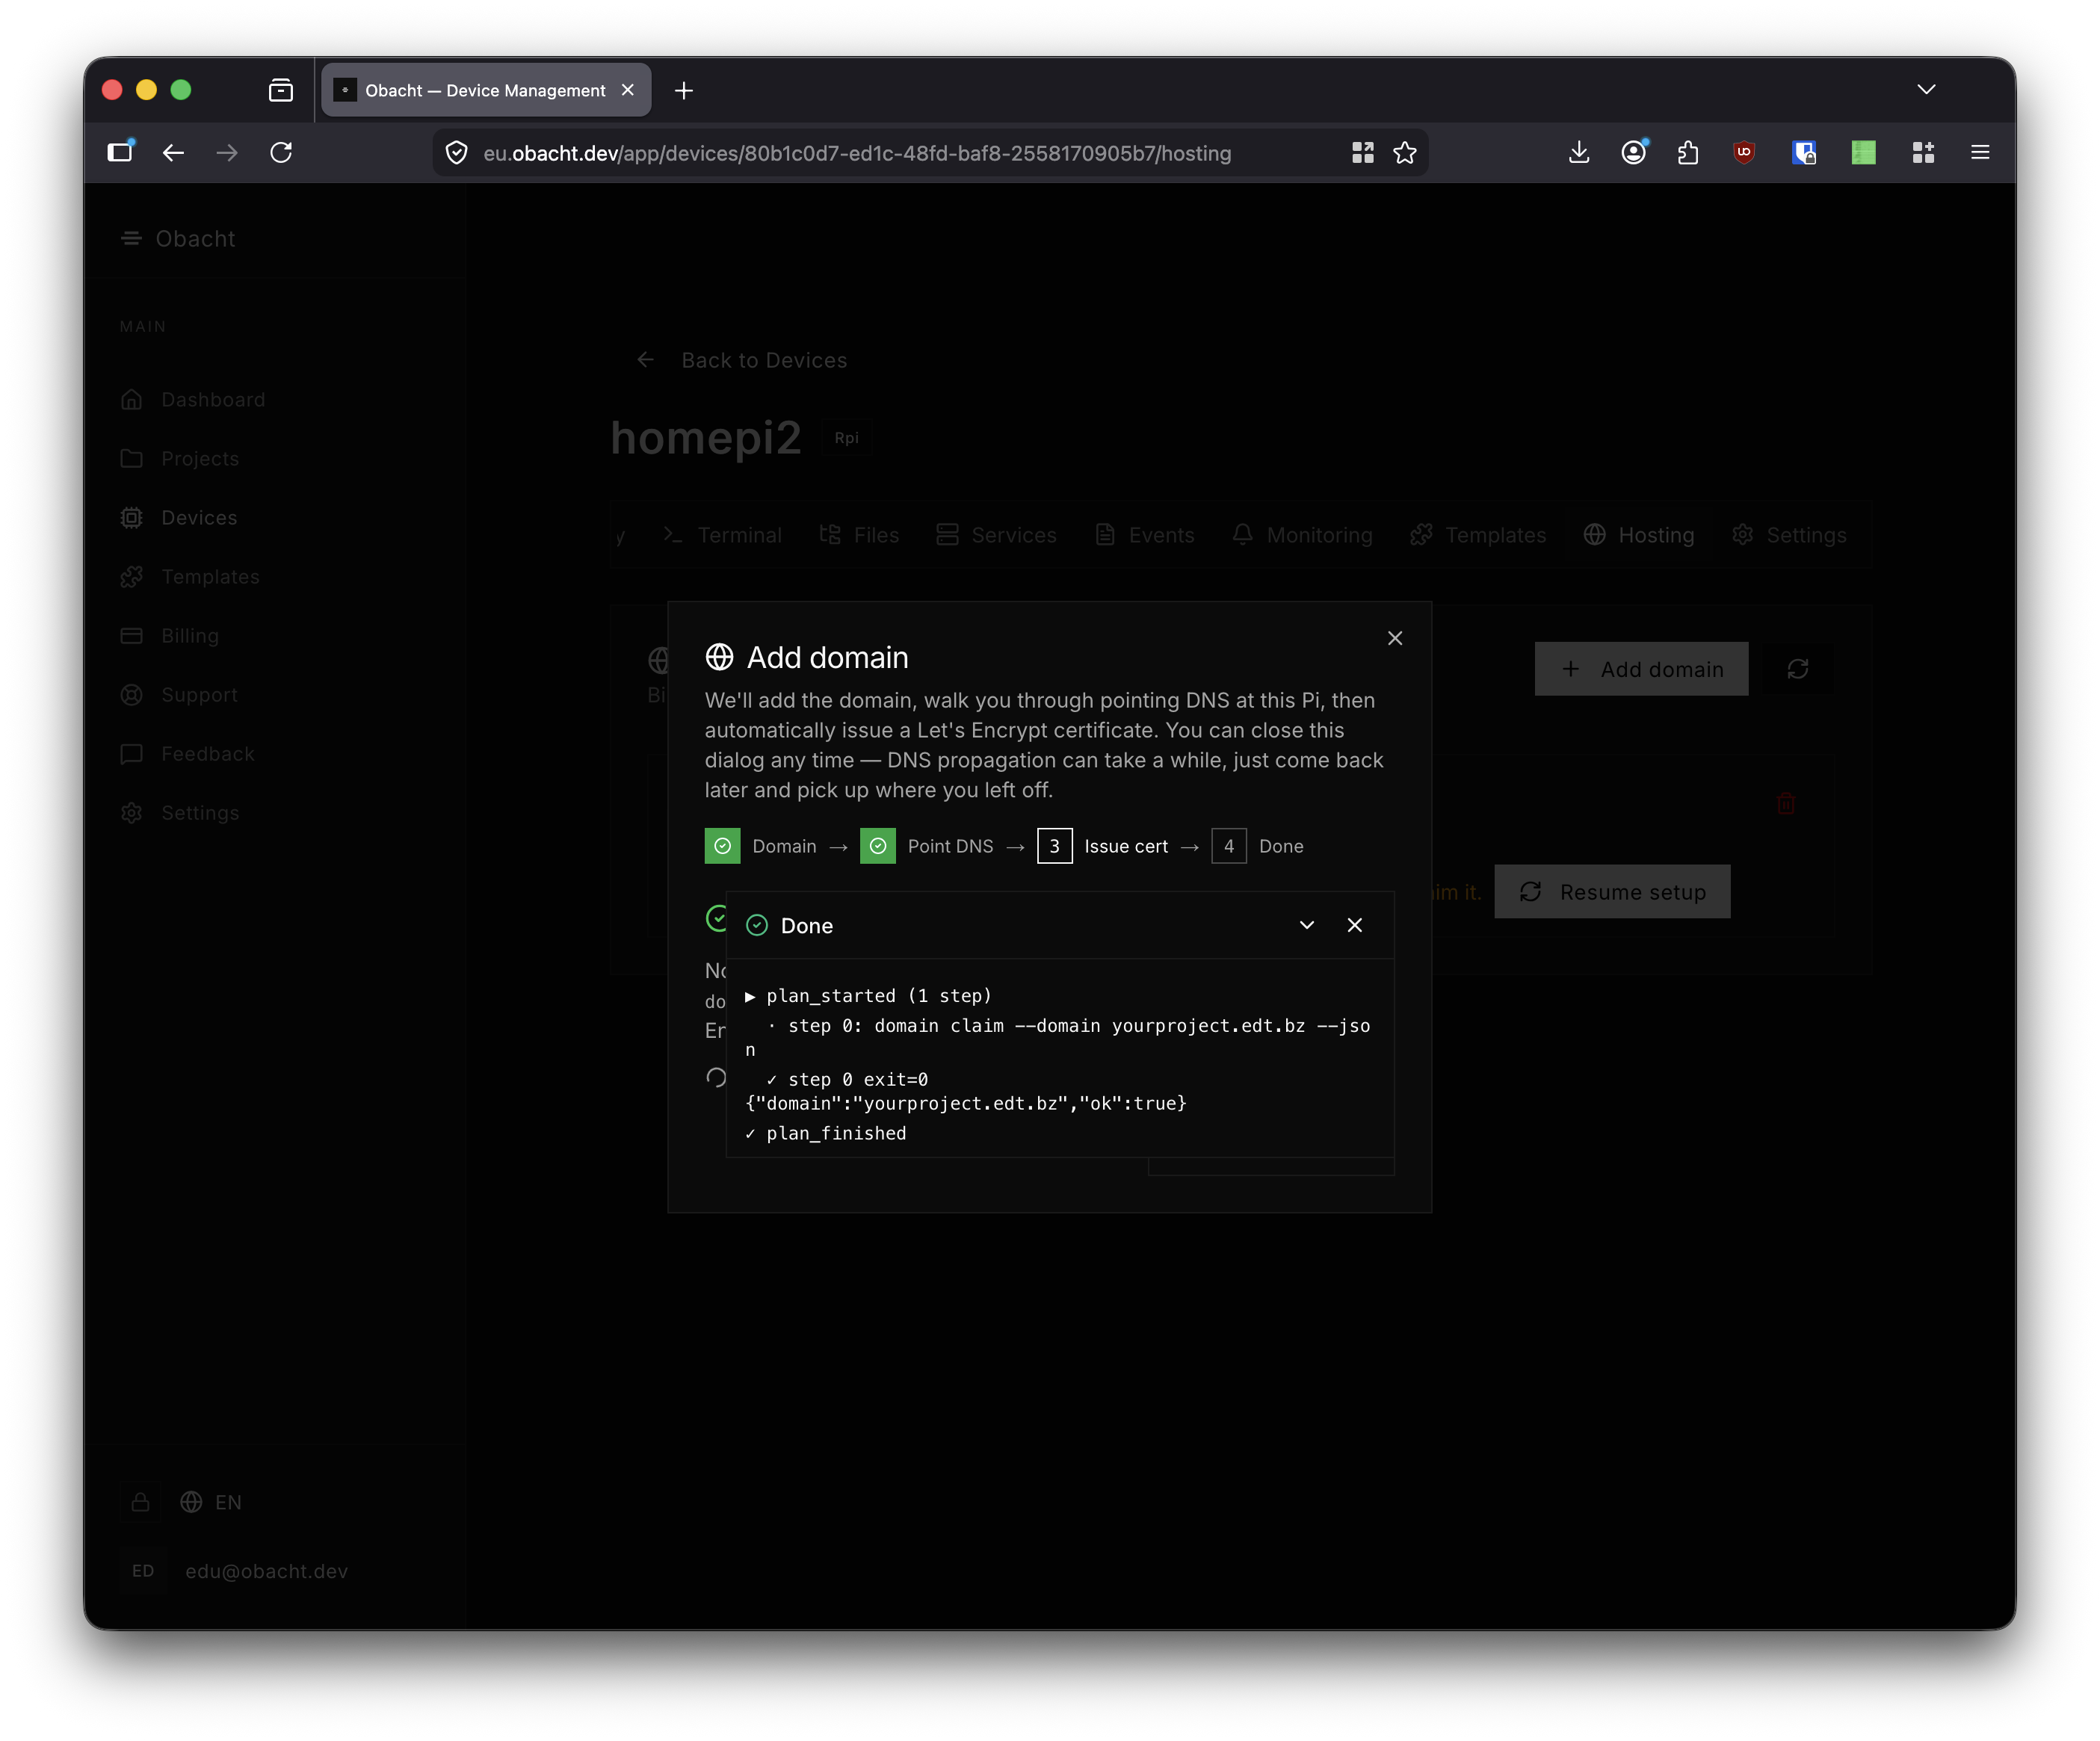
Step 3 — Issue cert. Once DNS is verified, Caddy requests a Let's Encrypt certificate. This takes 30–90 seconds.
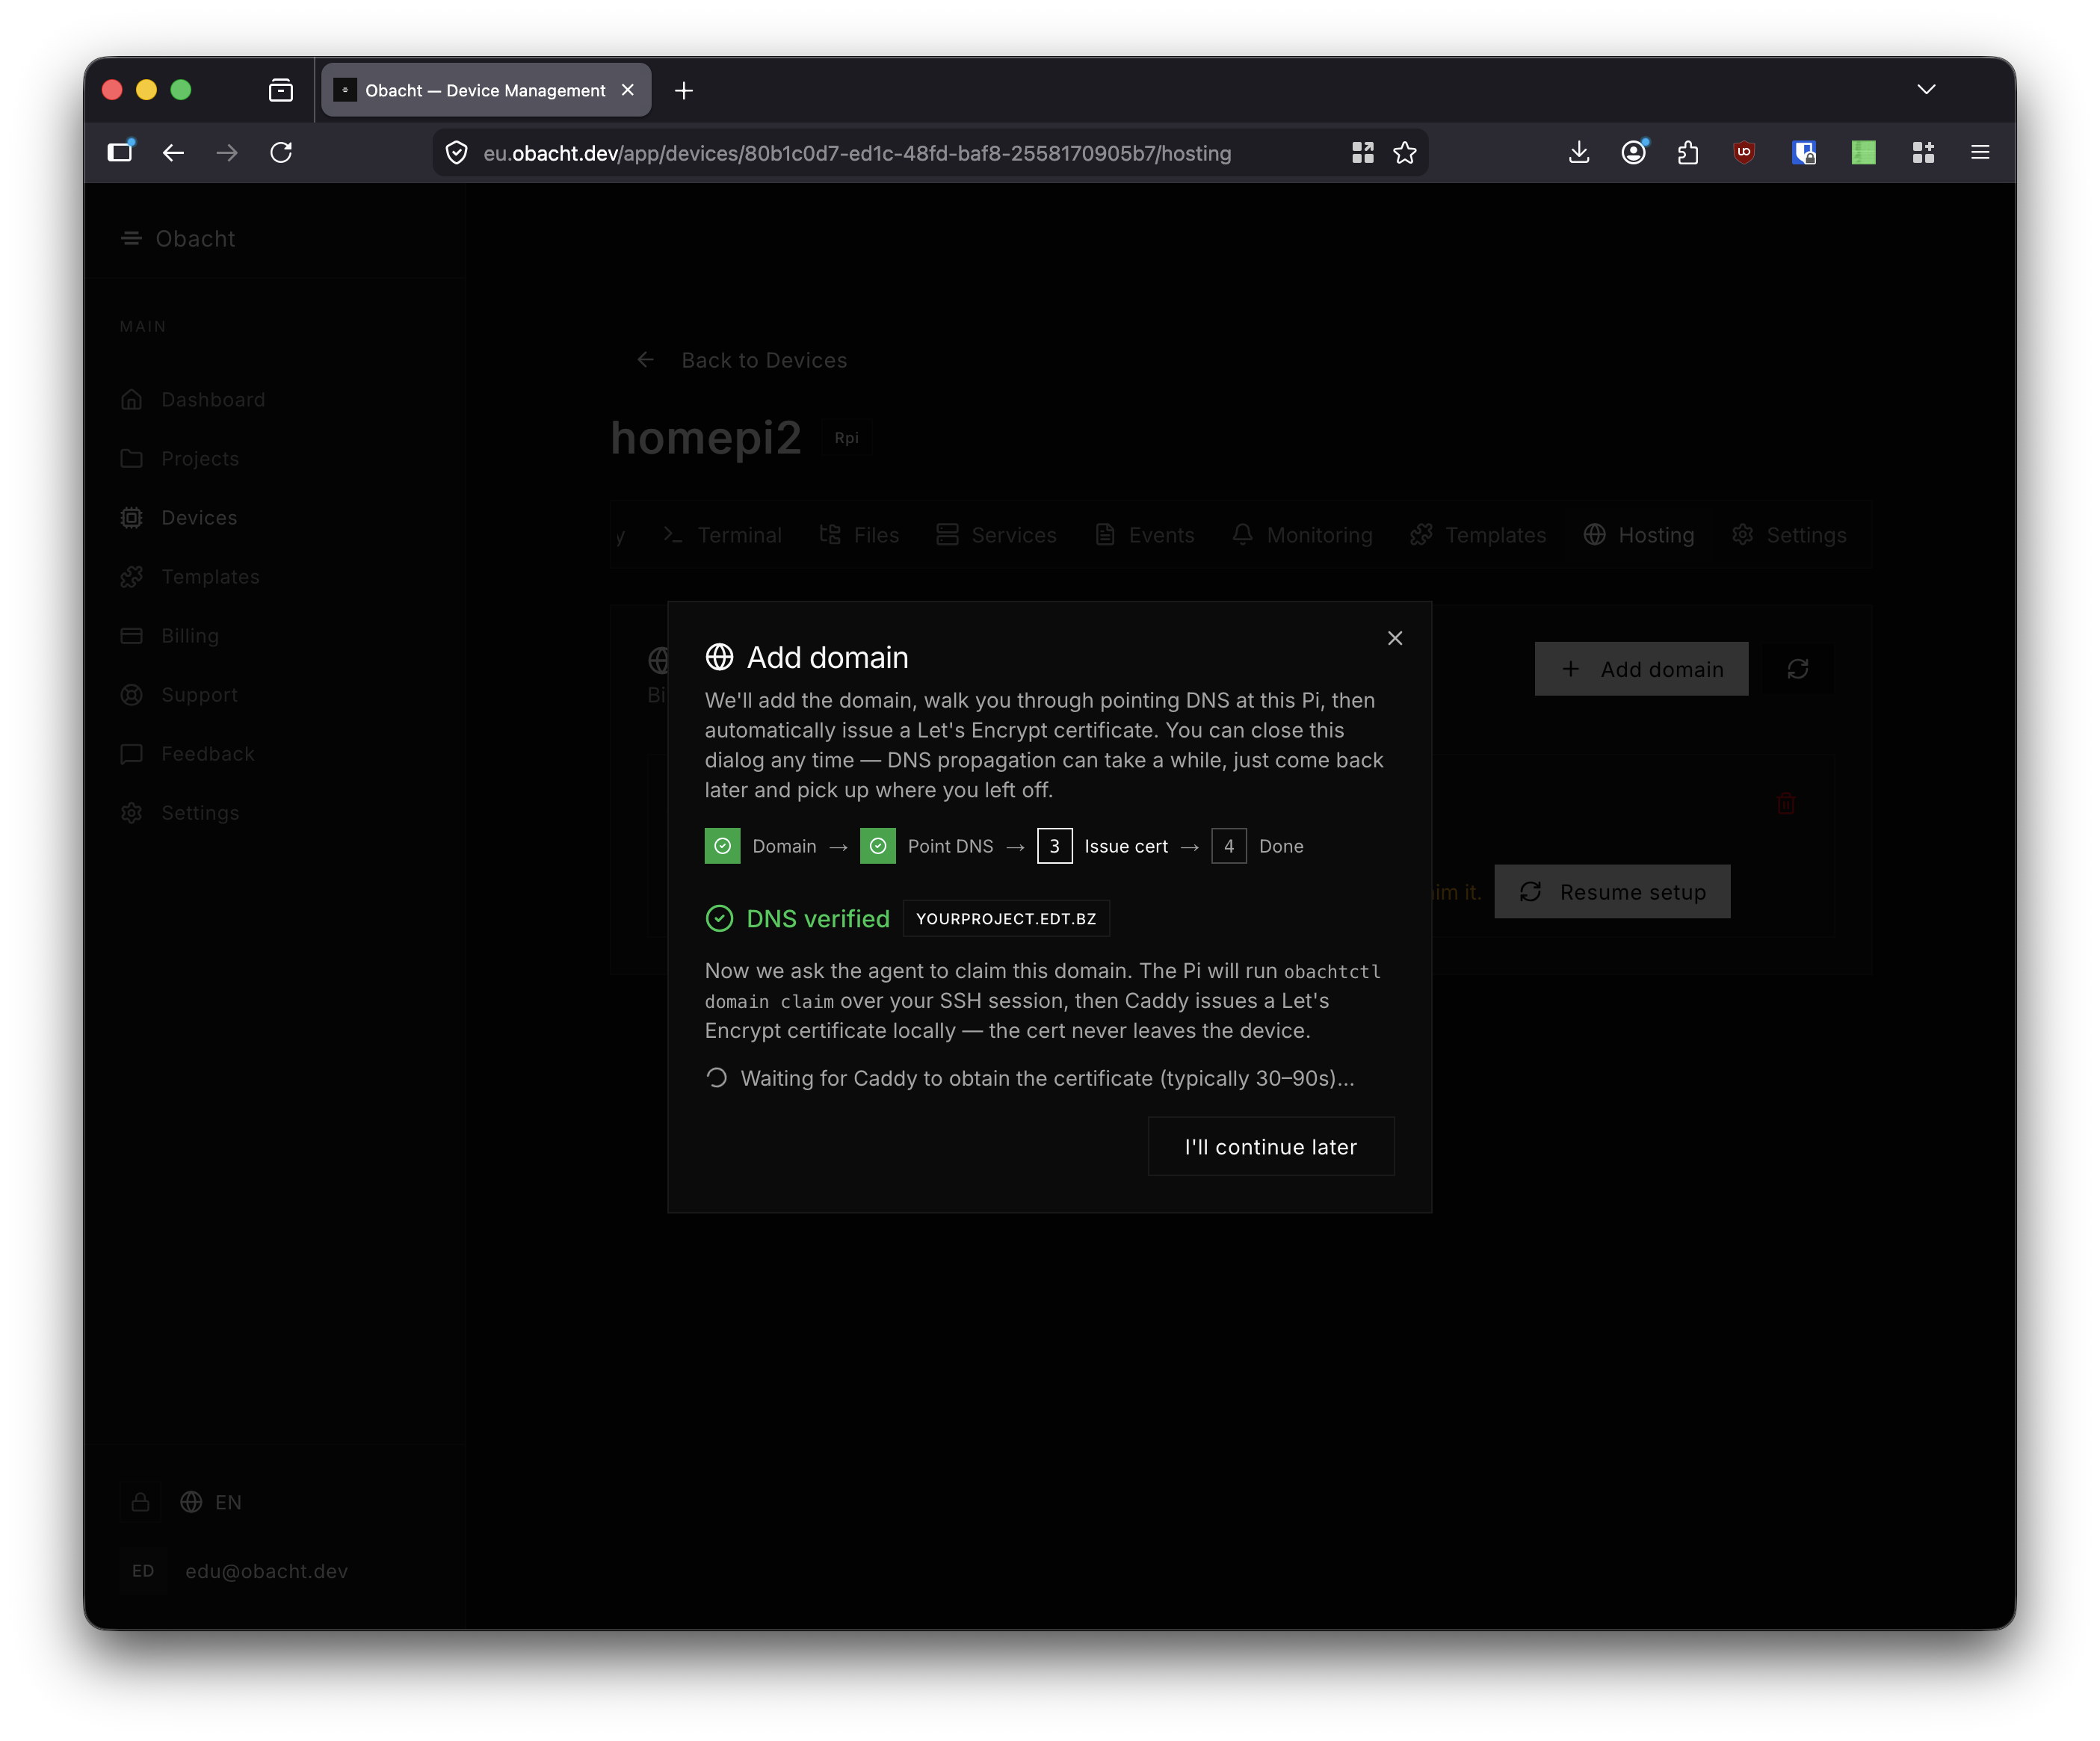
Done. The wizard confirms Certificate active.
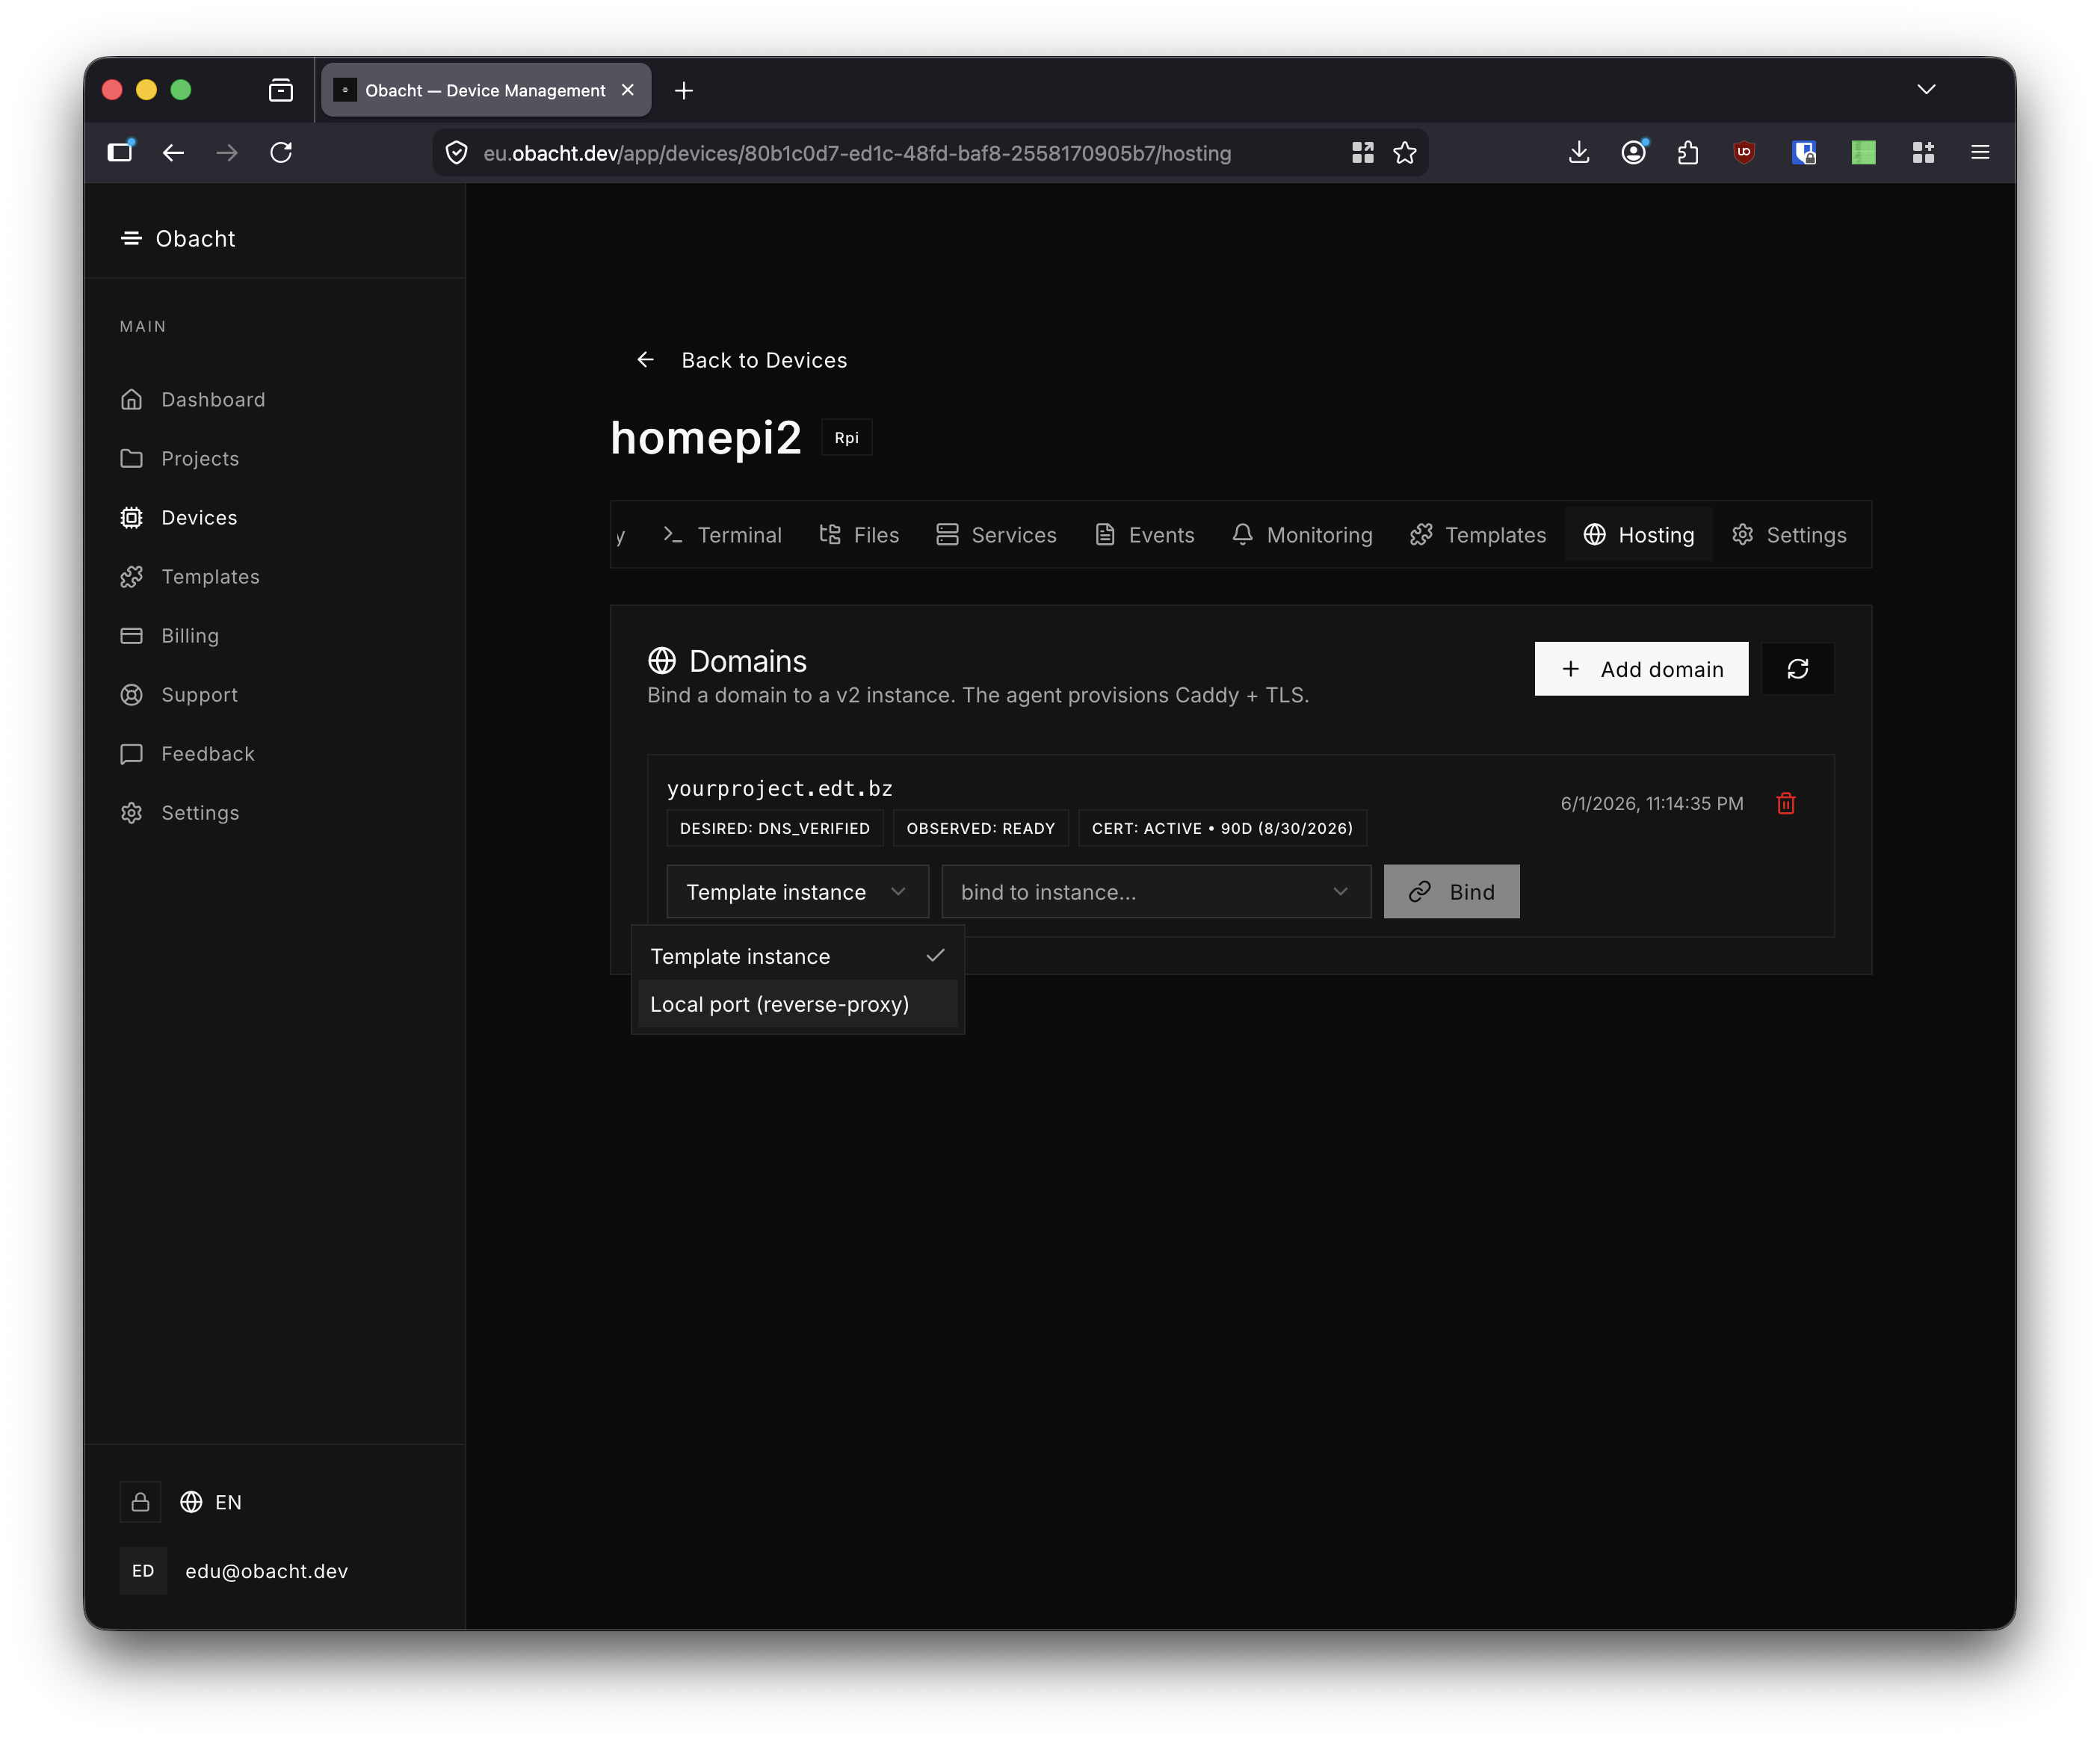
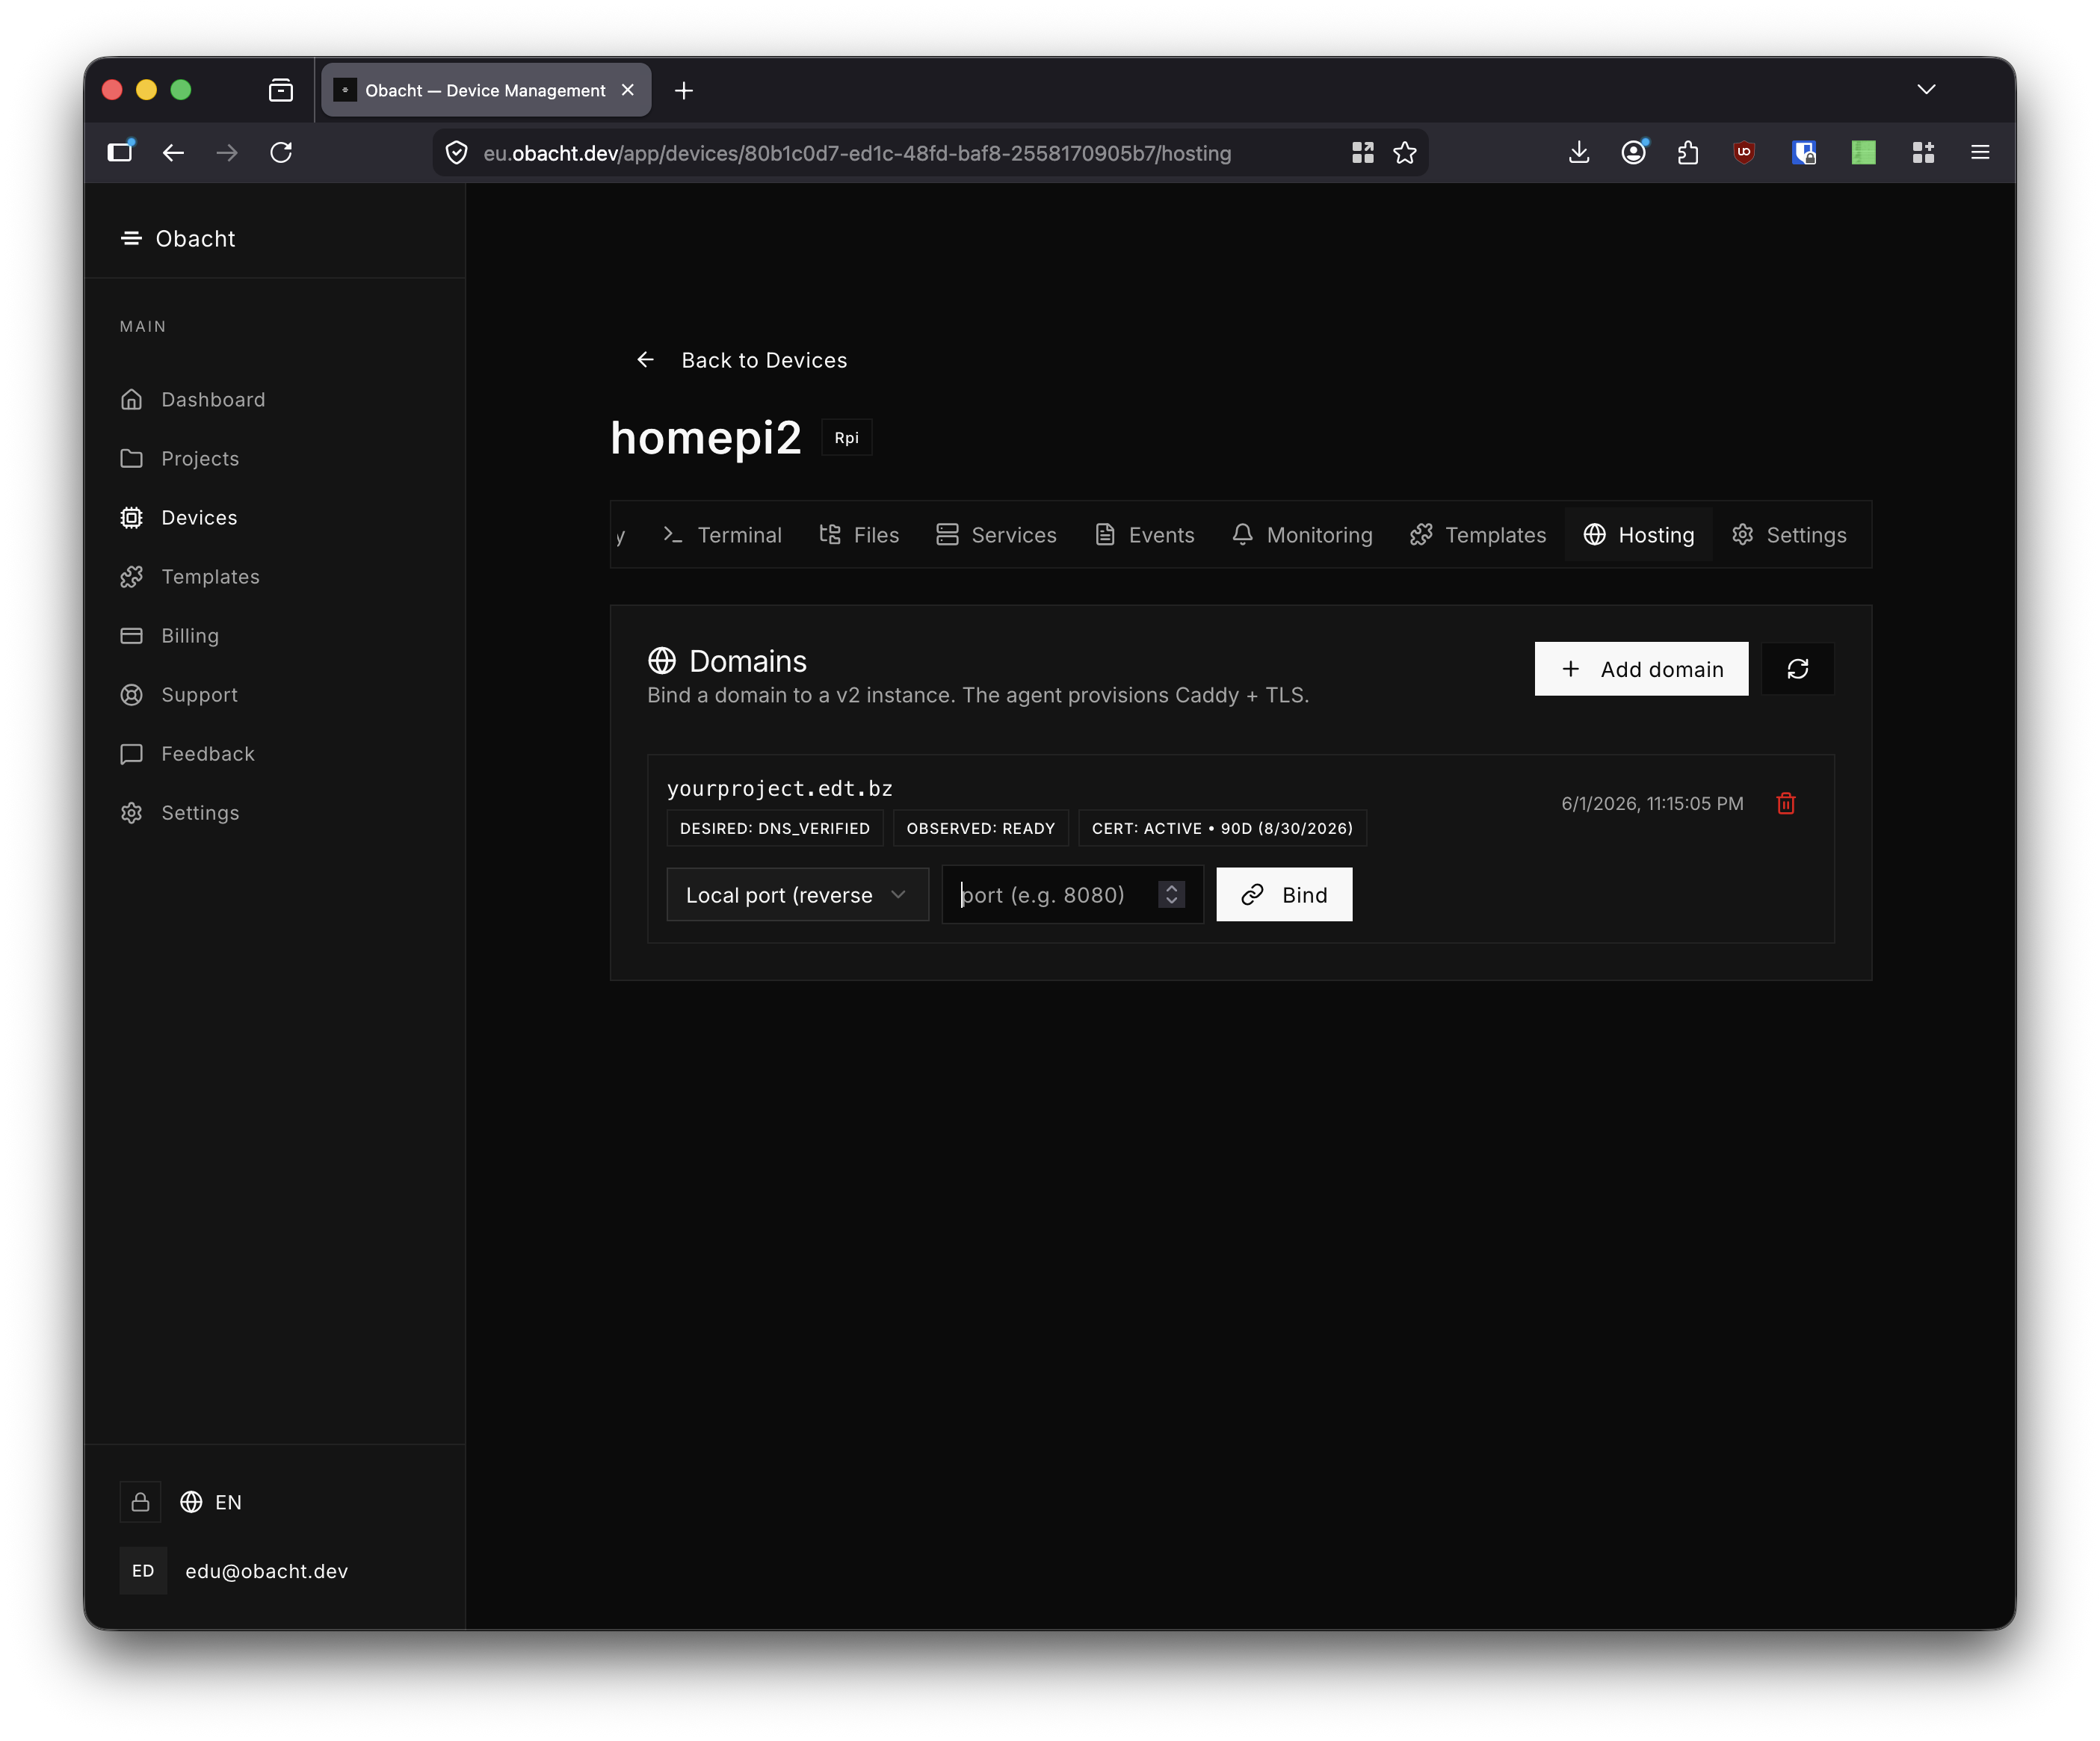
After the wizard closes, the domain appears in the Hosting tab. Use the bind controls to route traffic to a Template instance or a Local port. Click Bind to activate.
Protected zones & wildcard DNS (optional)
If you host many things under one domain, you don't have to create an A record for every subdomain. Instead:
- Go to Settings → Protected Domains and click Protect a domain (for example
*.home.example.com). - The wizard shows a TXT record (
_obacht-verify.home.example.com) that proves you control the zone. Add it at your registrar and keep it in place. - In the same registrar visit, add one wildcard A record:
*.home.example.com→ the gateway IP shown in the wizard. - Click Verify TXT record.
From then on:
- Only your account can claim hostnames under the zone. Without this step, any obacht account could register an unused subdomain of your wildcard. The TXT verification locks the zone to you.
- In a device's Hosting tab the wizard offers your zones in a dropdown; you type only the subdomain part, the DNS step is skipped (the wildcard record already resolves), and the certificate is issued right away.
- Every hostname still gets its own Let's Encrypt certificate on your device. There is no wildcard certificate; the wildcard exists only in DNS.
Notes:
- The protection is optional. Domains outside a protected zone keep working first come, first served.
- Domains that other accounts claimed before you protected the zone keep working; the wizard tells you how many exist.
- Deleting a zone only removes the protection for new registrations. Already claimed domains are unaffected.
- Zones cannot overlap: while
*.home.example.comis protected (by any account), nobody can additionally protect*.example.comor*.dev.home.example.com. Delete the existing zone first if you want to restructure.
3. Connecting a Domain to a Template
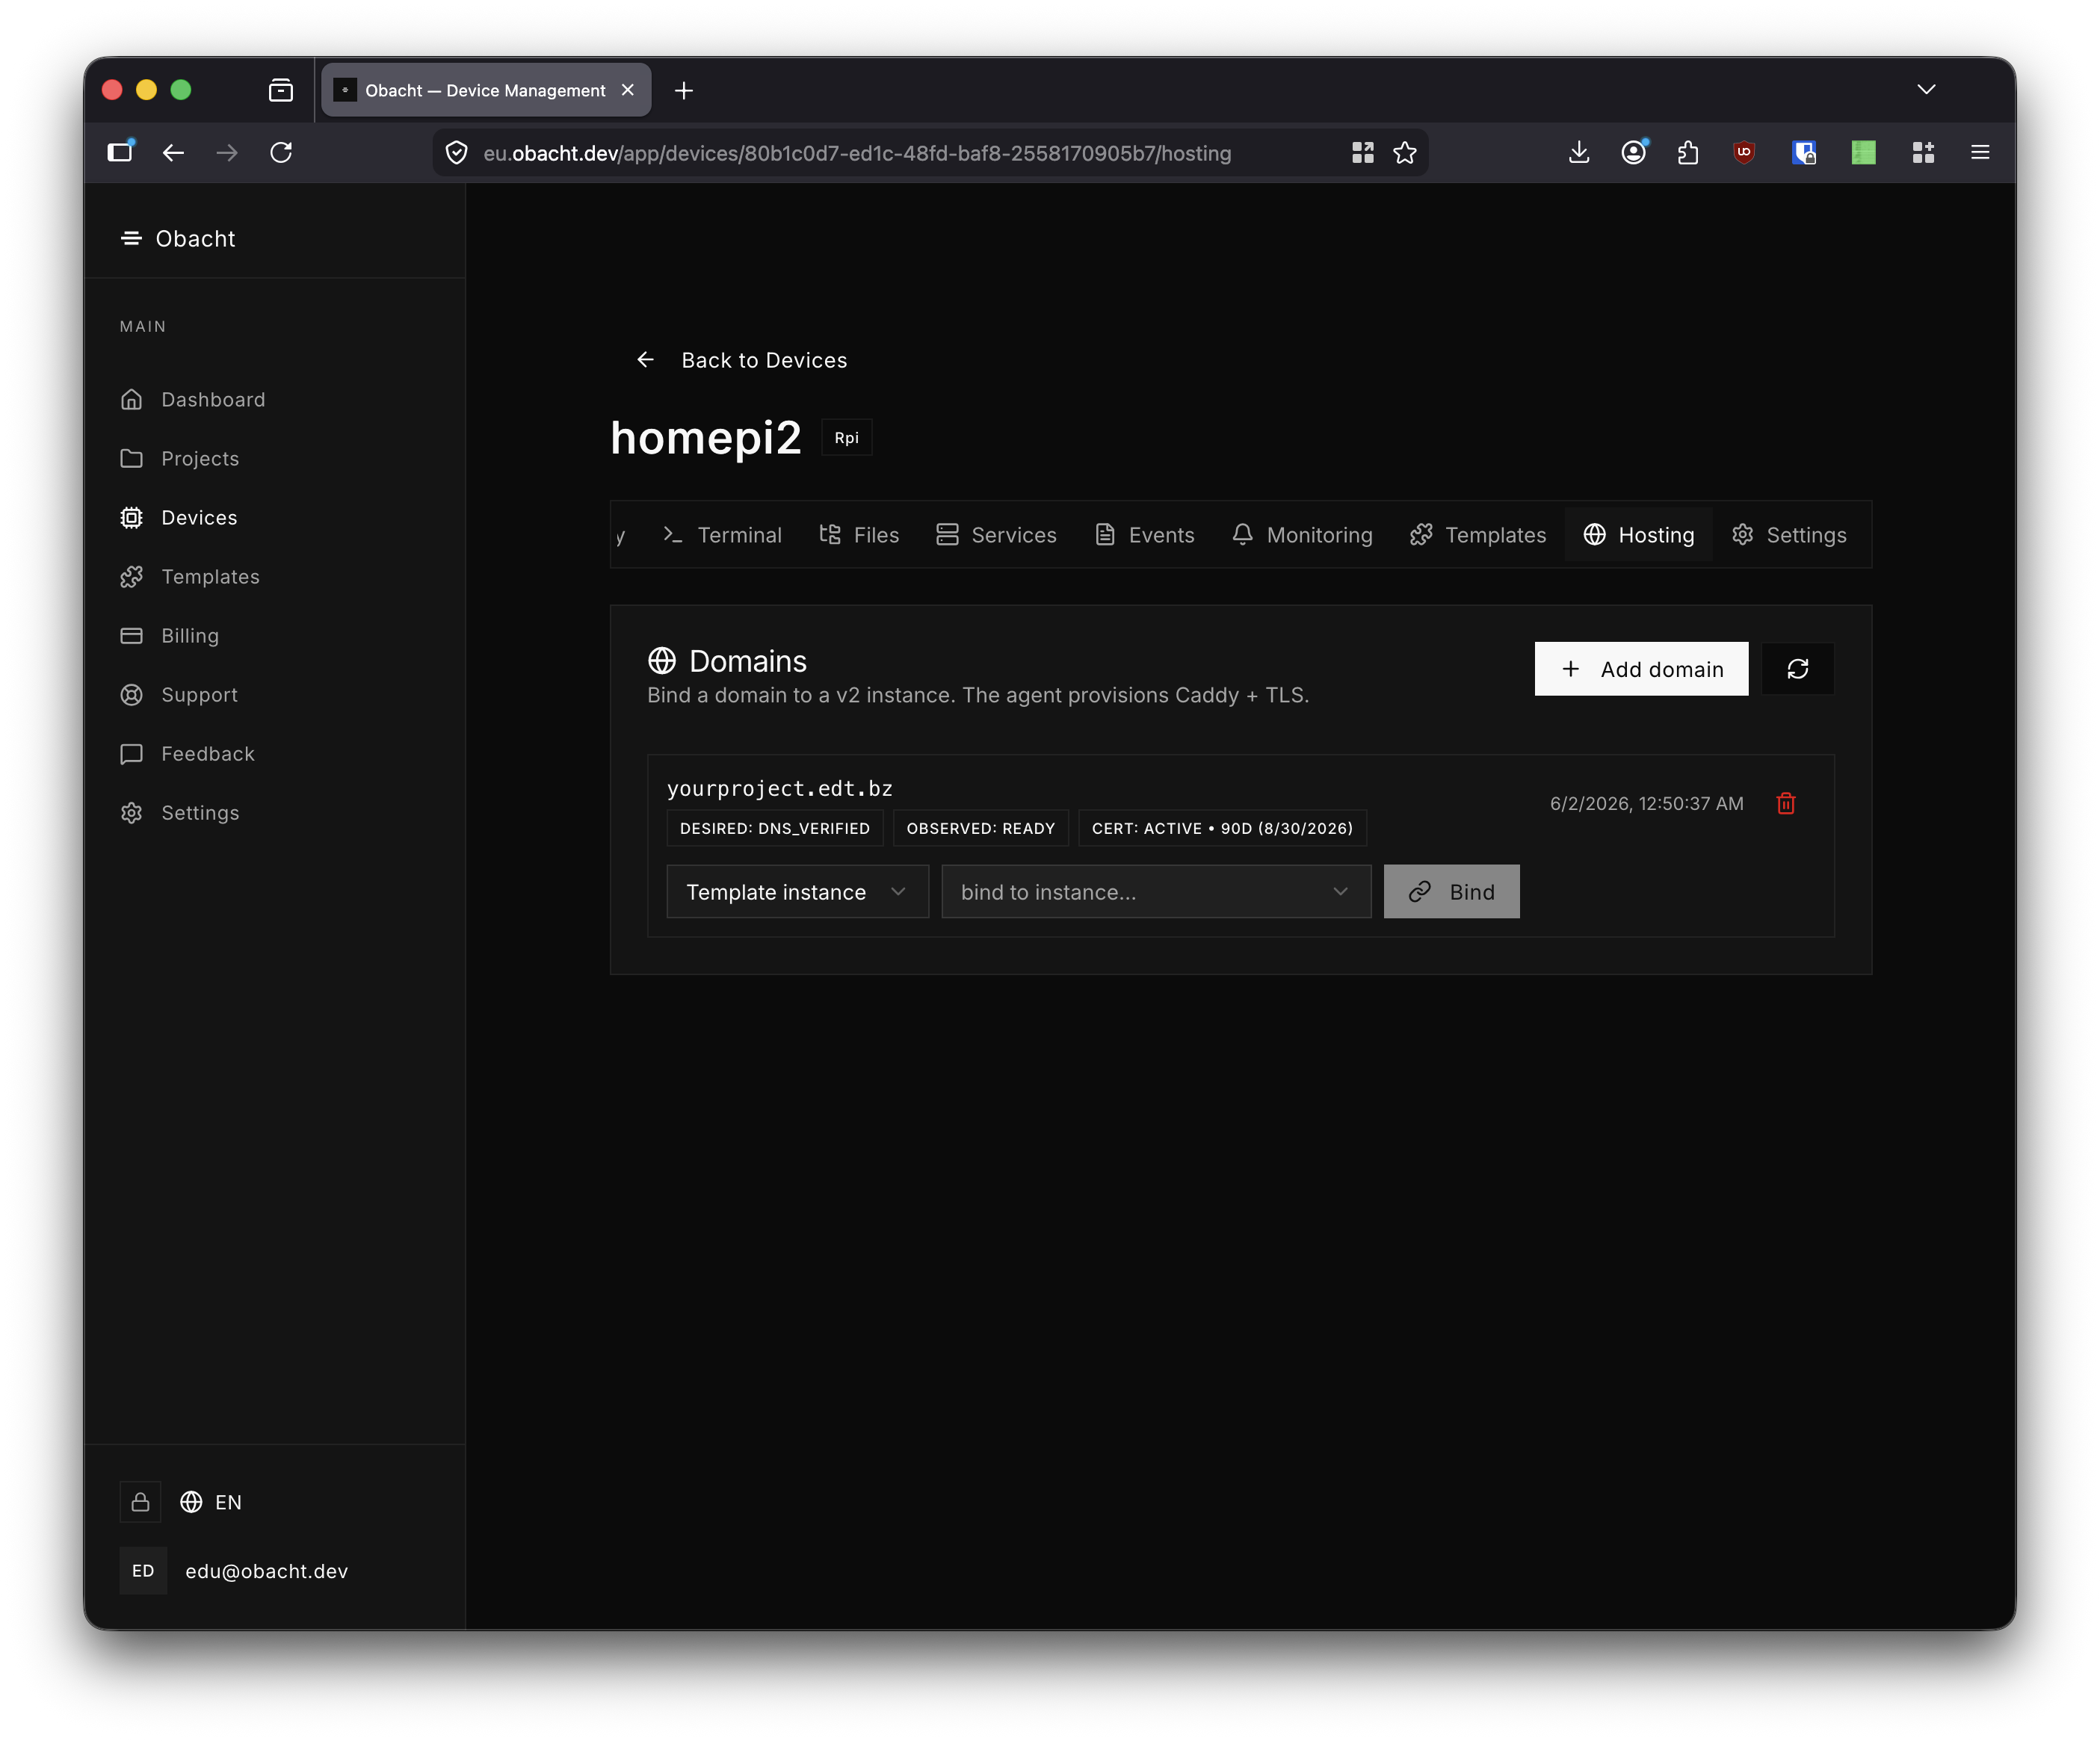
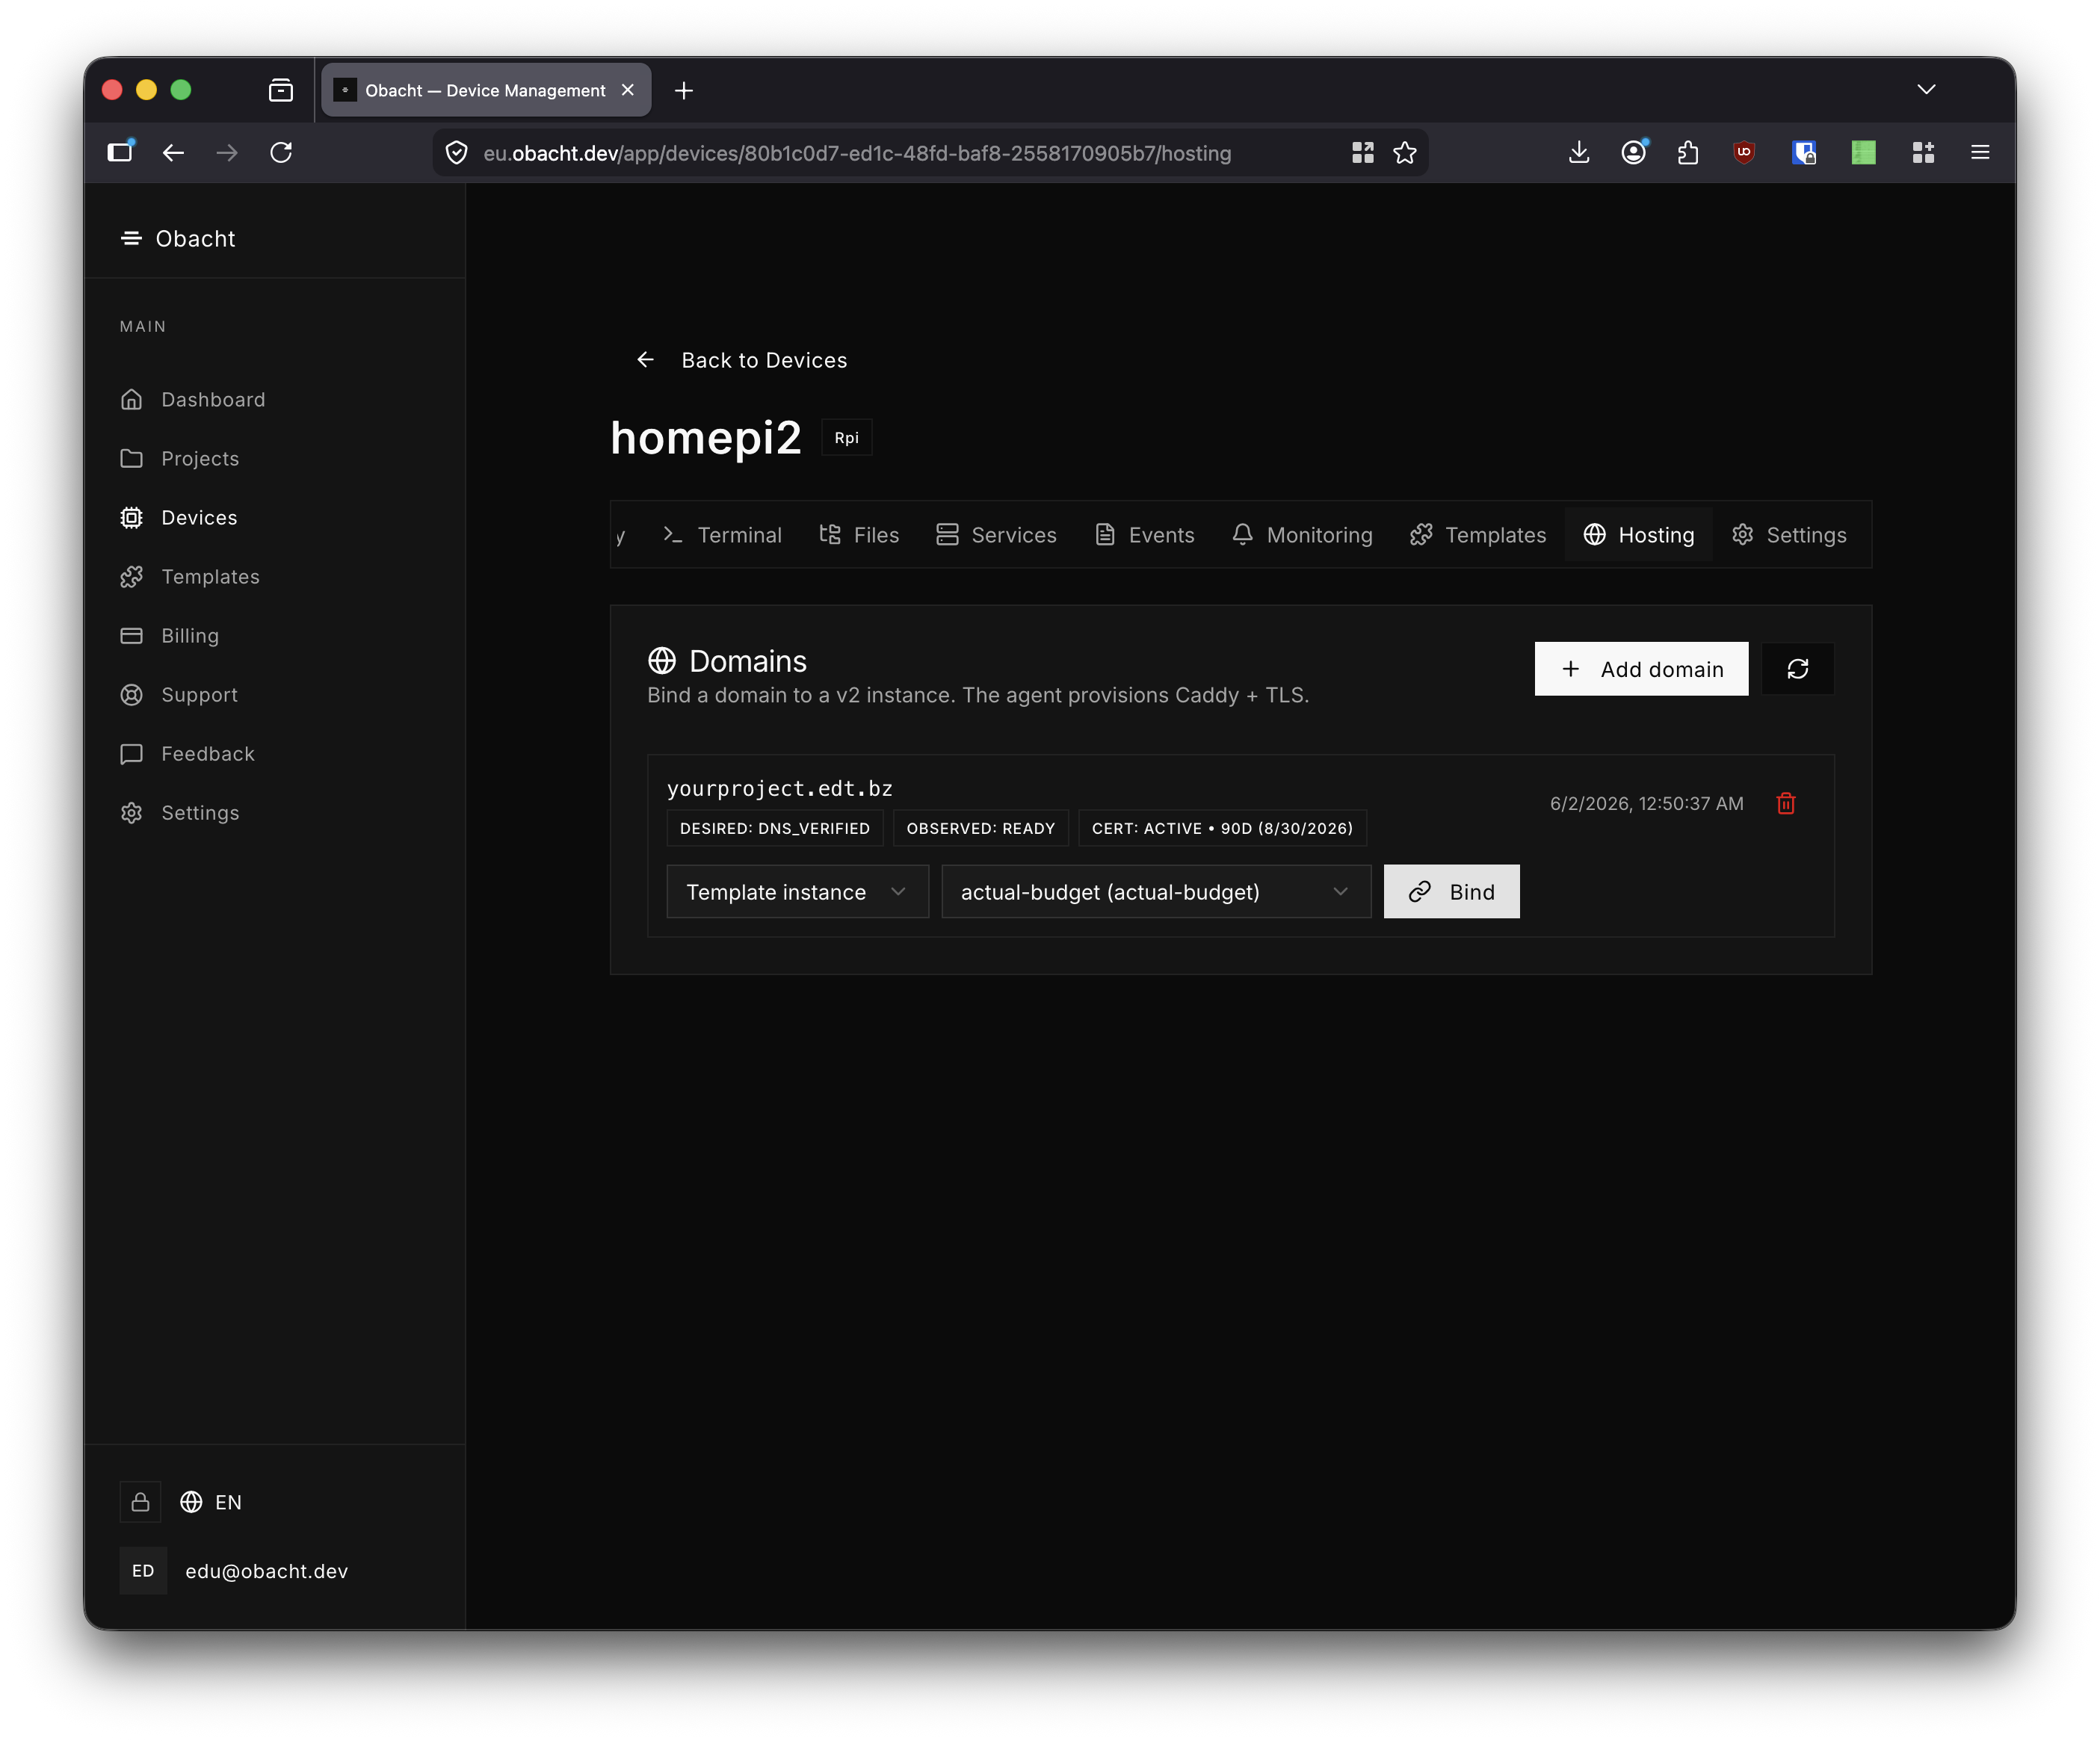
Once a domain is verified and a template is running, go to the Hosting tab. The domain row shows a Template instance bind control. Open the dropdown and select the running template instance.
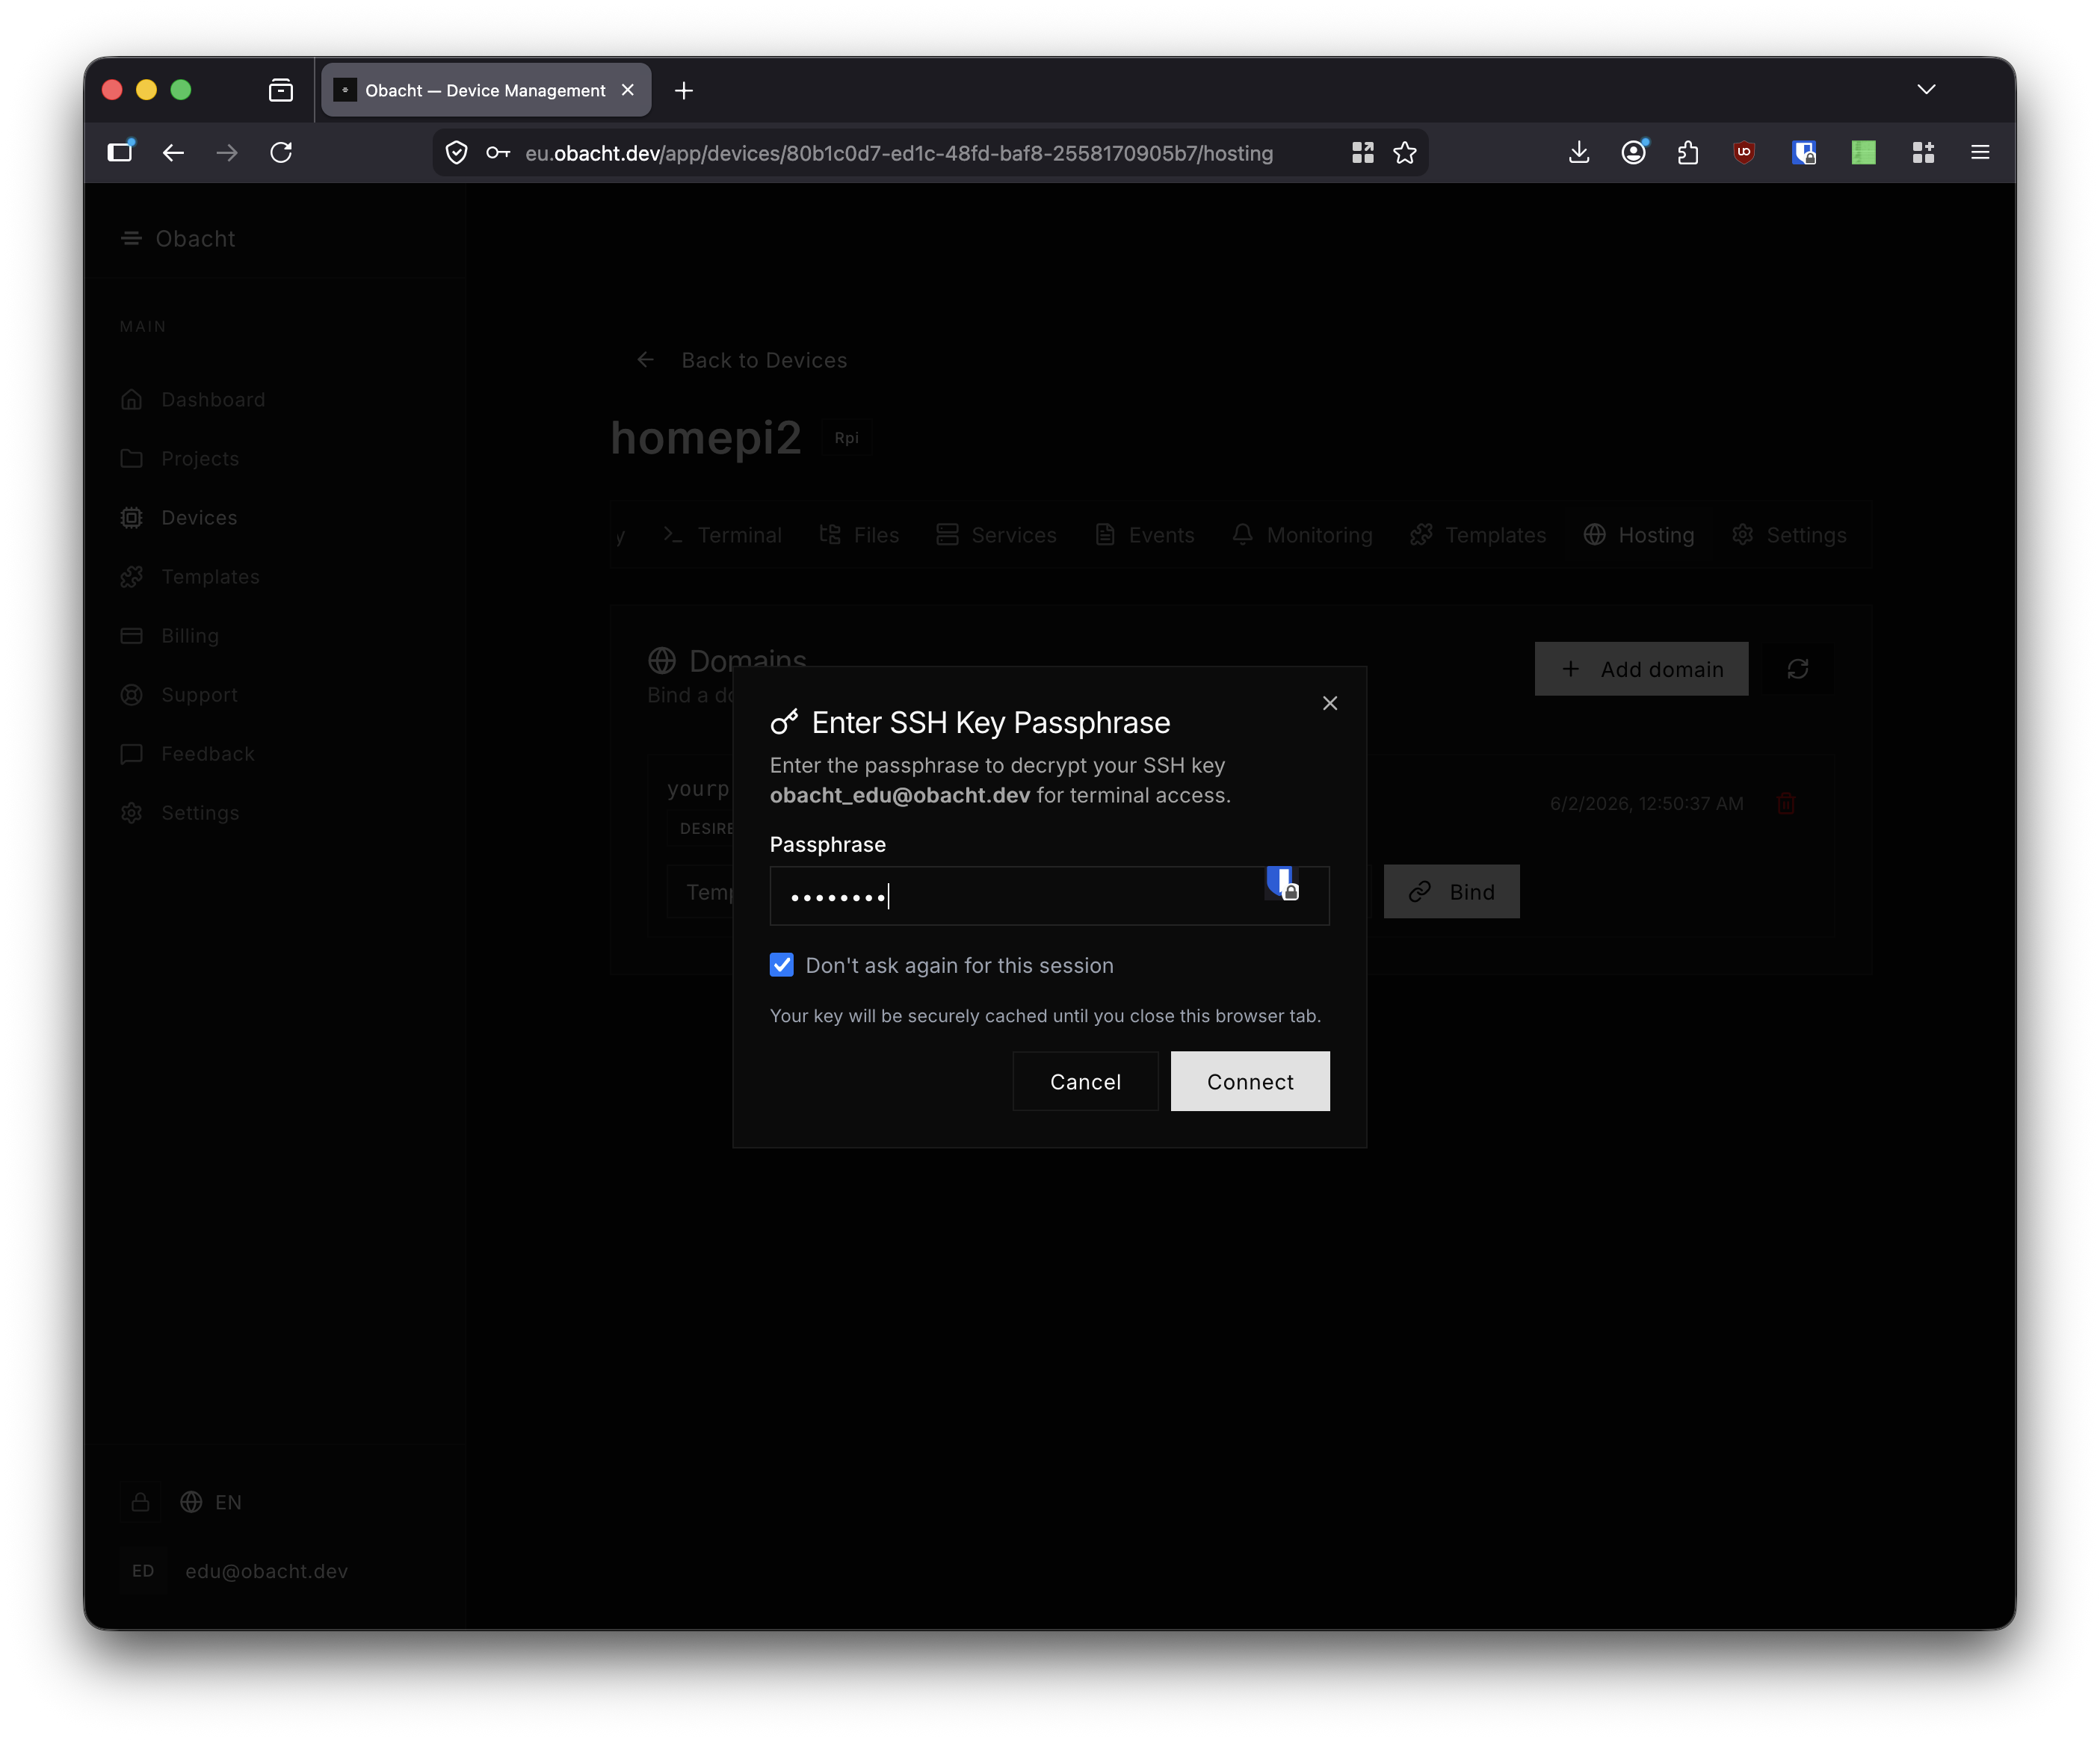
If your SSH key has a passphrase, a prompt appears.
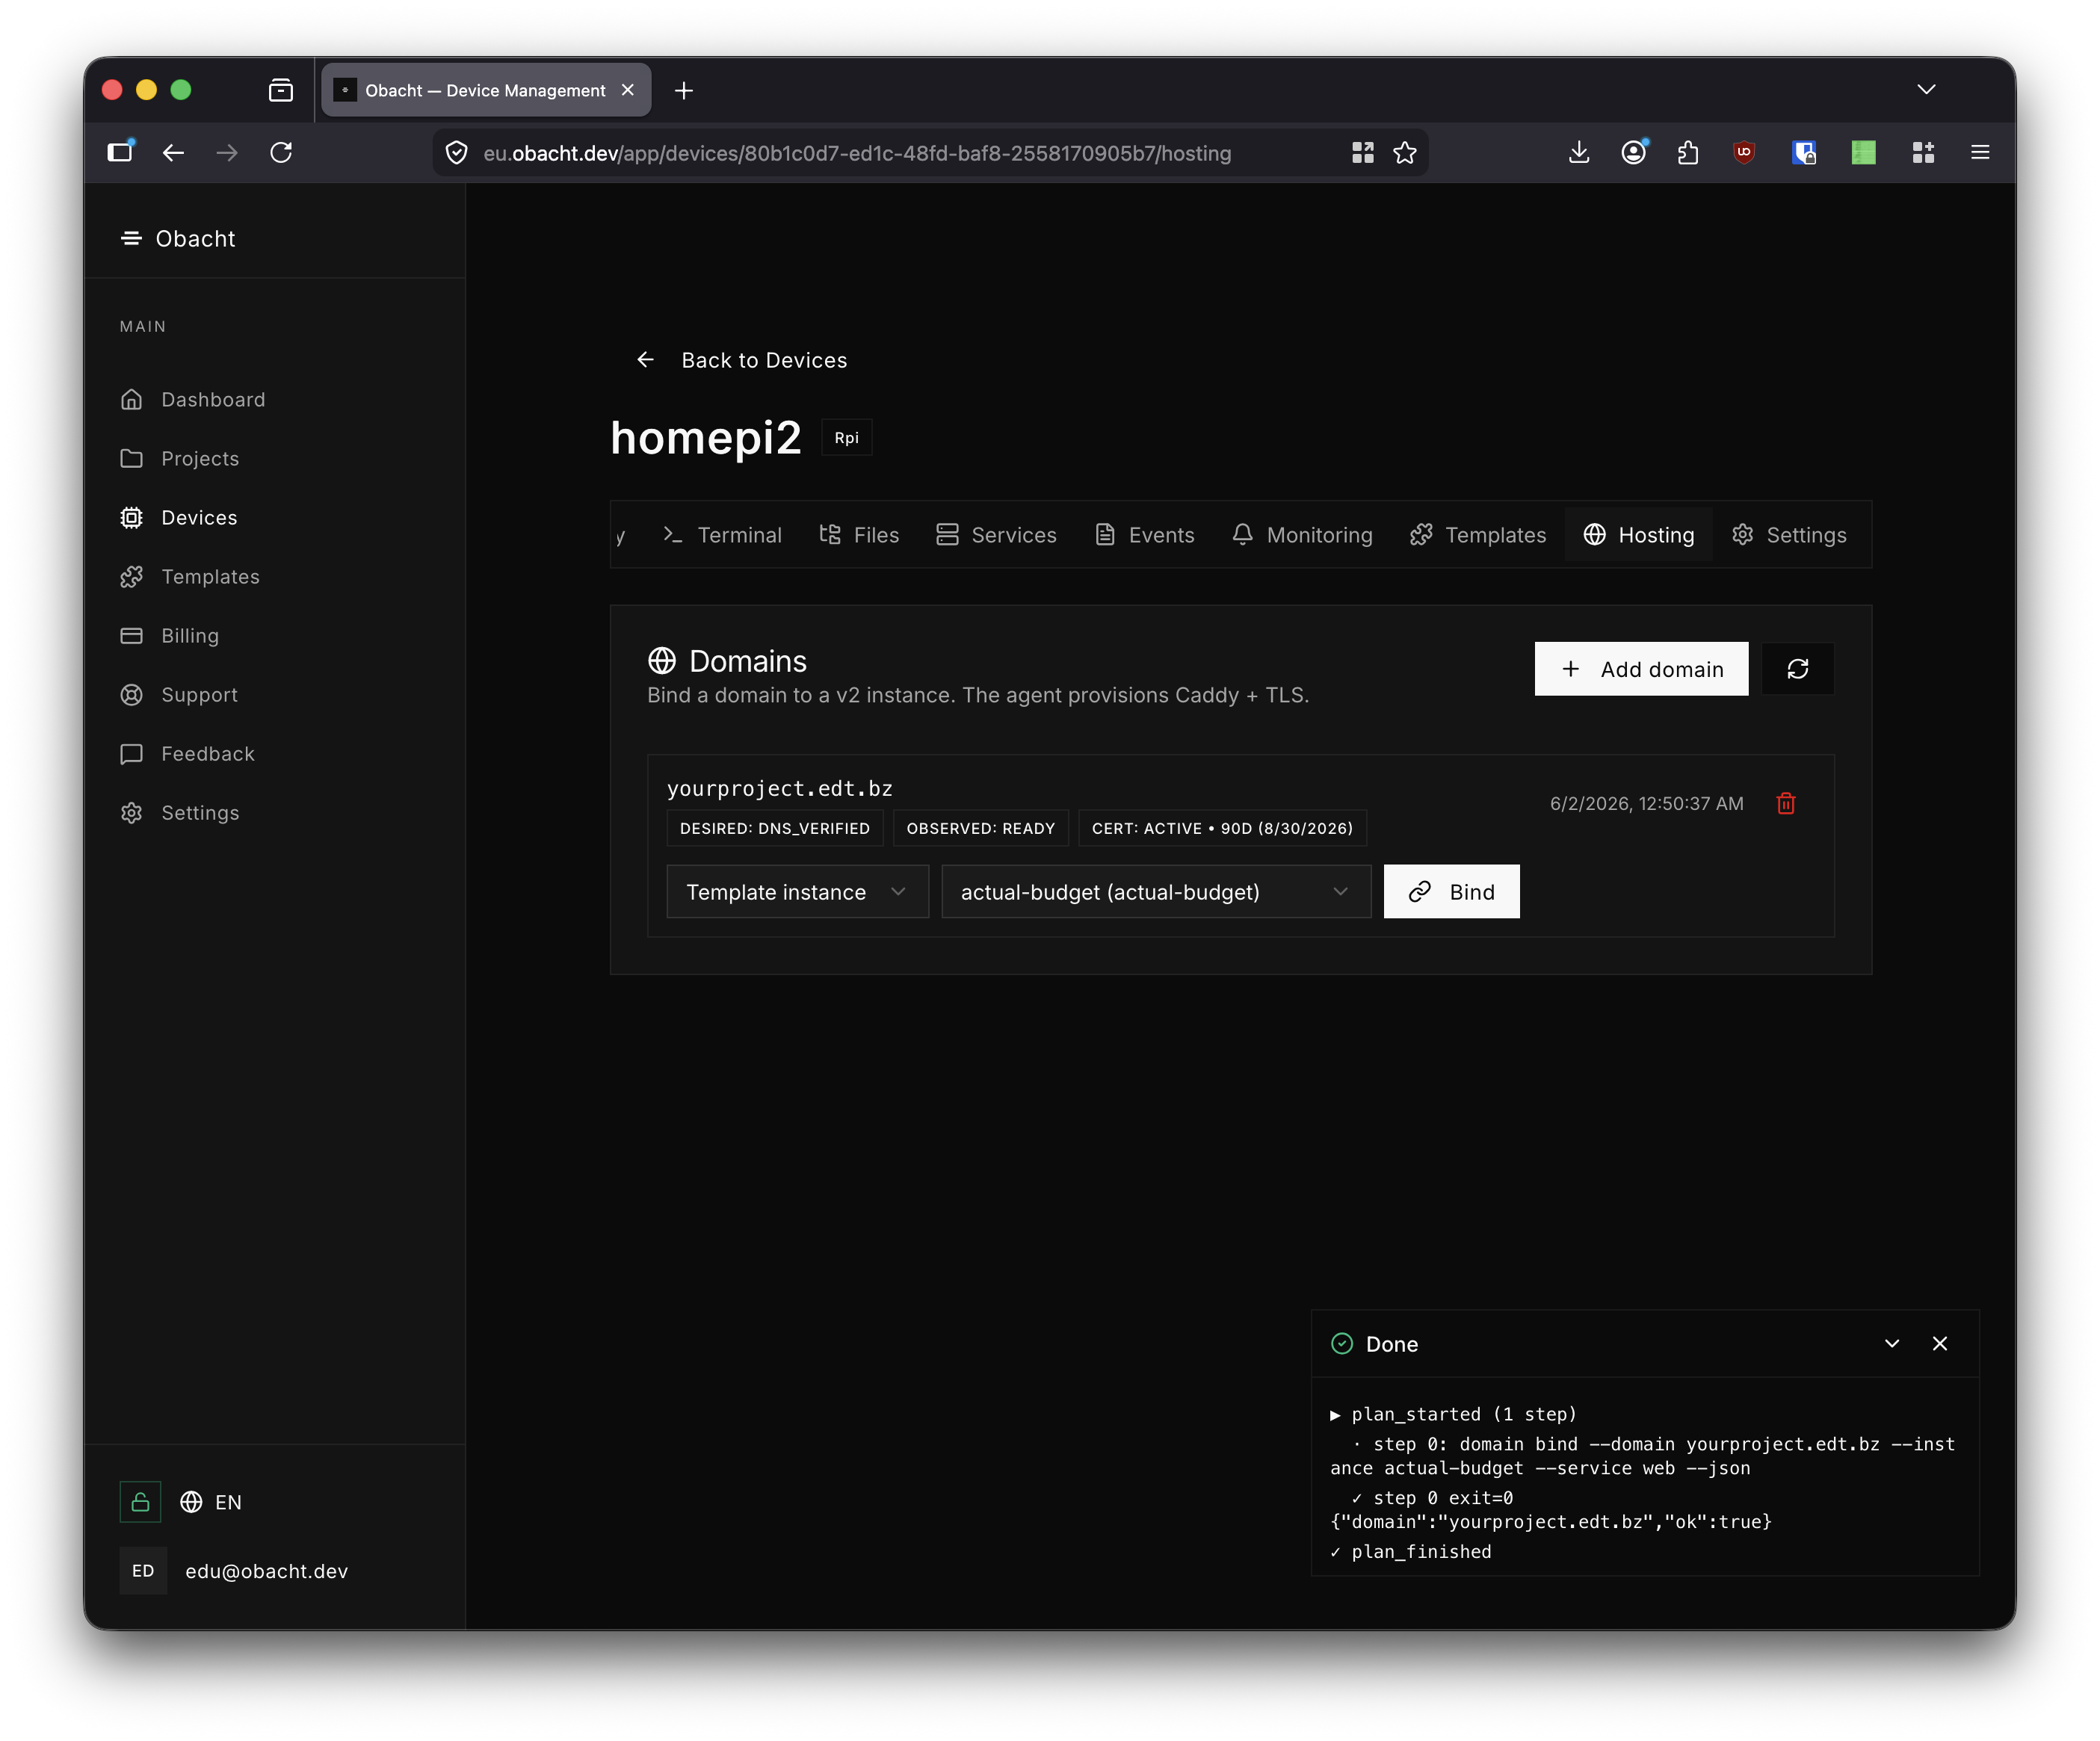
Click Bind. The agent runs domain bind on the device and Caddy routes the domain to the template's web service.
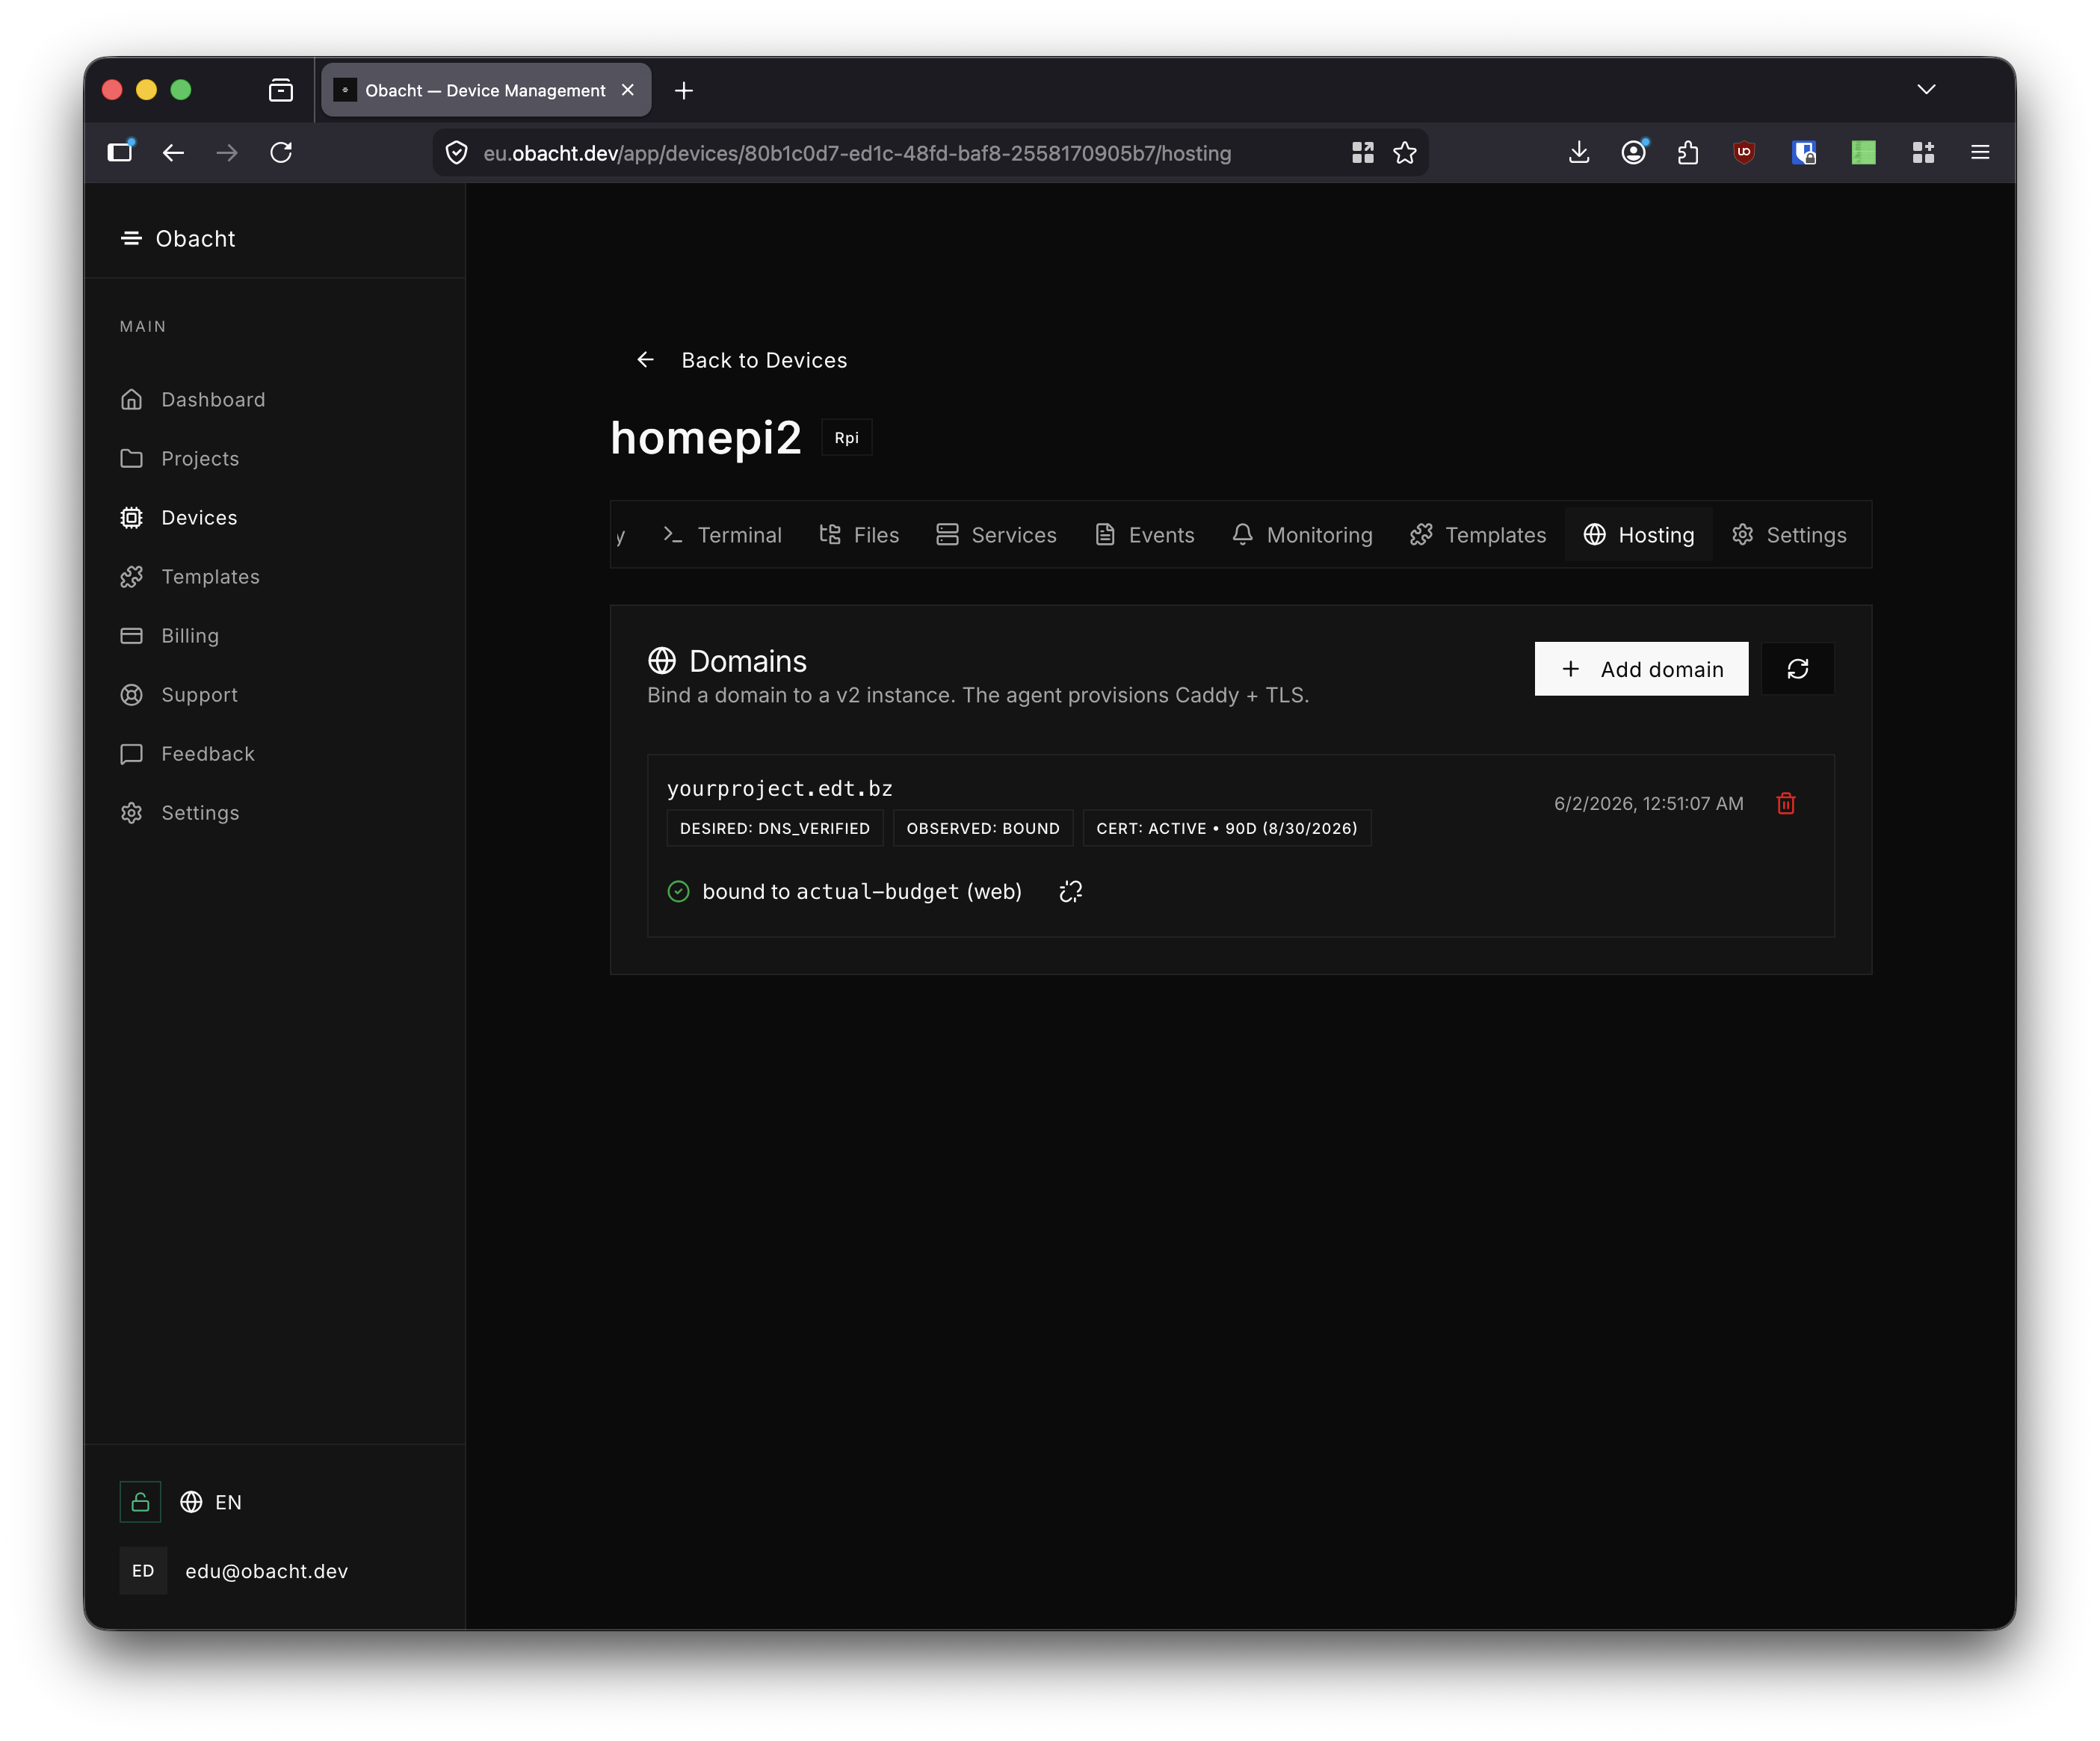
The domain row updates to OBSERVED: BOUND and shows which service it is routed to.
4. Custom Docker Compose
To run an arbitrary container, search for Custom Docker Composition in the template catalog and select it.
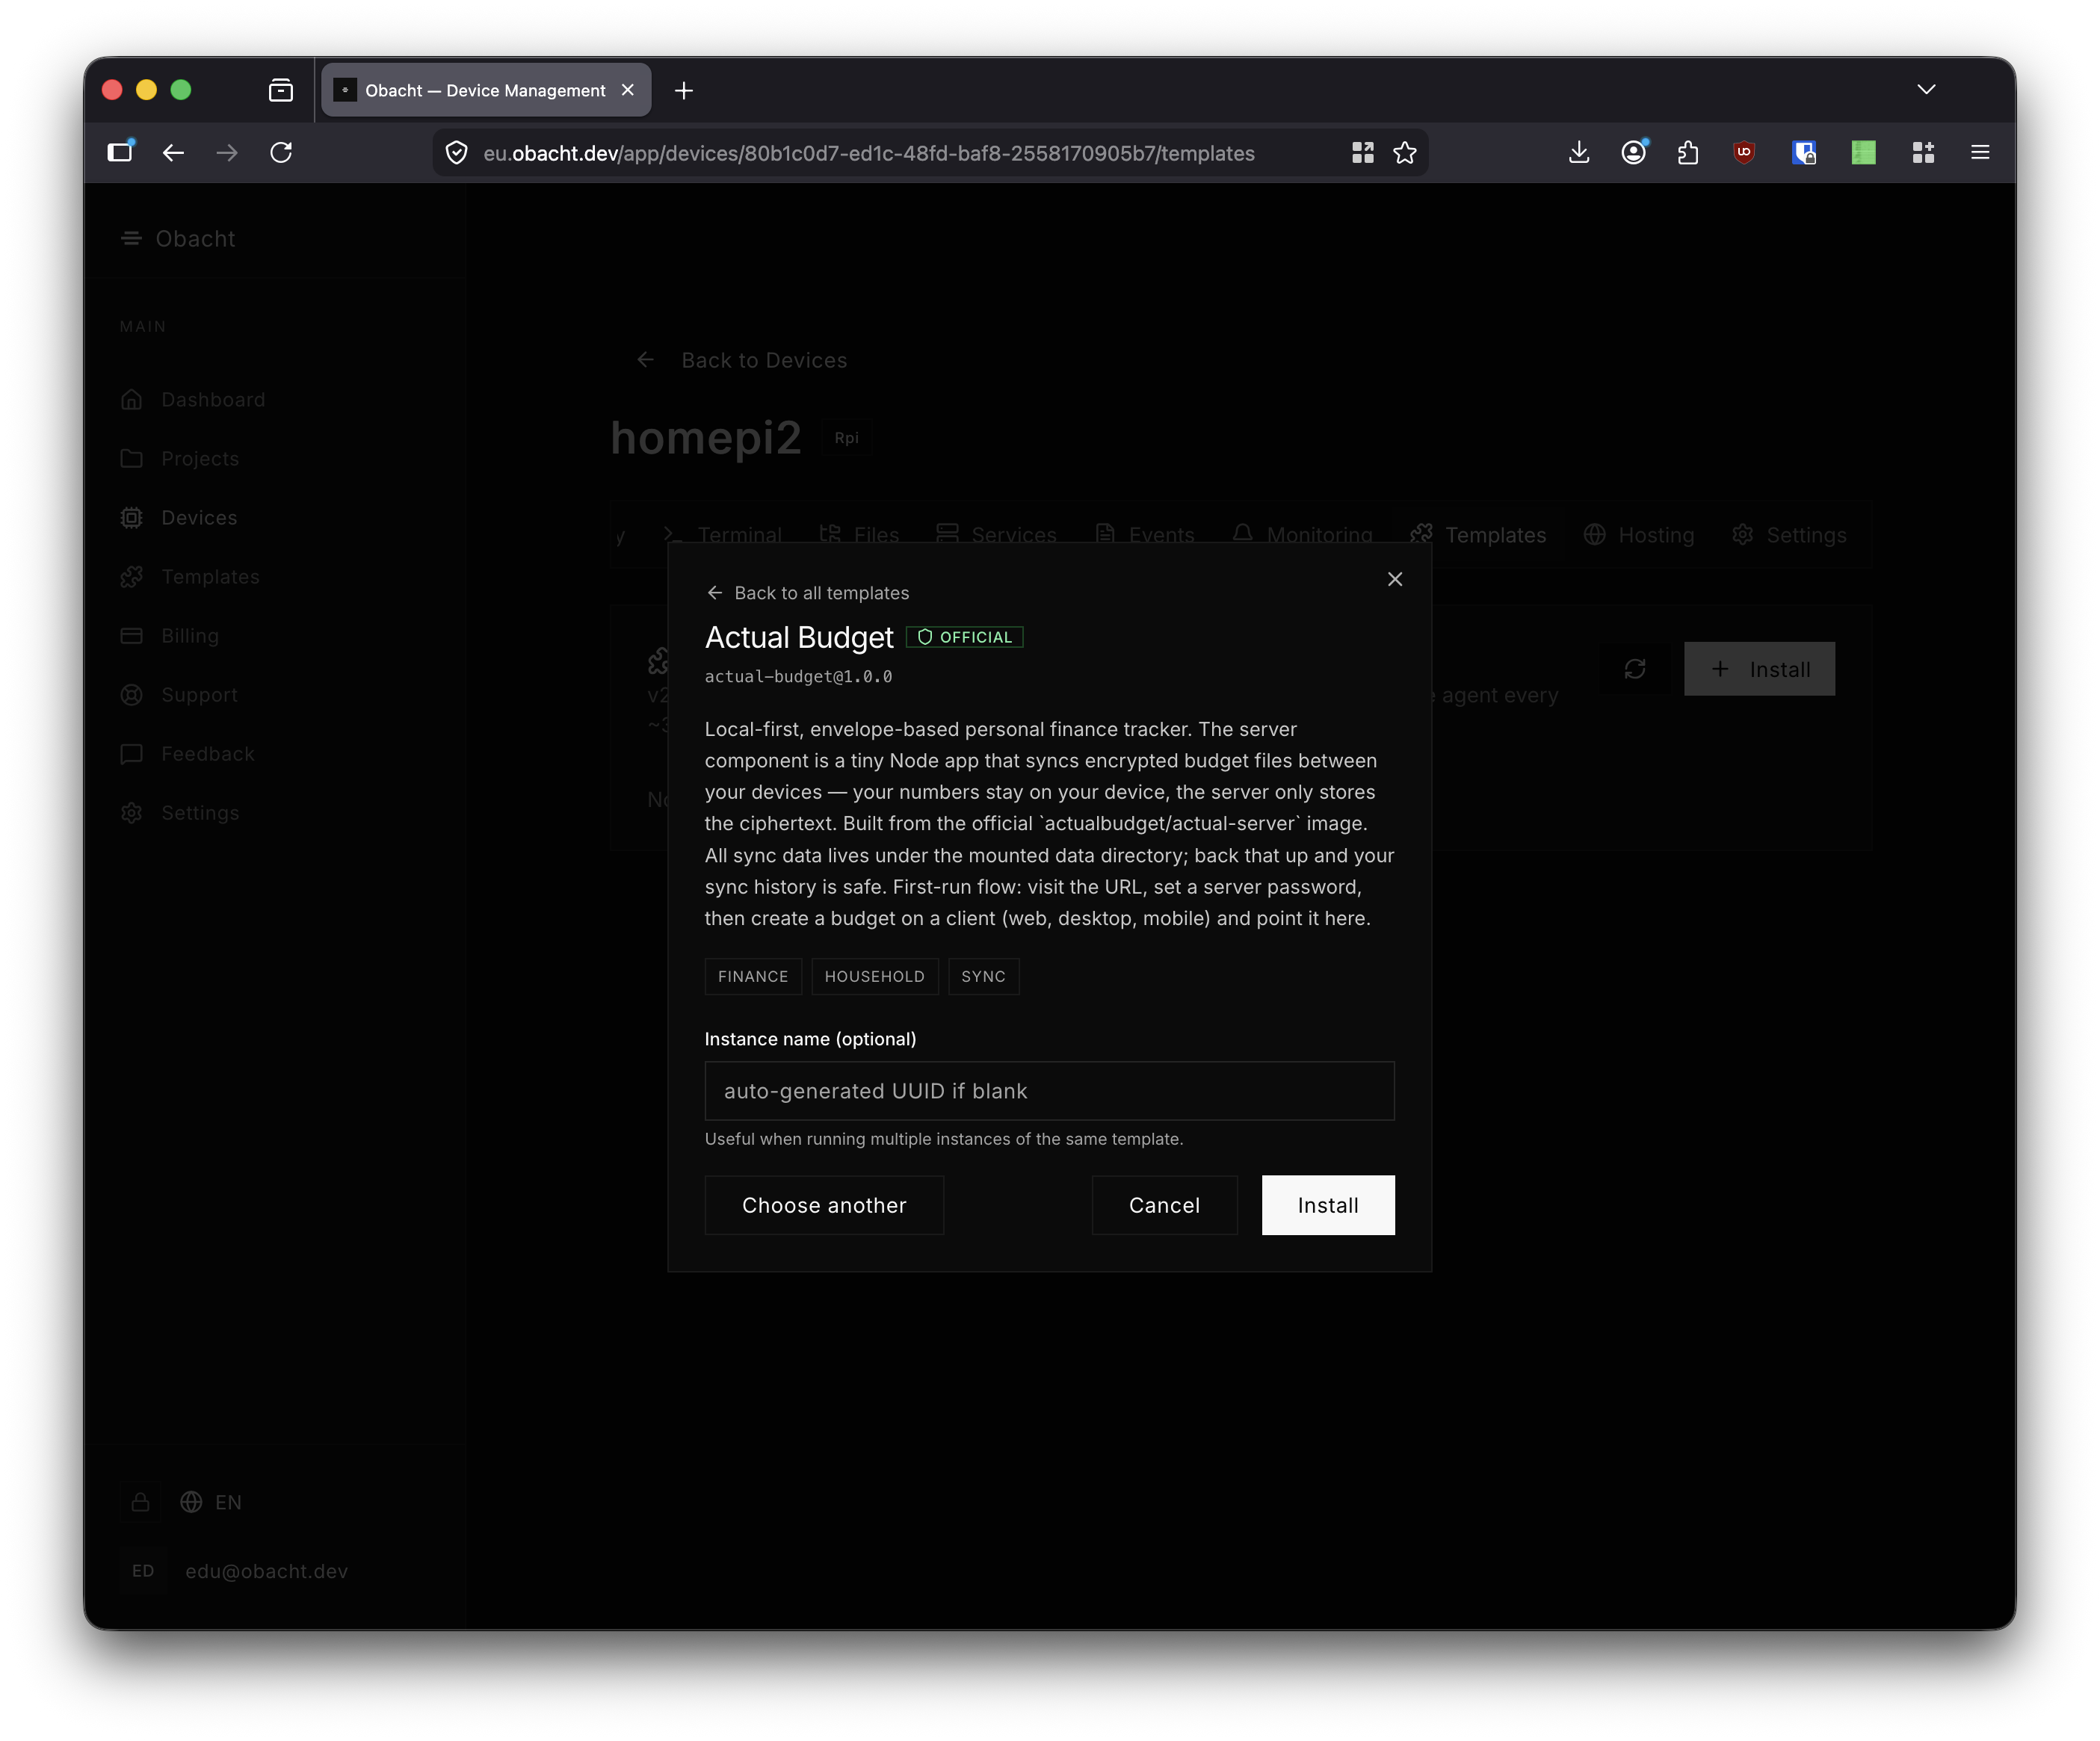
The configure dialog opens. Paste your docker-compose.yml into the Docker Compose field. Use named volumes for persistence — bind mounts and host port mappings are not permitted. Reference environment variables with ${VAR} syntax.
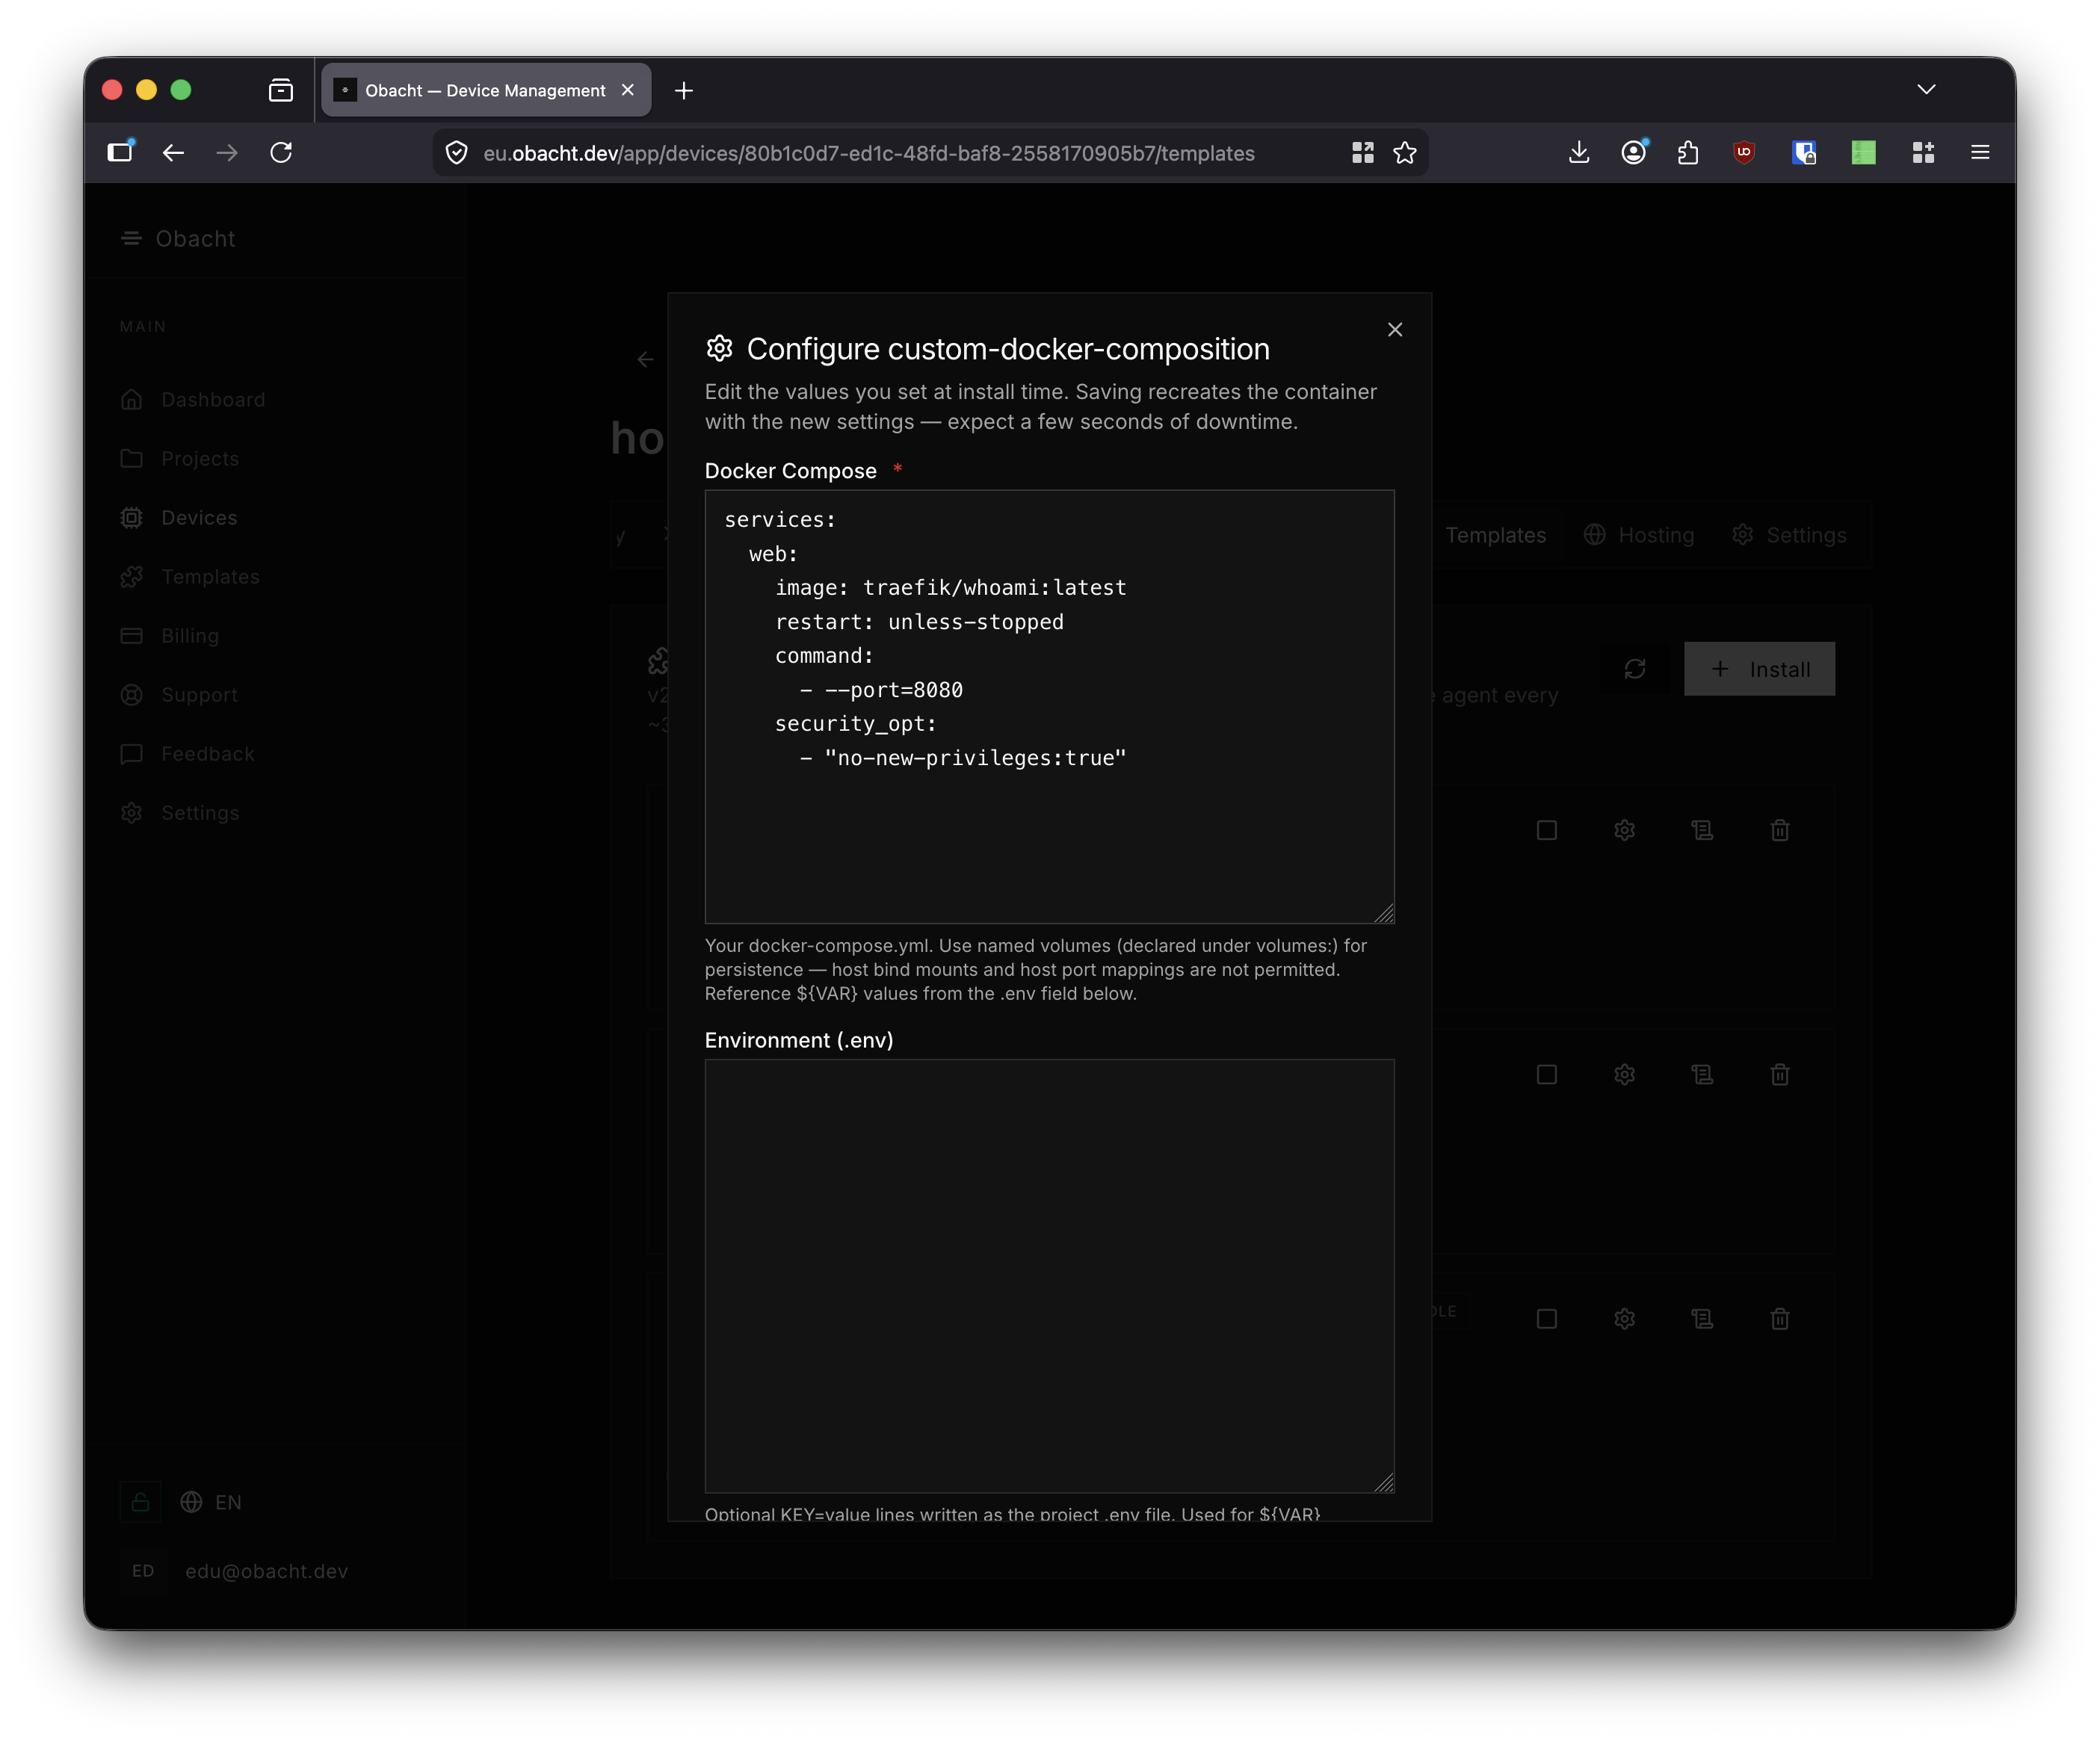
Scroll down to set the Primary service (the service name whose HTTP port is exposed) and Primary port (the in-container port). Click Save & recreate.